
Finding information quickly is essential in today’s fast-paced digital world. One of the most effective ways to streamline access to answers, websites, and apps is by integrating the Google search bar directly into your device’s interface. Whether you're using a smartphone, tablet, or desktop computer, placing the Google search bar within easy reach can significantly improve productivity and reduce time spent navigating through menus. This guide walks you through practical, step-by-step methods to add and personalize the Google search bar across different platforms—Android, iOS, Windows, macOS, and Chrome OS—so it works exactly how you want it to.
Add the Google Search Bar on Android Devices
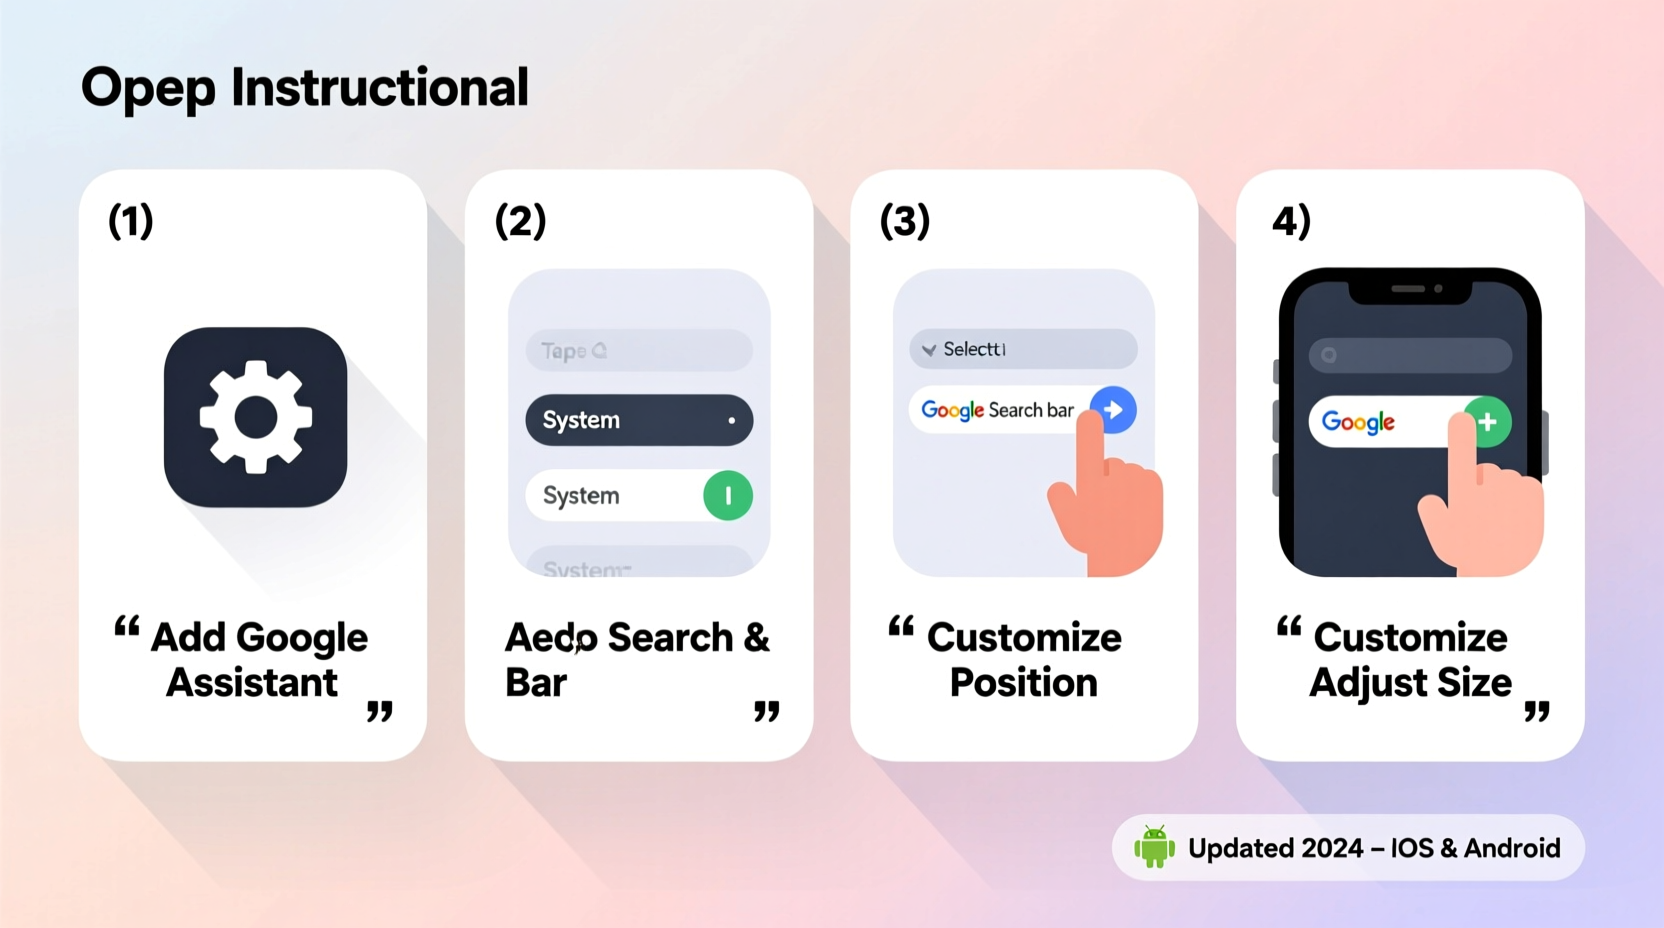
On Android phones and tablets, especially those running stock or near-stock versions of the OS, adding the Google search bar is often as simple as enabling it on your home screen. The Google app comes pre-installed on most devices, but the search bar widget may not be visible by default.
- Long-press on an empty area of your home screen.
- Select “Widgets” from the menu that appears.
- Scroll down and locate the “Google” or “Search” section.
- Tap and hold the “Search bar” widget and drag it to your preferred location on the home screen.
- Release your finger to place it.
Once added, the search bar will display real-time suggestions as you type, offer voice search via the microphone icon, and provide quick access to web results, apps, contacts, and settings.
Customizing the Android Google Search Bar
You can tailor the appearance and functionality of the search bar through the Google app settings:
- Open the Google app and tap your profile picture or initial in the top-right corner.
- Go to Settings > General > Surface customization.
- Adjust options like theme (light/dark), font size, and whether to show Discover feed content below the search bar.
- Toggle “Show Google Lens button” if you frequently use visual search.
These adjustments ensure the search bar blends with your aesthetic preferences while supporting your daily usage patterns.
Enable Google Search on iOS Devices
iOS doesn’t natively support a persistent Google search bar like Android, but you can still integrate Google deeply into your iPhone or iPad experience using workarounds and third-party tools.
The simplest method is setting Google as your default search engine in Safari:
- Open the Settings app.
- Scroll down and tap Safari.
- Select Search Engine and choose Google.
Now, whenever you type in the Safari address bar, your queries will route through Google instead of Bing or DuckDuckGo.
For a more robust solution, download the Google app from the App Store. While it won’t place a floating search bar on your home screen, it allows you to:
- Add a Google widget to your Today View (swipe right on the home screen).
- Use Siri shortcuts to trigger Google searches via voice.
- Pin frequently used searches or topics for faster access.
“Even without native integration, iOS users can replicate much of the Android search experience through smart use of widgets and automation.” — Lisa Tran, Mobile UX Designer
Install the Search Bar on Desktop Operating Systems
Bringing Google search to your desktop enhances multitasking and reduces reliance on opening browsers manually. Here's how to do it on major platforms.
Windows: Use the Google Chrome Shortcut or Taskbar Widget
While Windows has its own search function, many users prefer Google for web queries. You can create a quick-access Google search shortcut:
- Create a new Chrome shortcut on your desktop.
- Right-click it and select “Properties.”
- In the “Target” field, append:
?q=%safter the executable path (e.g.,\"C:\\Program Files\\Google\\Chrome\\Application\\chrome.exe\" ?q=%s). - Click “Apply.” Now double-clicking this shortcut opens a Google search for any term.
Alternatively, install third-party utilities like uBar or Wox that support Google-powered search overlays.
macOS: Leverage Spotlight and Browser Extensions
macOS Spotlight (activated with Command+Space) is powerful, but defaults to Apple’s ecosystem. To prioritize Google results:
- Use a browser like Chrome or Firefox with Google set as default.
- Install extensions such as Google Search Keyboard Shortcut, which lets you press a key combination (e.g., Option+Space) to open a Google search popup.
- Consider apps like Alfred with Powerpack, allowing custom workflows to trigger Google searches instantly.
Chrome OS: Native Integration
On Chromebooks, the Google search bar is already built into the shelf (taskbar). Click the circle or launcher key, then start typing. Results include web pages, apps, files, and settings—all powered by Google. Customize it via:
- Settings > Personalization > Search & Assistant
- Adjust what types of results appear (web, local, images, etc.)
- Enable voice search for hands-free queries
Customization Options Across Platforms
Once the search bar is active, personalization ensures it fits your workflow. Below is a summary of key customization features by platform:
| Platform | Appearance Themes | Voice Search | Widget Size | Result Types |
|---|---|---|---|---|
| Android | Light, Dark, Auto | Yes (Google Assistant) | Multiple sizes available | Web, Apps, News, Images |
| iOS | Limited (via app only) | Yes (Siri + Google App) | Single widget size | Web, Top Stories, Videos |
| Windows | Browser-dependent | Yes (via Chrome or Cortana) | N/A (shortcut-based) | Web-only unless extended |
| macOS | App-specific | Yes (with third-party tools) | Popup or overlay size | Configurable per tool |
| Chrome OS | System-wide theme sync | Full integration | Fixed launcher size | All categories supported |
Mini Case Study: Boosting Productivity with a Custom Search Setup
Jamal, a freelance researcher based in Toronto, found himself constantly switching between tabs and apps to verify facts, check definitions, and locate sources. After spending nearly 20 minutes per project just navigating search engines, he decided to optimize his setup.
He added the Google search bar widget to his Android tablet’s home screen, set up Alfred with Google shortcuts on his MacBook, and enabled voice search everywhere. Within a week, his average research time dropped by 35%. “Having instant access to Google without opening a browser changed everything,” he said. “It’s like having a librarian in my pocket.”
Checklist: How to Add and Customize Google Search
- ✅ Determine your device type (Android, iOS, Windows, macOS, Chrome OS)
- ✅ Install or enable the Google app where necessary
- ✅ Add the search bar widget (Android) or configure shortcuts (desktop)
- ✅ Set Google as default search engine in browser settings
- ✅ Customize appearance (theme, size, position)
- ✅ Enable voice search and Google Lens if supported
- ✅ Test functionality across different query types (web, image, app)
- ✅ Fine-tune result preferences in Google settings
FAQ
Can I have multiple search bars on one device?
On Android, yes—you can place multiple instances of the Google search widget on different home screens. On desktop and iOS, only one functional instance can be active at a time unless using advanced tools like Alfred or Wox.
Is it safe to use third-party tools for Google search integration?
Most reputable tools like Alfred, uBar, or official browser extensions are secure. Always download from official stores (App Store, Chrome Web Store) and review permissions before installation.
Does adding the Google search bar slow down my device?
No. The search bar widget or shortcut uses minimal system resources. However, enabling background services like Discover or constant voice listening may slightly impact battery life.
Conclusion
Integrating the Google search bar into your device isn’t just about convenience—it’s about reclaiming time and reducing friction in your digital routine. With just a few taps or clicks, you can bring one of the most powerful information tools directly to your fingertips. Whether you’re a student, professional, or casual user, customizing how and where you search makes a tangible difference in efficiency and ease of use.


 浙公网安备
33010002000092号
浙公网安备
33010002000092号 浙B2-20120091-4
Comments
No comments yet. Why don't you start the discussion?