
Communicating in Arabic has become essential for millions around the world, whether for personal conversations, professional correspondence, or connecting with cultural roots. Fortunately, modern smartphones make it easy to add and use an Arabic keyboard with just a few taps. Whether you're using an iPhone or an Android device, setting up Arabic input is quick and intuitive. This guide walks you through every step—from enabling the keyboard to mastering typing techniques—so you can type in Arabic confidently and efficiently.
Why Use an Arabic Keyboard on Your Phone?
The ability to type in Arabic opens doors to deeper communication with family, friends, and colleagues across the Arab world. It also allows access to local news, social media content, and digital services in native script. With the rise of bilingual and multilingual users, having an Arabic keyboard readily available ensures seamless transitions between languages without relying on translation tools.
According to UNESCO, over 420 million people speak Arabic worldwide, making it one of the most widely used languages online. Tech companies have responded by improving language support, including predictive text, voice-to-text, and gesture typing for Arabic. These features are only accessible once the keyboard is properly configured.
“Being able to type in Arabic on mobile devices empowers users to express themselves authentically and participate fully in digital life.” — Dr. Layla Hassan, Digital Linguistics Researcher at Cairo University
Step-by-Step Guide: Adding the Arabic Keyboard
Setting up an Arabic keyboard varies slightly depending on your operating system. Below are detailed instructions for both major platforms.
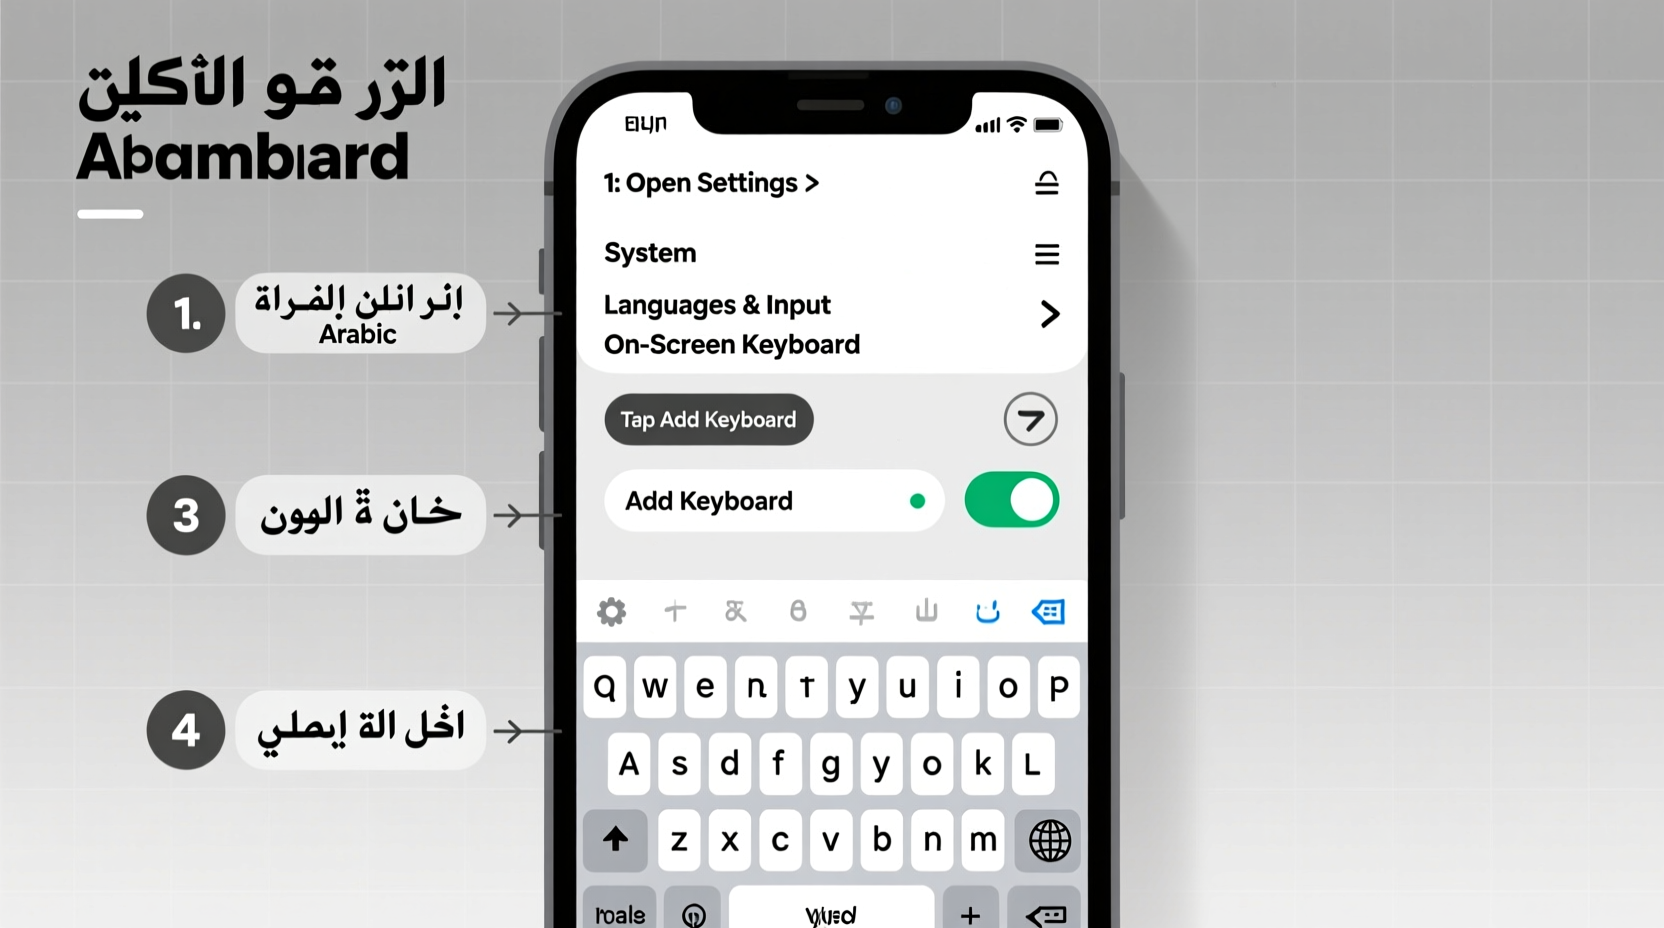
For Android Devices (Samsung, Google Pixel, etc.)
- Open Settings on your phone.
- Navigate to System > Languages & input > Virtual keyboard.
- Select your default keyboard (e.g., Gboard or Samsung Keyboard).
- Tap Languages or Add a language.
- Find and select Arabic from the list.
- Choose your preferred layout: Standard Arabic, Najdi, or others if available.
- Toggle on options like Text correction, Predictive text, and Auto-capitalization as needed.
- Return to any text field and long-press the spacebar or tap the globe icon to switch between keyboards.
For iPhones (iOS 15 and later)
- Go to Settings > General > Keyboard > Keyboards.
- Tap Add New Keyboard.
- Scroll down and select Arabic.
- Choose from variants such as Arabic – QWERTY, Arabic – AZERTY, or standard Arabic.
- Once added, open any app that uses text input (Messages, Notes, etc.).
- Tap inside a text box and press the globe icon on the keyboard to cycle through installed keyboards.
- To enable swipe typing (QuickPath), go back to Keyboard settings and ensure Slide to Type is enabled.
Mastering Arabic Typing: Layouts and Input Methods
Understanding how the Arabic keyboard is laid out helps improve accuracy and speed. Most Arabic keyboards follow a phonetic arrangement based on the Latin alphabet’s proximity to Arabic sounds, especially in QWERTY-style layouts.
For example:
- S corresponds to س
- D maps to د
- F represents ف
- A types ا
This design makes it easier for users familiar with English keyboards to transition smoothly. However, note that Arabic is written right-to-left, which affects cursor movement and text alignment.
Available Input Features
Modern keyboards offer several tools to enhance the typing experience:
- Predictive Text: Suggests common words as you type.
- Voice Typing: Tap the microphone icon to speak in Arabic; the device transcribes speech into text.
- Gesture Typing: Swipe across letters to form words quickly (available in Gboard and some Samsung models).
- Autocorrect: Automatically fixes misspellings and adjusts diacritics.
| Feature | iOS Support | Android Support |
|---|---|---|
| Predictive Text | Yes | Yes (via Gboard/Samsung Keyboard) |
| Voice Input | Yes (Dictation) | Yes (Google Voice Typing) |
| Gesture Typing | Limited (QuickPath) | Full support in Gboard |
| Diacritic Auto-addition | No | Optional in advanced settings |
Tips for Efficient Arabic Typing
Getting comfortable with the Arabic keyboard takes practice. Here are practical tips to boost fluency and reduce errors.
- Use Both Hands: Even on smaller screens, using thumbs independently improves speed and reduces typos.
- Enable Diacritics When Needed: Long-press certain letters (e.g., ب، ت، ن) to insert tashkeel marks for precise pronunciation.
- Switch Languages Smoothly: If you frequently alternate between Arabic and English, disable “Require explicit switching” in keyboard settings to allow automatic context detection.
- Customize Shortcuts: Create text replacements (e.g., \"mrhba\" → \"مرحبا\") under keyboard shortcuts in settings.
- Keep Software Updated: Regular OS updates often include improved Arabic language models and bug fixes.
Real-World Example: Staying Connected Across Borders
Ahmed, a university student in Toronto, wanted to stay in close contact with his grandparents in Amman. While he understood spoken Arabic well, he struggled to type messages due to lack of practice. After setting up the Arabic keyboard on his iPhone, he began sending short texts using predictive suggestions. Within weeks, he was composing full sentences without switching to transliteration. His grandmother replied, “I finally feel like I’m talking to my real grandson—not a robot translator.”
This small change strengthened their bond and gave Ahmed confidence in expressing himself culturally and emotionally in his heritage language.
Common Issues and How to Fix Them
Despite being user-friendly, some users encounter minor issues when starting out.
- Keyboard Not Appearing: Ensure the language is correctly added under system settings. Restart the app or device if necessary.
- Poor Prediction Accuracy: Clear keyboard data cache (Android) or toggle prediction off and on again (iOS).
- Wrong Layout Selected: Confirm you’ve chosen the correct variant (e.g., Arabic vs. Arabic – QWERTY).
- Text Alignment Problems: In apps that don’t support RTL, text may appear misaligned. Try pasting into a notes app first to preserve formatting.
Checklist: Setting Up Your Arabic Keyboard Successfully
- ✅ Access your phone’s Language & Input settings
- ✅ Add Arabic as a new keyboard language
- ✅ Select preferred layout (standard, QWERTY, etc.)
- ✅ Enable useful features (prediction, voice input)
- ✅ Test typing in a messaging app
- ✅ Adjust keyboard height or size for comfort (if supported)
- ✅ Practice regularly to build speed and accuracy
Frequently Asked Questions
Can I type Arabic using transliteration without installing a new keyboard?
Yes, Gboard and other keyboards support Arabic transliteration. Type phonetically in English letters (e.g., \"kayf halak?\"), and the keyboard will suggest the Arabic equivalent. However, this method is slower and less accurate than using the native Arabic layout.
Is the Arabic keyboard different on Samsung phones?
Samsung devices come with their own keyboard app, which includes robust Arabic support, including handwriting input and regional dialects. The setup process is similar but accessed via Settings > General Management > Language and Input.
Does the Arabic keyboard support all dialects?
The standard Arabic keyboard supports Modern Standard Arabic (MSA), used in formal writing and media. While colloquial spellings vary by region (Levantine, Gulf, Maghrebi), most users adapt MSA-based typing with informal vocabulary. Some third-party apps offer dialect-specific prediction engines.
Start Typing in Arabic Today
Setting up an Arabic keyboard on your cell phone is a simple yet powerful way to connect more deeply with language, culture, and community. With clear instructions, built-in tools, and consistent practice, anyone can learn to type in Arabic comfortably—regardless of technical skill level. Don’t let language barriers limit your digital expression. Take the first step today: open your settings, add the Arabic keyboard, and begin your journey toward bilingual fluency at your fingertips.


 浙公网安备
33010002000092号
浙公网安备
33010002000092号 浙B2-20120091-4
Comments
No comments yet. Why don't you start the discussion?