
Joining electrical wires is a fundamental skill in both professional electrical work and everyday home repairs. Whether you're replacing a light fixture, repairing an appliance cord, or installing a new outlet, properly twisted wires ensure a secure connection that conducts electricity efficiently and safely. While it may seem straightforward, poor wire twisting can lead to loose connections, overheating, arcing, or even fire hazards. Mastering the right technique isn’t about complexity—it’s about consistency, precision, and using the correct tools.
This guide walks through proven, field-tested methods for twisting wires together with confidence. From selecting the right stripping length to choosing the appropriate connector, these techniques are used by licensed electricians and trusted in residential and commercial installations alike.
Why Proper Wire Twisting Matters
A twisted wire connection serves as the foundation of any electrical circuit. When done correctly, it creates a low-resistance path for current flow. But when executed poorly—such as with frayed strands, uneven lengths, or inadequate twist tightness—the joint becomes a point of resistance. This resistance generates heat, which over time degrades insulation, weakens conductivity, and increases fire risk.
The National Electrical Code (NEC) requires all splices to be mechanically and electrically secure before being insulated. Simply wrapping wires around each other or relying solely on wire nuts without proper pre-twisting is not compliant and can fail under load.
“Twisting isn't just tradition—it's physics. A solid mechanical bond ensures long-term reliability.” — Carlos Mendez, Master Electrician & NEC Consultant
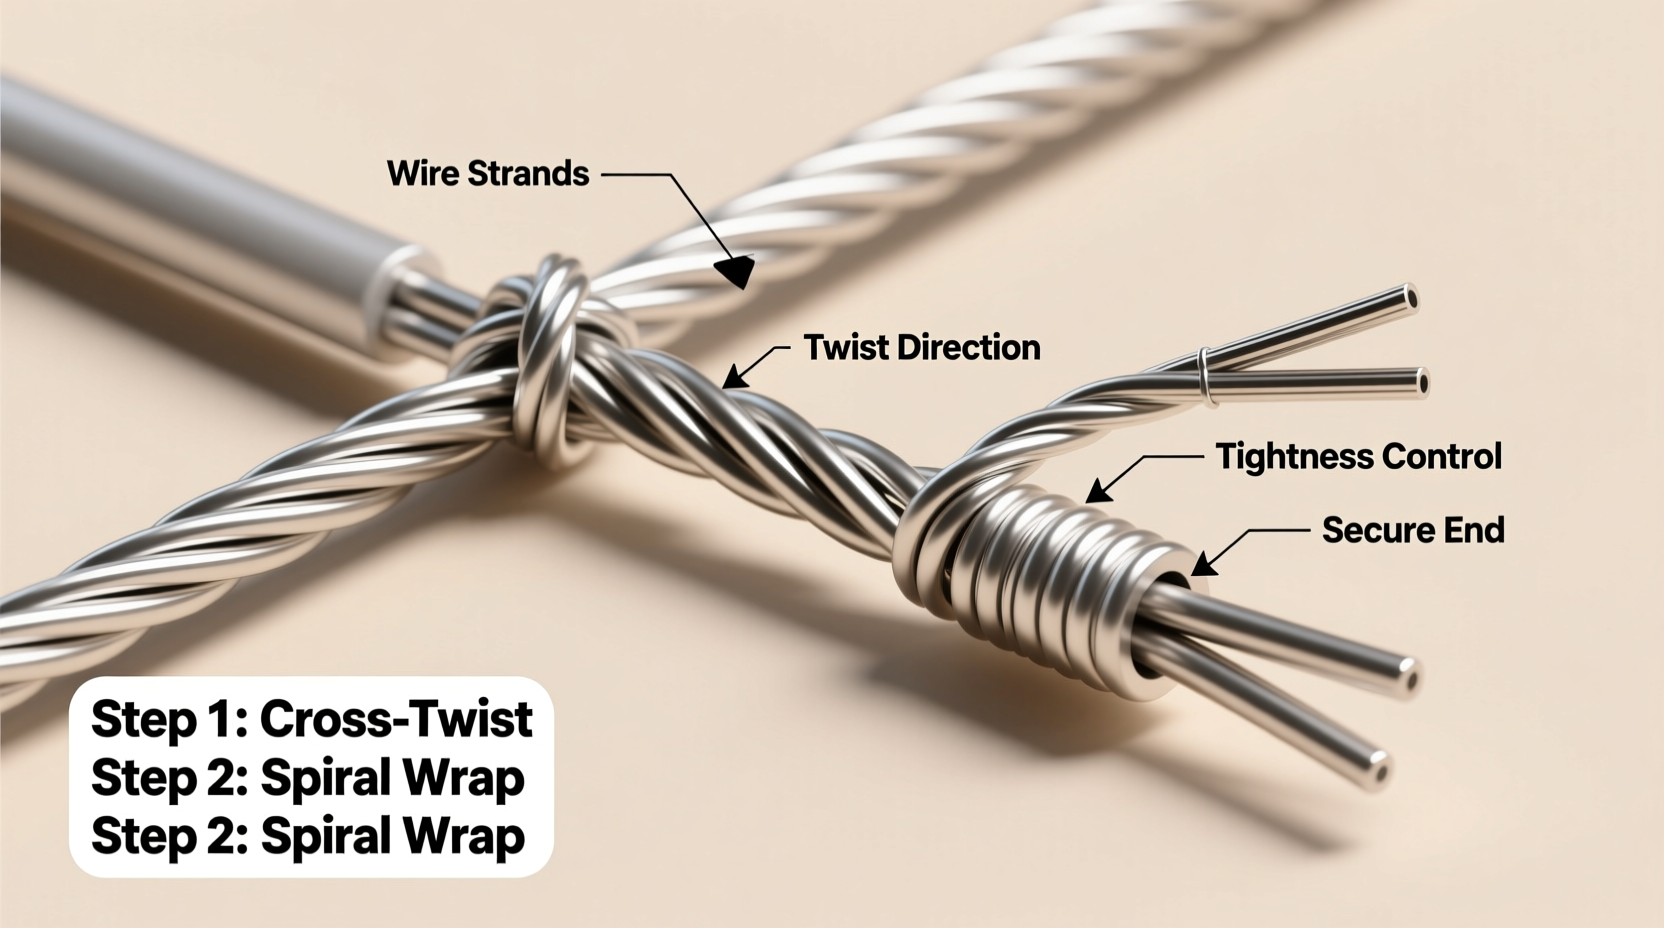
Step-by-Step Guide: How to Twist Wires Together Correctly
Follow this six-step process to create a durable, safe, and code-compliant wire splice every time.
- Cut and Strip Wires Evenly
Use wire cutters to trim the ends cleanly. Strip approximately ¾ inch (19 mm) of insulation from each conductor using a quality wire stripper. Avoid nicking the copper strands, as this weakens the wire and reduces conductivity. - Align the Exposed Conductors
Hold the two wires parallel, with stripped ends flush. If working with stranded wire, gently twist each end clockwise to prevent fraying before joining. - Twist Using Lineman’s Pliers
Grip both wires near the base of the exposed section with lineman’s pliers. Apply firm pressure and rotate the pliers clockwise along the length of the exposed copper. Continue twisting until at least 3–4 full turns are formed. The goal is a tight, uniform helix where individual strands are fully interwoven. - Inspect the Twist
A good twist should resemble a single, solid strand. No loose ends should protrude. Bend the wire slightly—if strands separate or unravel, re-twist more tightly. - Add a Connector
Slide on an appropriately sized wire nut, push-in connector, or lever terminal. Screw the wire nut on clockwise until snug. Give each wire a gentle tug to confirm it won’t pull free. For extra security, wrap the base with electrical tape (optional but recommended in high-vibration environments). - Secure and Insulate
Tuck the connection neatly into the junction box, ensuring no bare copper is exposed outside the connector. Close the box only after verifying all connections are tight and insulated.
Best Tools and Materials for Reliable Connections
Using the right tools makes a significant difference in both safety and performance. Here’s what professionals rely on:
- Lineman’s Pliers (Linesman Pliers) – Ideal for gripping, cutting, and twisting wires. Their serrated jaws provide excellent control during twisting.
- Wire Stripper – Choose one with multiple gauge settings to avoid damaging conductors.
- Wire Nuts (Twist-On Connectors) – Available in various sizes; match the connector to the number and gauge of wires being joined.
- Push-In Connectors (e.g., Wago Lever-Nuts) – Offer tool-free, vibration-resistant connections ideal for DIYers.
- Electrical Tape – Used to reinforce connections and insulate the base of wire nuts.
| Tool/Connector | Best For | Advantages | Limitations |
|---|---|---|---|
| Lineman’s Pliers + Wire Nut | Standard household wiring | Inexpensive, widely accepted, reusable | Requires skill for consistent results |
| Wago Push-In Connectors | DIY projects, damp areas | No twisting needed, corrosion-resistant | Higher cost per unit |
| Solder + Heat Shrink | Permanent, high-reliability joints | Excellent conductivity, sealed against moisture | Time-consuming, not easily reversible |
| Crimps with Butt Splice | Automotive, outdoor applications | Mechanically strong, weatherproof options | Requires crimping tool, permanent |
Common Mistakes to Avoid
Even experienced individuals sometimes make errors that compromise safety. Be mindful of these frequent pitfalls:
- Under-stripping wires – Less than ½ inch of exposure often prevents sufficient contact area.
- Over-tightening wire nuts without pre-twisting – Can strip copper like a screw, leading to breakage.
- Mixing aluminum and copper without antioxidant paste – Causes galvanic corrosion and failure.
- Leaving sharp wire ends exposed – Increases risk of short circuits or injury.
- Skipping the tug test – A simple pull could reveal a dangerous loose connection.
Real-World Example: Fixing a Loose Ceiling Light Connection
Homeowner Lisa noticed her dining room chandelier flickered intermittently. She turned off the power and removed the fixture to inspect. Inside, she found two black wires connected with a small wire nut—but no visible twist beneath. One wire had pulled halfway out.
She stripped both ends to ¾ inch, realigned them, and used her lineman’s pliers to create a tight clockwise twist. After screwing on a new, properly sized wire nut and passing the tug test, she reassembled the fixture. The light operated smoothly afterward, with no flickering—even when toggled repeatedly.
This common scenario illustrates how skipping a proper twist leads to unreliable service. A few seconds of careful preparation prevented potential overheating and restored lasting function.
Essential Checklist for Safe Wire Splicing
Before closing any junction box, run through this checklist:
- ✅ Power is OFF and verified with a non-contact voltage tester
- ✅ Wires are stripped to ¾ inch with no nicks or damage
- ✅ Conductors are twisted tightly with pliers (minimum 3–4 full turns)
- ✅ Appropriate connector is used and fully seated
- ✅ Each wire passes the tug test (won’t pull free)
- ✅ No bare copper is exposed outside the connector
- ✅ Connection is secured within a listed junction box
Frequently Asked Questions
Can I just use a wire nut without twisting the wires first?
While some modern connectors allow it, traditional twist-on wire nuts depend on a pre-twisted mechanical bond. Relying solely on the nut increases the chance of loosening over time due to thermal cycling. Pre-twisting significantly improves reliability and is required by many local codes for permanent installations.
What size wire nut should I use?
Select based on the number and gauge of wires. Most wire nuts list compatibility on the package (e.g., “for 2–3 #14 AWG wires”). When in doubt, perform a fit test: after twisting, the wire nut should screw on smoothly and cover all exposed copper without excessive force.
Is soldering better than twisting?
Soldering can enhance conductivity and prevent corrosion, but it should never replace mechanical twisting. Solder alone cannot withstand physical stress. The proper method is to twist first, then solder, then insulate with heat shrink tubing. In standard residential wiring, this is typically unnecessary unless specified for sensitive equipment.
Final Thoughts: Build Confidence Through Consistency
There’s no secret magic to twisting wires—it’s a learned skill built on repetition and attention to detail. The best electricians aren’t those who work fastest, but those who produce the most consistent, reliable connections. By mastering these simple techniques, you protect not only your appliances and circuits but also the people who live and work around them.
Every twist is a promise of safety. Make it count.


 浙公网安备
33010002000092号
浙公网安备
33010002000092号 浙B2-20120091-4
Comments
No comments yet. Why don't you start the discussion?