
Keeping tissues within reach in the car is more than just a matter of comfort—it’s about preparedness. Whether it's a sudden sneeze, a spilled drink, or a child with a runny nose, having tissues accessible can make all the difference. While most drivers focus on front-seat convenience, the backseat often gets overlooked. Yet, that’s where passengers—especially children—spend their time. Installing a tissue holder on the backseat isn’t complicated, but doing it right ensures it stays secure, functional, and out of the way when not needed.
The goal isn’t just placement—it’s intelligent placement. A poorly mounted holder can become a distraction, an obstruction, or simply useless if no one can reach it. This guide walks through practical, tested methods to install a backseat tissue holder with ease, safety, and long-term usability in mind.
Why Backseat Tissue Accessibility Matters
Front-seat drivers and passengers usually have cup holders, glove compartments, and center consoles to stash small items. Backseat riders don’t enjoy the same luxury. Children, elderly relatives, or even adult passengers may struggle to access tissues stored up front, especially while the vehicle is in motion.
A study by the American Academy of Pediatrics found that over 60% of parents reported needing tissues during car trips for reasons ranging from allergies to minor spills. Yet, fewer than 20% had a designated backseat tissue solution. This gap highlights a simple but overlooked opportunity to improve passenger experience.
“Accessibility equals dignity. When passengers—especially kids—can help themselves without asking, it fosters independence and reduces stress for everyone.” — Dr. Lena Patel, Family Wellness Consultant
Choosing the Right Tissue Holder for Your Backseat
Not all tissue holders are created equal. The best choice depends on your car model, seating configuration, and how you use your vehicle. Below is a comparison of common types and their suitability for backseat installation.
| Type | Pros | Cons | Best For |
|---|---|---|---|
| Hanging Clip-On | Easy to install, removable, affordable | Can swing while driving, limited capacity | Families with young kids |
| Magnetic Mount | Stays put, sleek design, reusable | Requires metal surface, not universal | SUVs or vehicles with metal headrest posts |
| Adhesive Wall Mount | Permanent, space-saving, clean look | May damage upholstery if removed | Long-term use, frequent travelers |
| Headrest Pocket Sleeve | No tools needed, holds extras (wipes, sanitizer) | May block rear visibility if too large | Minivans, family sedans |
| Seat-Back Strap Holder | Adjustable, durable, holds full box | Takes up legroom if poorly positioned | Larger vehicles with ample spacing |
Step-by-Step Installation Guide
Follow this five-step process to securely install a tissue holder on your backseat with minimal effort and maximum effectiveness.
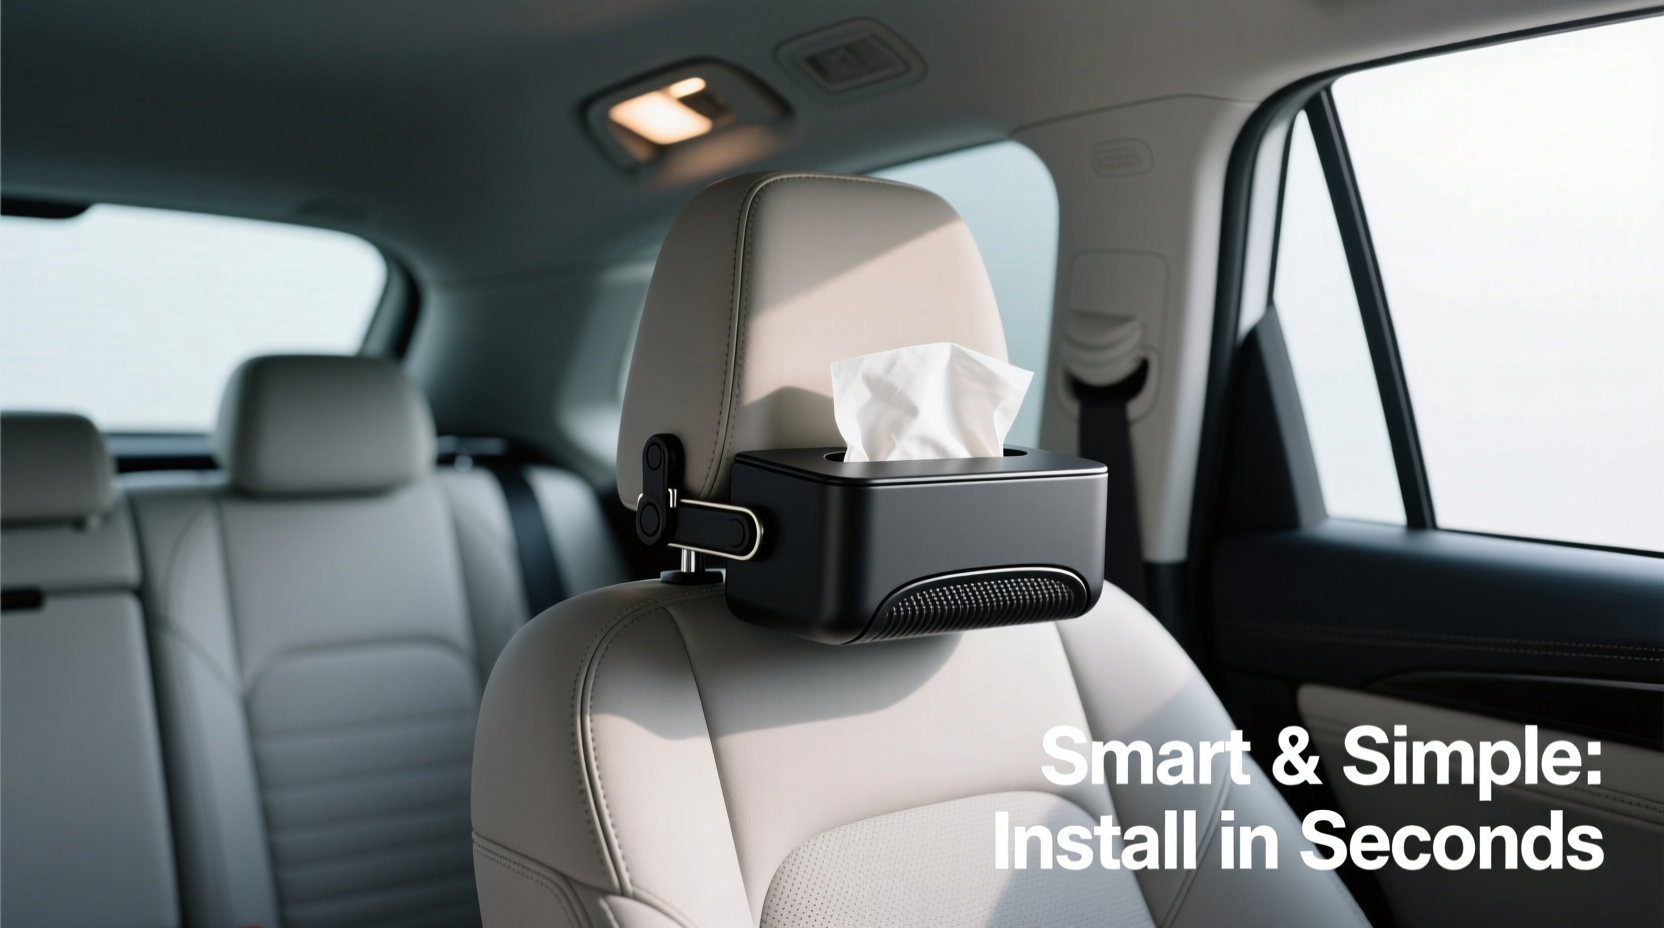
- Assess Your Backseat Layout
Select a mounting location based on passenger height and seat usage. Ideal spots include the back of the front seat headrest, the side panel near the door, or the upper edge of the seatback. - Clear the Area
Remove any existing accessories, floor mats, or obstructions. Wipe down surfaces if using adhesive or magnetic mounts. - Attach the Holder
For clip-on or strap models, loop around the headrest posts or seat frame. For adhesive types, press firmly for 30 seconds to ensure bonding. Magnetic versions should click securely onto exposed metal. - Test Stability
Gently tug the holder to confirm it won’t dislodge during driving. Open and close doors, adjust seats, and simulate bumps to check durability. - Load and Position Tissues
Insert a standard travel-sized or full tissue box. Ensure the pull tab faces forward and upward for easy access. Avoid overfilling pockets.
Smart Placement Strategies for Different Vehicles
One size doesn’t fit all when it comes to car interiors. Here’s how to adapt your installation based on vehicle type.
- Sedans: Use headrest clip-ons for rear passengers. Avoid deep pockets that could obstruct emergency egress.
- SUVs and Minivans: Install dual holders—one on each front seat back—to serve multiple rows. Magnetic or strap-mounted models work best due to wider spacing.
- Two-Door Cars: Opt for slim adhesive holders on the door-side trim to avoid blocking entry/exit.
- Rideshare or Rental Vehicles: Choose non-permanent solutions like pocket sleeves or removable clips to avoid policy violations.
“We installed backseat tissue holders in our family van last year. Now my kids handle messes independently, and I’m not fumbling for tissues at red lights.” — Marcus Tran, Parent of two, Minneapolis
Common Mistakes to Avoid
Even simple installations can go wrong if basic precautions are ignored. Steer clear of these frequent errors:
- Placing the holder too low, making it hard for kids to reach
- Using oversized boxes that bulge out and create clutter
- Ignoring material compatibility—adhesives can damage leather or vinyl
- Installing near heating vents, which can dry out tissues
- Forgetting to refill; set a monthly reminder on your phone
FAQ: Frequently Asked Questions
Can I install a tissue holder without damaging my seats?
Yes. Use non-adhesive options like clip-on, strap-based, or pocket-style holders. These leave no residue and don’t require tools. If using adhesives, choose automotive-safe tapes designed for interior use.
Where is the safest place to mount a tissue holder?
The back of the front seat headrest is generally safest—it’s visible, reachable, and away from critical safety components. Avoid attaching anything to the actual seatback if it contains side-impact airbags.
How do I keep the tissues from drying out?
Use sealed plastic-lined boxes or store travel packs inside resealable pouches. Avoid direct sunlight and high-heat areas. Consider moisture-lock packaging for longer trips.
Checklist: Installing Your Backseat Tissue Holder
Use this quick-reference checklist before and after installation:
- ☐ Choose a holder compatible with your vehicle’s backseat design
- ☐ Confirm the installation site avoids airbags and seatbelts
- ☐ Clean the surface if using adhesive or magnetic mounts
- ☐ Secure the holder firmly and test for stability
- ☐ Insert tissues with the pull tab facing outward
- ☐ Check accessibility for both children and adults
- ☐ Schedule a monthly check for refills and wear
Final Thoughts: Small Upgrade, Big Impact
A backseat tissue holder might seem like a minor addition, but its impact on daily comfort and convenience is significant. It reduces distractions for the driver, empowers passengers, and keeps your car cleaner with less effort. The key is thoughtful installation—prioritizing safety, accessibility, and durability.
With the right product and placement, this simple upgrade becomes a seamless part of your driving experience. No more awkward reaches, no more crumpled tissue wrappers on the floor. Just quiet, efficient readiness whenever someone needs a wipe, a sneeze guard, or a quick cleanup.


 浙公网安备
33010002000092号
浙公网安备
33010002000092号 浙B2-20120091-4
Comments
No comments yet. Why don't you start the discussion?