
Maximizing space in your vanity or bathroom doesn’t require expensive organizers or major renovations. One of the most overlooked yet highly functional tools for organizing cosmetics is something you likely already have at home: the humble tissue box organizer. Originally designed to hold facial tissues, this simple cardboard structure can be repurposed into a chic, efficient makeup storage solution that’s both practical and visually appealing. Whether you're short on counter space, dealing with cluttered drawers, or simply love DIY projects, transforming a tissue box into a beauty organizer offers an accessible way to bring order—and style—to your daily routine.
Why Use a Tissue Box as a Makeup Organizer?
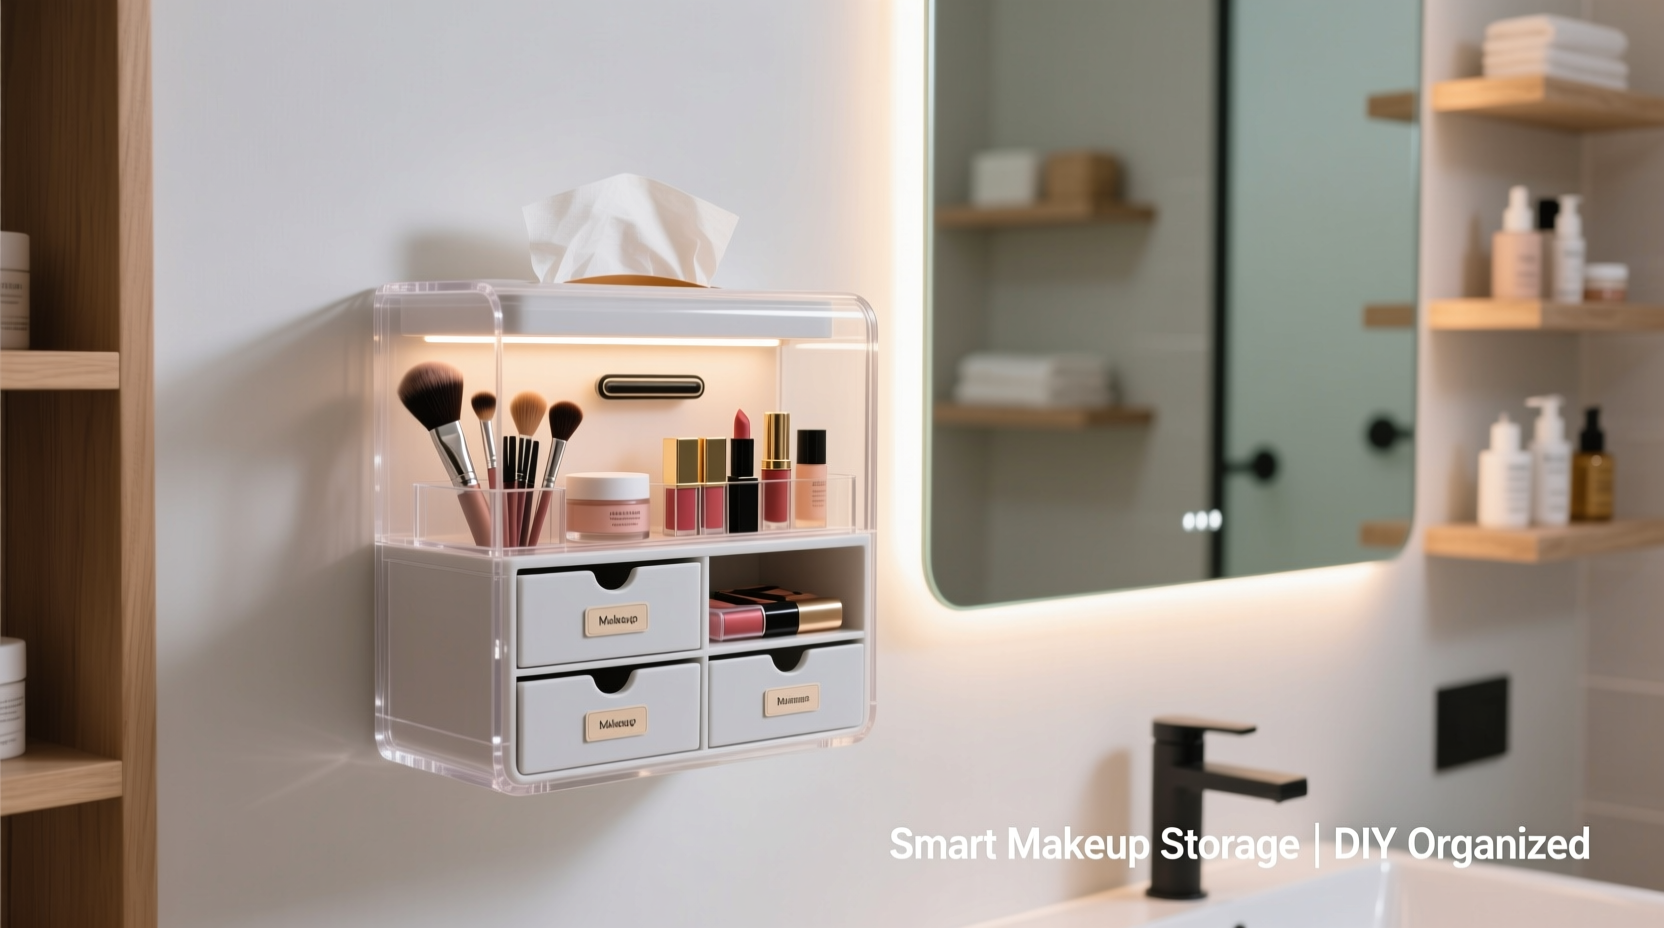
The tissue box is uniquely suited for cosmetic organization due to its open-top design, rectangular shape, and ideal proportions. Most makeup items—lipsticks, eyeliners, brushes, nail polishes, and travel-sized products—fit neatly inside without overcrowding. Unlike bulky plastic containers or rigid acrylic trays, tissue boxes are lightweight, easy to customize, and can be decorated to match any aesthetic, from minimalist to glam.
Additionally, repurposing a tissue box aligns with sustainable living practices. Instead of discarding it after use, you give it a second life—reducing waste while solving a common organizational challenge. This makes it especially valuable for renters, students, or anyone seeking low-cost, non-permanent solutions.
“Small changes in how we store our everyday items can significantly improve our morning routines and reduce decision fatigue.” — Lila Monroe, Interior Stylist & Lifestyle Coach
Step-by-Step Guide to Creating Your Makeup Organizer
Transforming a standard tissue box into a functional beauty caddy takes less than 30 minutes and requires only basic supplies. Follow these steps to build a personalized organizer that reflects your taste and meets your storage needs.
- Choose the right box: Opt for a full-sized tissue box with a clean, unprinted exterior if possible. Matte-finish boxes accept paint and adhesive better than glossy ones.
- Empty and clean: Remove any remaining tissues and wipe down the interior and exterior with a damp cloth. Let it dry completely before decorating.
- Reinforce the structure (optional): For added durability, line the inside with scrap cardboard or glue a second layer to each side. This prevents sagging when loaded with heavier items like glass bottles.
- Decorate the exterior: Use wrapping paper, contact paper, fabric, or paint to cover the box. Mod Podge works well for sealing paper or fabric finishes. Allow drying time between layers.
- Add dividers (optional): Cut strips of cardboard or repurpose old credit cards to create compartments. Glue them vertically inside the box to separate lipsticks, brushes, or palettes.
- Label sections: Use removable labels or metallic markers to identify zones (e.g., “Lips,” “Eyes,” “Tools”) for quick access.
- Fill and organize: Place frequently used items within easy reach. Store backups or seasonal products elsewhere to avoid overcrowding.
Stylish Customization Ideas
The real charm of this project lies in personalization. A tissue box organizer doesn’t have to look handmade—it can blend seamlessly with high-end decor when finished thoughtfully.
- Wrap with luxury paper: Gold foil, marble-patterned, or botanical-print gift wrap instantly elevates the look. Seal with clear varnish for durability.
- Use fabric scraps: Adhere cotton, velvet, or lace with fabric glue for a soft, textured finish. Ideal for vintage or romantic themes.
- Paint it matte: Chalk paint in neutral tones like blush pink, sage green, or charcoal gray gives a modern, cohesive appearance.
- Add hardware: Attach small faux drawer pulls or rhinestones for a jewelry-box effect.
- Create a themed set: Make multiple organizers using matching designs—one for face products, one for eyes, another for tools—and stack or align them on a shelf.
Smart Storage Strategies for Maximum Efficiency
Organization isn’t just about appearance—it’s about accessibility and preservation. Properly stored makeup lasts longer, performs better, and reduces daily stress. Consider these strategies when arranging your new tissue box organizer.
| Category | Best Placement | Tips |
|---|---|---|
| Lipsticks & Glosses | Front-facing slots (using dividers) | Arrange by shade family (nudes, reds, pinks) for faster selection. |
| Eyeliners & Brow Pencils | Vertical holders or narrow pockets | Keep caps tightly closed to prevent drying out. |
| Makeup Brushes | Back section or adjacent container | Store bristles-up to maintain shape; clean weekly. |
| Palettes & Compacts | Laid flat behind upright items | Place lighter weights on top to avoid crushing. |
| Nail Polishes | Separate but nearby (can be stored horizontally) | Avoid heat sources to prevent thickening. |
Mini Case Study: From Cluttered Drawer to Curated Vanity
Sophia, a graphic designer and busy mom of two, struggled with a jumbled makeup drawer where finding her favorite mascara took up to five minutes each morning. After seeing a DIY tutorial online, she repurposed three empty tissue boxes: one wrapped in rose-gold paper for lip products, another covered in black-and-white geometric print for eye tools, and a third painted white with labeled sections for skincare samples.
She added cardboard dividers to each and placed them on a floating shelf above her bathroom sink. The result? Her morning routine shortened by nearly 10 minutes, and she reported feeling more put-together—even on hectic school days. “It’s not just about saving time,” she said. “It feels like I’ve created a little self-care station that invites me to take a breath and enjoy my routine.”
Frequently Asked Questions
Can I wash a tissue box organizer?
No—since it’s made of cardboard, water will cause warping and breakdown. To clean, gently wipe the exterior with a dry or slightly damp cloth. Avoid saturating the material.
How do I prevent the box from collapsing under weight?
Reinforce corners with extra glue or tape, and avoid storing heavy glass bottles or metal compacts unless the box has been laminated or lined with sturdier material. Alternatively, place heavier items in the center and distribute weight evenly.
Are there eco-friendly ways to decorate the box?
Absolutely. Use recycled paper, natural fabric scraps, non-toxic paints, or even dried pressed flowers sealed with plant-based glue. These choices enhance sustainability while adding unique character.
Checklist: Build Your Own Tissue Box Makeup Organizer
- ☐ Gather one or more empty tissue boxes
- ☐ Collect decorating materials (paper, paint, fabric, etc.)
- ☐ Prepare adhesive (glue, Mod Podge, double-sided tape)
- ☐ Cut dividers from cardboard or old cards
- ☐ Decorate and seal the surface
- ☐ Label sections for clarity
- ☐ Organize products by frequency and category
- ☐ Place in a dry, stable location away from moisture
Conclusion
Smart and stylish makeup storage doesn’t have to come with a high price tag or require professional installation. By reimagining everyday objects like the tissue box, you unlock creative potential that enhances both function and form. This simple organizer adapts to any space, evolves with your collection, and reflects your personal flair—all while keeping your beauty essentials visible, protected, and within reach.


 浙公网安备
33010002000092号
浙公网安备
33010002000092号 浙B2-20120091-4
Comments
No comments yet. Why don't you start the discussion?