
Packing a large-capacity transparent backpack presents a unique challenge: visibility. Unlike traditional bags, everything inside is on display, making organization not just practical but essential. Whether you're using it for school, travel, work, or daily commuting, how you pack determines accessibility, weight distribution, and even security. A well-packed transparent backpack saves time at checkpoints, reduces strain on your back, and keeps your belongings protected. The goal isn’t just to fit more—it’s to fit smarter.
Understand the Advantages and Constraints of Transparency
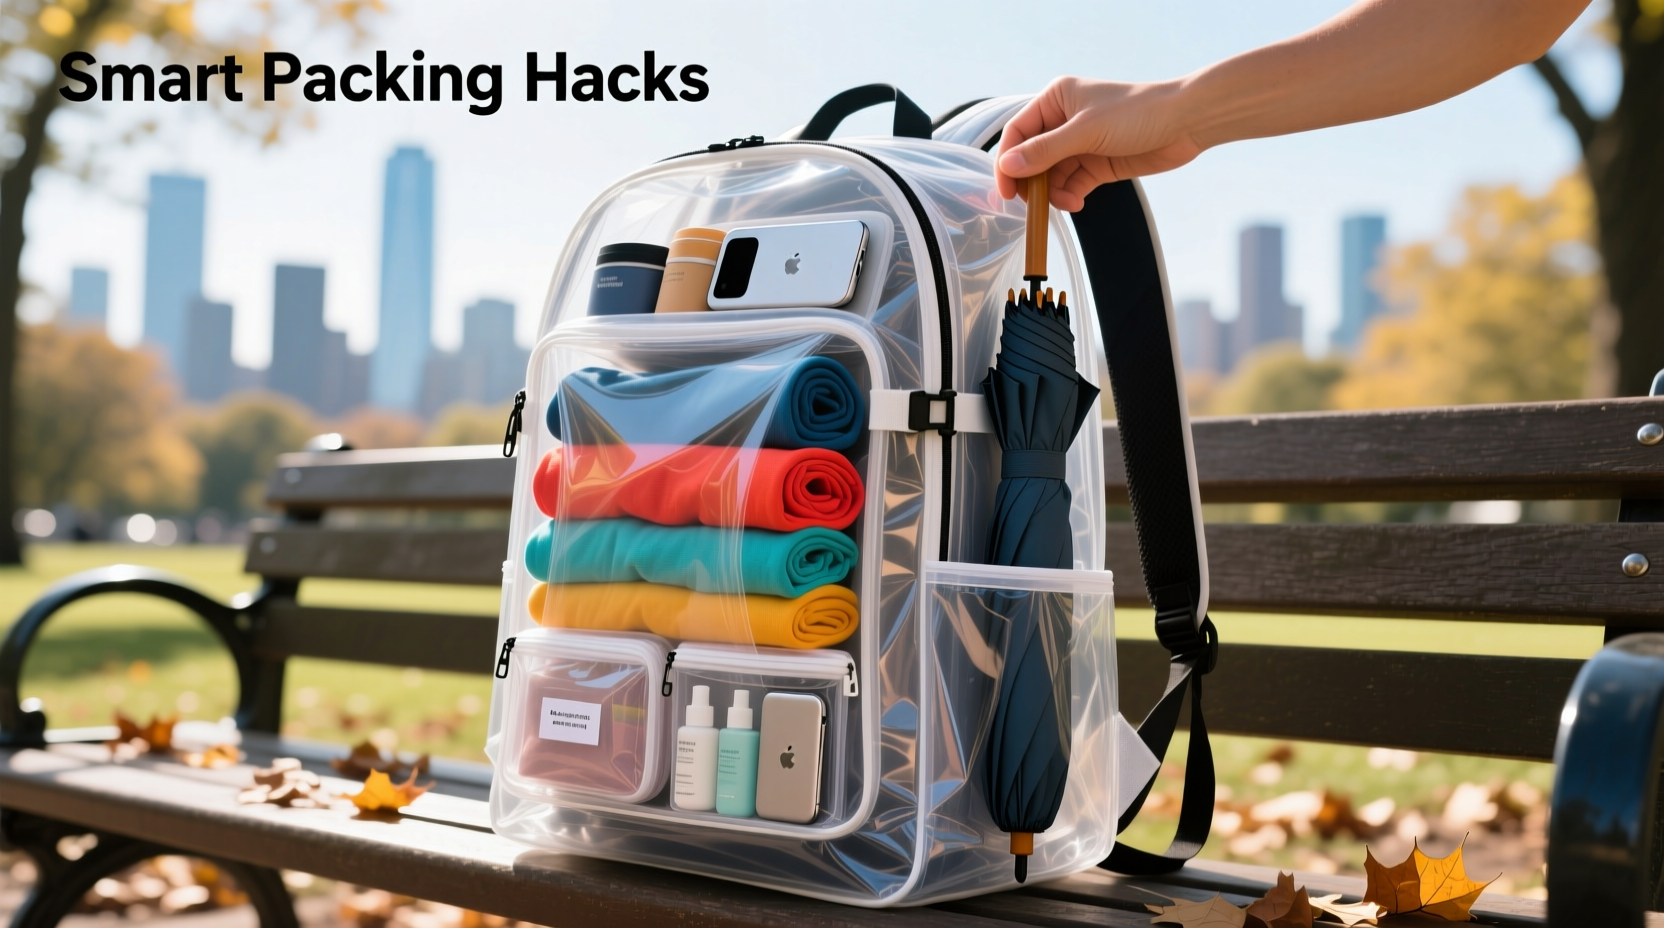
A transparent backpack offers undeniable benefits—quick inspection by security personnel, reduced theft risk due to visibility, and personal accountability in what you carry. However, these advantages come with constraints. Since contents are visible, disorganization becomes immediately apparent. Bulky items, tangled cords, or mismatched containers create visual chaos and make retrieval difficult.
The clarity of the material means every misplaced pen, crumpled receipt, or loose charger is noticeable. This transparency demands a higher standard of internal structure. That’s why strategic packing isn’t optional—it’s fundamental to maintaining both function and professionalism.
“Transparency changes the game. You’re not just organizing for efficiency—you’re curating what others see.” — Jordan Lee, Urban Mobility Consultant
Step-by-Step Guide to Efficient Packing
Packing a large-capacity transparent backpack effectively requires a systematic approach. Follow this six-step process to maximize space, ensure balance, and maintain order.
- Empty and assess: Begin with a completely empty bag. Wipe down interior surfaces if needed. Identify all compartments, including mesh pockets, padded sleeves, and external zippers.
- Categorize your items: Group belongings into categories: electronics, documents, personal care, snacks, outerwear, etc. This prevents random placement and supports zoning.
- Select appropriate organizers: Use clear pouches, zip-lock bags, or slim hard cases that match the backpack’s aesthetic while offering protection and separation.
- Load from bottom to top: Place heaviest, least-accessed items at the base—like textbooks, notebooks, or a folded jacket. This lowers the center of gravity and improves comfort.
- Create functional zones: Assign specific areas for different uses. For example, left side for tech, right for personal items, middle for documents.
- Final check and closure: Ensure straps are secured, zippers closed, and nothing protrudes. Test shoulder carry to confirm balance.
Use of Organizers and Internal Structure
Because transparency amplifies clutter, internal organization tools are non-negotiable. These accessories don’t just protect your items—they enhance the visual logic of your pack.
Clear silicone or PVC pouches allow quick identification of contents without opening them. Consider dedicating one pouch to cables and adapters, another to hygiene items, and a third to emergency supplies like masks or hand sanitizer.
Fabric organizers with labeled compartments can still be used as long as they’re light-colored or semi-transparent, preserving visibility. Avoid dark or opaque inserts unless absolutely necessary for UV-sensitive items.
| Organizer Type | Best For | Avoid If |
|---|---|---|
| Clear zipper pouches | Cables, small electronics, liquids | Carrying confidential documents |
| Foldable fabric cubes | Clothing, towels, bulkier items | Needing instant visual access |
| Rigid laptop sleeve | Protecting devices up to 15 inches | Maximizing flexible space usage |
| Mesh pocket organizers | Pens, chargers, ID cards | Storing loose powders or crumbs |
Mini Case Study: Commuter Student Success
Lena, a university student in Chicago, struggled daily with her 30L transparent backpack. She carried a laptop, tablet, notebooks, gym clothes, lunch, and personal items. Initially, she stuffed everything loosely, leading to frantic searches between classes and discomfort from uneven weight.
After adopting structured packing methods, she introduced three clear pouches: one for tech accessories, one for hygiene products, and one for snacks. She placed books flat at the bottom, used a padded sleeve for her laptop, and kept frequently used items—like her transit card and water bottle—in designated side pockets.
Within a week, Lena reported faster transitions between classes, fewer forgotten items, and improved posture. Security checks at campus buildings became seamless, often allowing her to bypass full inspections due to her visibly organized pack.
Common Mistakes and How to Avoid Them
- Overpacking: Filling every inch leads to difficulty closing zippers and distorts the backpack’s shape. Stick to the 85% rule.
- Mixing incompatible items: Storing food next to electronics risks damage from spills. Always separate wet or consumable goods.
- Neglecting weight distribution: Placing heavy items high or off-center strains shoulders. Keep weight centered and low.
- Using opaque containers: Dark pencil cases or black pouches defeat the purpose of transparency. Opt for see-through alternatives.
- Ignoring external attachments: Overusing carabiners or hanging items disrupts balance and may violate facility rules.
Essential Packing Checklist
Before zipping up, run through this checklist to ensure optimal organization and readiness:
- ✅ All electronics charged and stored in protective sleeves
- ✅ Cables coiled and secured in a labeled clear pouch
- ✅ Heavy items positioned at the bottom near your back
- ✅ Frequently accessed items (ID, wallet, keys) in easy-reach pockets
- ✅ Liquids sealed and placed upright in leak-proof containers
- ✅ No prohibited or restricted items visible or accessible
- ✅ Straps adjusted and buckles fastened
- ✅ Backpack clean and free of stains or residue
FAQ
Can I use color-coded labels on clear pouches?
Yes—color-coded labels improve categorization without compromising transparency. Use minimal, discreet labeling such as colored dots or thin tape strips to identify pouch functions (e.g., red for emergency, blue for tech).
How do I keep my transparent backpack looking clean?
Wipe the exterior and interior weekly with a microfiber cloth dampened with water and mild soap. Avoid abrasive cleaners that can scratch the surface. Store in a dust-free area when not in use.
Is it safe to carry sensitive documents in a transparent bag?
Only if they’re placed inside an opaque envelope or folder first. Never leave sensitive information fully exposed. Use manila envelopes or document sleeves to maintain privacy while keeping the overall layout neat.
Conclusion
Packing a large-capacity transparent backpack efficiently transforms it from a logistical challenge into a powerful tool for productivity and compliance. With deliberate organization, the right accessories, and consistent habits, you gain more than space—you gain confidence. Every item has its place, every journey starts smoothly, and every checkpoint passes quickly. The clarity of the bag should reflect the clarity of your system.


 浙公网安备
33010002000092号
浙公网安备
33010002000092号 浙B2-20120091-4
Comments
No comments yet. Why don't you start the discussion?