
Smart switches promise convenience, energy efficiency, and seamless control of your home lighting through voice assistants or smartphone apps. But when your smart switch won’t connect to Wi-Fi, that promise quickly turns into frustration. For beginners, the process can seem overwhelming—especially if you're unfamiliar with network settings or device pairing protocols. The good news is that most Wi-Fi connection issues with smart switches are fixable with simple, methodical steps. This guide walks you through the most common causes and proven solutions, so you can restore functionality without calling a technician.
Understanding Why Smart Switches Fail to Connect
Before jumping into fixes, it’s important to understand what could be going wrong. Unlike traditional light switches, smart switches rely on stable Wi-Fi signals, compatible routers, correct app setup, and proper electrical installation. A failure at any point in this chain can prevent the device from joining your network.
Common culprits include:
- Weak or unstable Wi-Fi signal at the switch’s location
- Incompatible router settings (e.g., 5 GHz band instead of 2.4 GHz)
- Incorrect setup sequence in the companion app
- Firmware bugs or outdated software
- Power interruptions during pairing mode
- Network congestion or IP address conflicts
Most smart switches only support 2.4 GHz networks, which have longer range but slower speeds than 5 GHz. If your router broadcasts both bands under the same name (SSID), your switch might attempt to connect to the incompatible 5 GHz band and fail silently.
Step-by-Step Troubleshooting Guide
Follow this structured approach to identify and resolve the issue. Start from the basics and work toward more advanced checks.
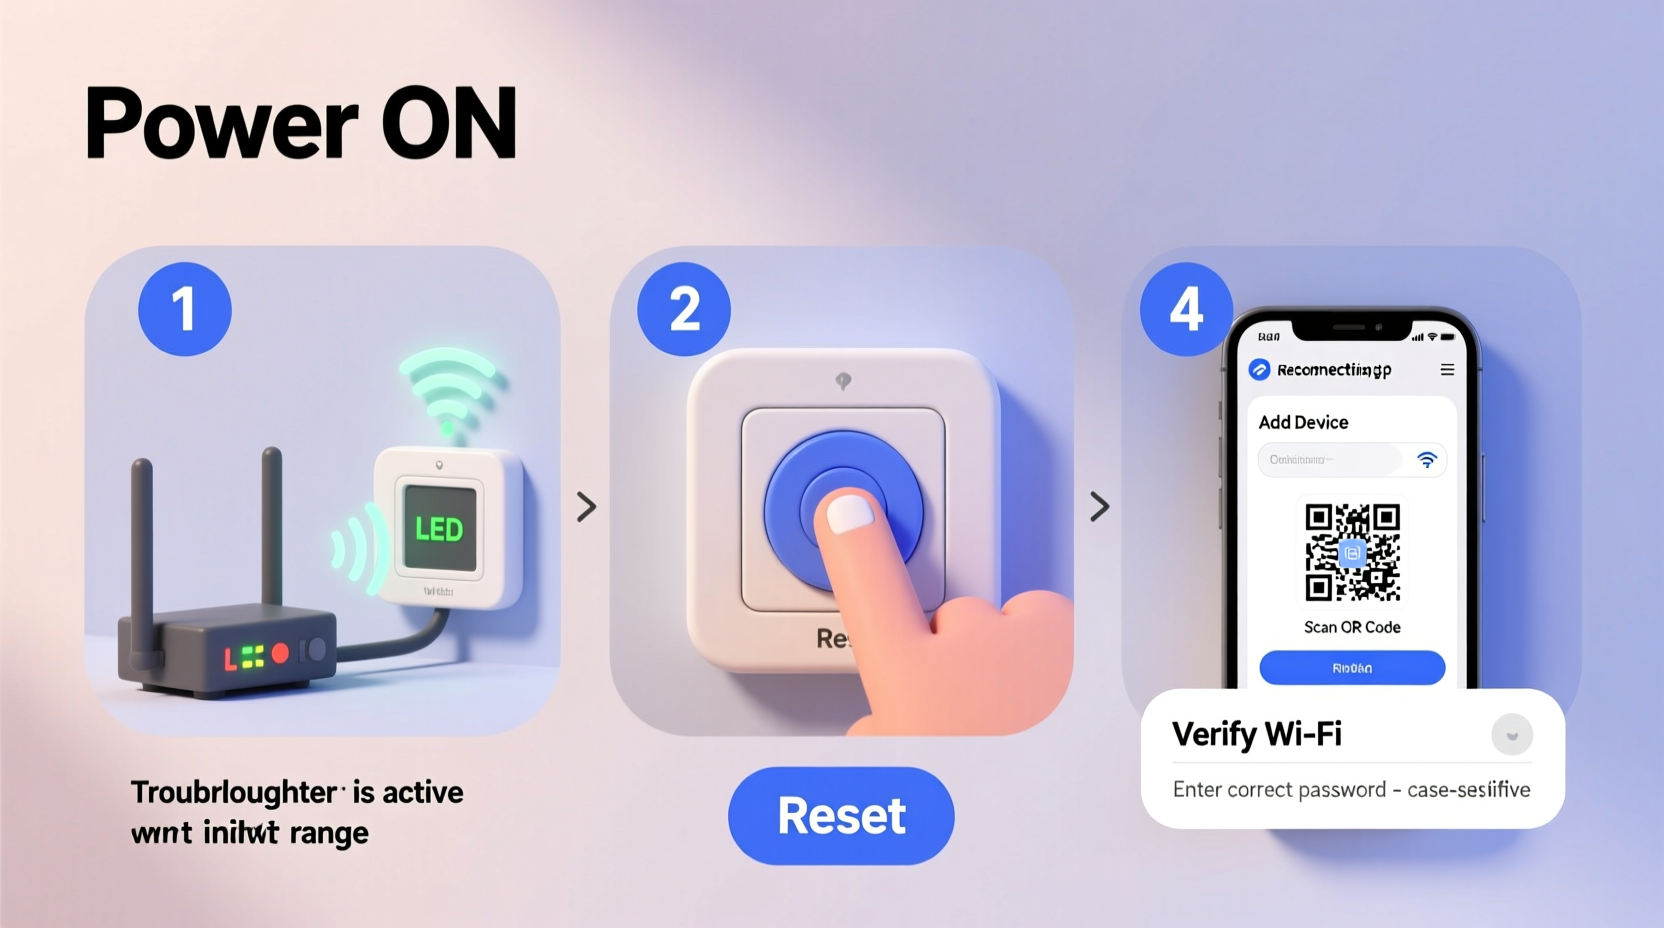
- Check Power and Indicator Lights
Confirm the switch has power. Most smart switches have LED indicators that blink or change color during setup. Refer to the manufacturer’s manual for light patterns. A solid red or no light may indicate a wiring or power issue—not a Wi-Fi problem. - Ensure You’re Using the 2.4 GHz Network
Go to your phone’s Wi-Fi settings and confirm it's connected to the 2.4 GHz band. If your router uses a single SSID for both bands, temporarily split them in your router settings so you can manually select the correct one. - Restart Your Router and Modem
Unplug your router and modem for 30 seconds, then plug them back in. Wait two minutes for full reboot. This clears temporary glitches and resets DHCP assignments that may conflict with new devices. - Reset the Smart Switch
Press and hold the physical button (usually 5–10 seconds) until the LED flashes rapidly or changes color. This puts the switch into factory reset and pairing mode. Consult your model’s manual for exact timing. - Reinstall the App and Re-add Device
Delete the app from your phone, reinstall it from the official store, log in, and go through the device addition process again. Sometimes cached data prevents successful pairing. - Move Closer to the Router
If possible, test the switch in a room near the router. Thick walls, metal conduits, and appliances like microwaves interfere with 2.4 GHz signals. If it connects nearby, you likely need a Wi-Fi extender. - Disable MAC Filtering or Firewall Temporarily
Some routers block unknown devices by default. Log into your router’s admin panel (usually via 192.168.1.1 or similar) and disable MAC filtering or firewall rules during setup. Re-enable them after successful pairing.
When the App Says “Device Not Found”
If the app fails to detect the switch even after reset, double-check:
- You’ve selected the correct device type in the app
- Your phone is on the same Wi-Fi network as the intended switch
- Location permissions are enabled (some apps require GPS to function)
- Bluetooth is turned on (required for initial setup on many brands like TP-Link Kasa or Meross)
“Over 70% of smart home device setup failures stem from incorrect Wi-Fi band selection or poor signal strength at installation points.” — Rajiv Mehta, IoT Network Engineer at HomeTech Labs
Common Mistakes That Delay Setup
Even experienced users make errors during smart switch installation. Avoid these pitfalls:
| Mistake | Why It’s a Problem | Solution |
|---|---|---|
| Using 5 GHz Wi-Fi | Most smart switches don’t support 5 GHz; connection fails silently | Use only 2.4 GHz network during setup |
| Setting up far from the router | Weak signal prevents handshake with cloud servers | Test setup near router first |
| Not resetting after failed attempts | Switch remains in failed state; won’t accept new credentials | Perform full factory reset before retrying |
| Skipping firmware updates | Outdated firmware lacks bug fixes and compatibility patches | Update app and check for device firmware post-setup |
| Ignoring neutral wire requirements | Some switches need neutral; lack of it causes intermittent behavior | Verify wiring compatibility before purchase |
Real-World Example: Fixing a Kasa Smart Switch in a Basement
Mark installed a TP-Link Kasa HS200 in his basement workshop. Despite following the app instructions, the switch wouldn’t connect. He tried three times over two days, growing increasingly frustrated.
He eventually discovered that his basement had weak Wi-Fi coverage—the signal strength was only -82 dBm, well below the recommended -70 dBm for reliable smart device operation. He moved his phone and the switch closer to the stairs where the signal improved, reset the device, and completed setup successfully.
Afterward, he installed a mesh Wi-Fi node on the main floor near the staircase, extending coverage to the basement. Now the switch works flawlessly, and he controls lights remotely while prepping for weekend projects.
This case illustrates how environmental factors often play a bigger role than technical errors. Testing in optimal conditions first can save hours of troubleshooting.
Essential Checklist for Reliable Connection
Use this checklist every time you install or troubleshoot a smart switch:
- ✅ Verify the switch has constant power (no flickering lights)
- ✅ Confirm your phone is connected to a 2.4 GHz Wi-Fi network
- ✅ Ensure the router is functioning and other devices can connect
- ✅ Perform a factory reset on the smart switch
- ✅ Install or update the latest version of the companion app
- ✅ Position the switch within 15 feet of the router during setup
- ✅ Disable guest networks, MAC filtering, or firewalls temporarily
- ✅ Complete setup with Bluetooth enabled on your phone
- ✅ Check for firmware updates after successful connection
- ✅ Rename and organize the device in the app for easy control
Going through each item systematically eliminates guesswork and ensures no step is overlooked.
Frequently Asked Questions
Can a smart switch work without Wi-Fi?
No, a smart switch requires Wi-Fi to enable remote control, scheduling, and integration with voice assistants. However, it will still function as a manual switch—turning lights on/off using the physical button—even when offline.
Why does my smart switch keep disconnecting from Wi-Fi?
Recurrent disconnections are usually due to poor signal strength, router instability, or interference. Consider upgrading your router’s firmware, changing the Wi-Fi channel to reduce congestion (use channels 1, 6, or 11 on 2.4 GHz), or installing a Wi-Fi extender near the switch.
Do all smart switches need a neutral wire?
No, but most do. Traditional switches only break the hot wire, but smart switches need a small amount of continuous power to stay awake and communicate. Without a neutral wire, some models use “leaky current” through the bulb, which can cause flickering or incompatibility with LEDs. Always check product specifications before buying.
Final Tips for Long-Term Success
Once your smart switch is online, take a few extra steps to ensure lasting performance:
- Assign a static IP address to the device via your router settings to prevent IP conflicts.
- Enable automatic firmware updates in the app to maintain security and compatibility.
- Add the switch to a dedicated IoT VLAN or guest network (if supported) to isolate it from critical devices.
- Monitor connection status weekly for the first month to catch early signs of instability.
Also, keep the original packaging and documentation for at least 30 days. If the device continues to misbehave despite correct setup, you may need to return it for a replacement—some units ship with defective radios or firmware.
Conclusion
A smart switch not connecting to Wi-Fi doesn’t mean the device is broken or your home isn’t ready for automation. In most cases, the solution lies in understanding wireless limitations, following precise setup procedures, and making small adjustments to your network environment. By applying the steps outlined here—from checking Wi-Fi bands to performing clean resets—you regain control and unlock the full potential of your smart home ecosystem.


 浙公网安备
33010002000092号
浙公网安备
33010002000092号 浙B2-20120091-4
Comments
No comments yet. Why don't you start the discussion?