
Tissue box holders are more than just functional—they’re small design elements that contribute to the comfort and aesthetics of homes, offices, and public spaces. Whether made of wood, metal, ceramic, or plastic, these often-overlooked accessories can suffer wear and tear from daily use, moisture, and improper handling. With minimal effort and a few smart habits, you can significantly extend their lifespan, maintain hygiene, and avoid frequent replacements. This guide provides actionable strategies to keep your tissue box holder in top condition for years.
Choose the Right Material for Your Environment
The longevity of a tissue box holder begins with selecting the right material for its intended location. A bathroom holder faces different challenges than one on an office desk or living room table. Understanding material strengths helps prevent premature damage.
- Wood: Offers warmth and elegance but is vulnerable to moisture. Best suited for dry areas like bedrooms or studies.
- Metal (stainless steel, aluminum): Durable and easy to clean, ideal for high-traffic or humid zones such as bathrooms and kitchens.
- Ceramic: Stylish and heavy, providing stability—but fragile. Handle with care and place where it won’t be knocked over.
- Plastic: Lightweight and affordable, but may degrade under UV light or with harsh cleaners. Opt for BPA-free, UV-resistant models.
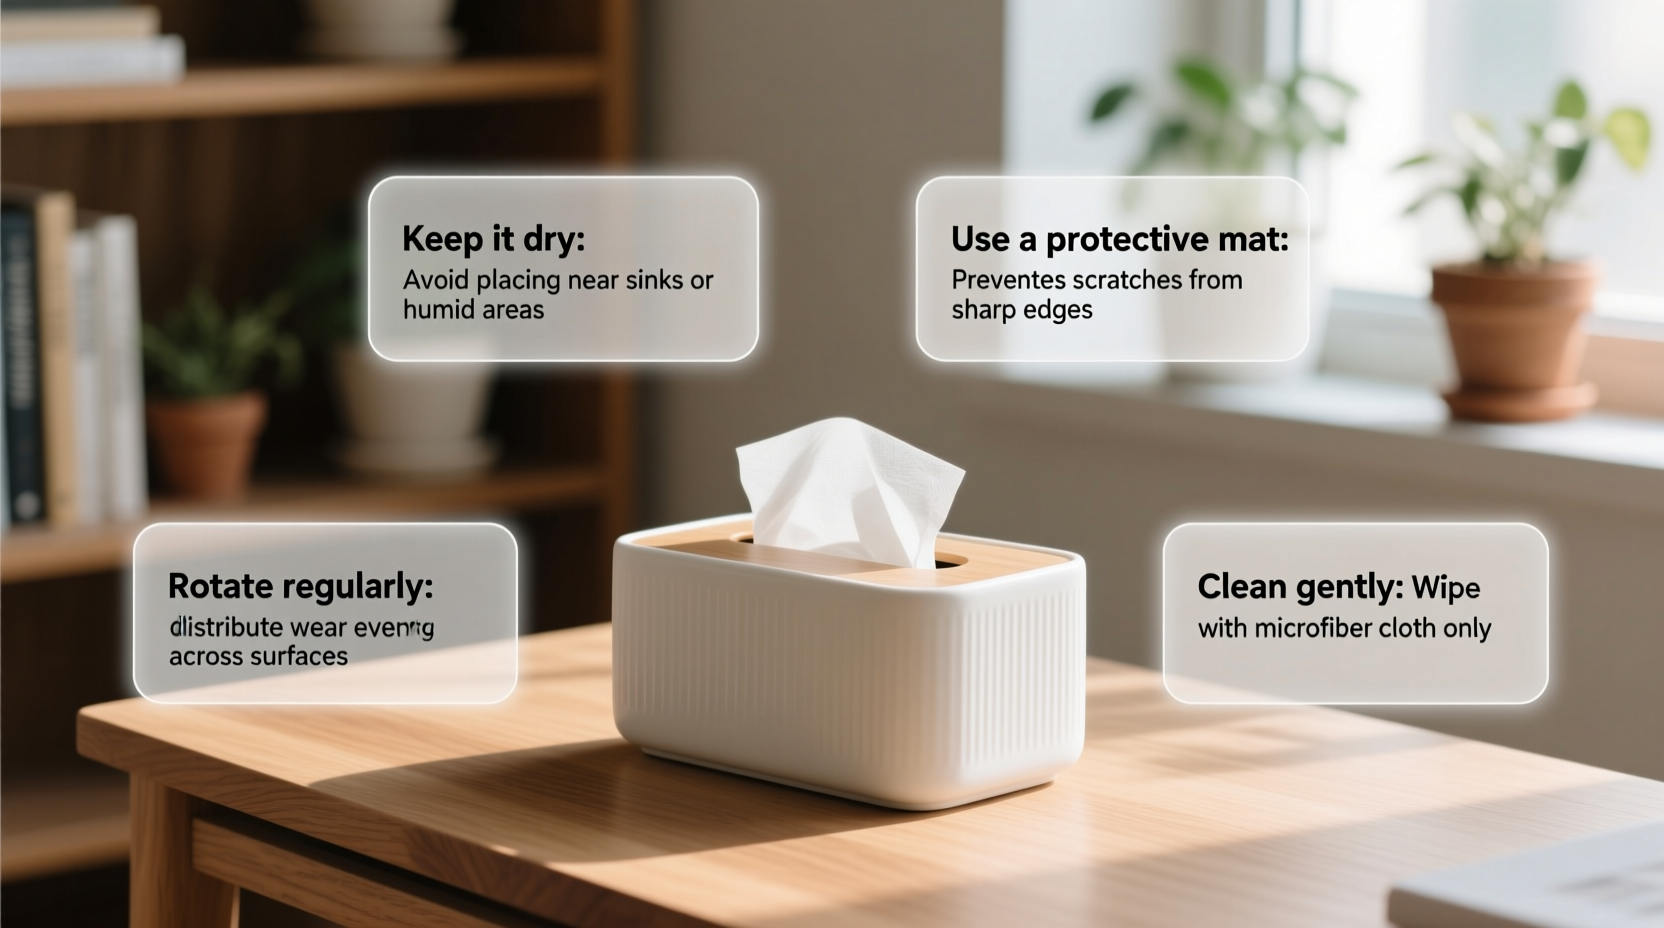
Prevent Moisture Buildup and Mold Growth
One of the most common causes of tissue box holder deterioration is moisture exposure. Damp tissues, wet hands, or high humidity can lead to mold, mildew, and structural weakening—especially in porous materials like untreated wood or low-grade plastic.
To combat this, ensure the surrounding area is well-ventilated. Avoid placing the holder directly under sinks or near shower spray. If using in a bathroom, consider mounting it on a wall slightly away from the primary splash zone.
“Moisture is the silent killer of tissue holders. Even small, repeated exposures can compromise integrity within months.” — Dr. Lena Patel, Indoor Environmental Specialist
For added protection, line the interior with a removable liner made of silicone or food-grade plastic. These can be wiped down weekly and reduce direct contact between damp tissues and the holder’s surface.
Daily Handling and Usage Habits
How you interact with the tissue box holder daily plays a major role in its durability. Yanking tissues, overfilling the box, or using excessive force when replacing the refill can stress joints, hinges, or decorative elements.
Follow these best practices during everyday use:
- Pull tissues gently—one at a time—to reduce friction and tearing at the dispenser slit.
- Avoid cramming oversized tissue boxes into holders not designed for them.
- Keep the lid closed (if applicable) to minimize dust and accidental knocks.
- Wash hands before refilling to prevent oil and grime transfer, especially on polished surfaces.
| Habit | Impact on Holder | Recommended Alternative |
|---|---|---|
| Forceful tissue pulling | Widens dispenser opening, weakens edges | Pull slowly and straight up |
| Leaving tissues exposed overnight | Attracts dust, increases moisture retention | Use a cover or close the lid |
| Using abrasive cloths for cleaning | Scratches finish, dulls shine | Microfiber cloth with mild soap |
Monthly Maintenance Routine
Just like any household item, regular maintenance prevents small issues from becoming irreversible damage. A simple monthly check-up can preserve both appearance and function.
Here’s a step-by-step maintenance timeline:
- Empty the holder: Remove the tissue box and any leftover scraps or lint.
- Inspect for damage: Look for cracks, loose parts, rust spots, or warping.
- Clean thoroughly: Wipe interior and exterior with a damp microfiber cloth. For disinfecting, use a 70% isopropyl alcohol solution (avoid bleach on painted or wooden finishes).
- Dry completely: Air-dry for at least 30 minutes before reinserting a new tissue box.
- Lubricate moving parts (if applicable): Apply a tiny drop of silicone-based lubricant to hinges or sliding mechanisms.
Real-World Example: Office Breakroom Turnaround
A mid-sized tech company in Portland noticed that their decorative wooden tissue holders in the breakroom were deteriorating rapidly—within three months, two had cracked lids and one developed a foul odor. After investigation, they found employees were refilling them with damp paper towels after spills, and the open design allowed coffee splashes and hand moisture to seep in.
The facilities team replaced them with stainless steel models featuring hinged lids and implemented a policy: only facial tissues allowed, no paper towels. They also placed a small sign reminding staff to wipe hands before use. Within six months, replacement costs dropped by 80%, and employee satisfaction with the space improved.
This case illustrates how environment, usage patterns, and minor behavioral changes collectively influence product longevity.
Storage Tips When Not in Use
If you rotate tissue holders seasonally or have backups, proper storage is essential. Dust, temperature swings, and compression can degrade materials even when not in active use.
- Store in a climate-controlled closet or drawer.
- Wrap delicate items (e.g., ceramic or lacquered wood) in soft cloth or bubble wrap.
- Keep upright to maintain shape—never stack heavy objects on top.
- Place silica gel packets nearby to absorb ambient moisture.
“Off-season storage is often overlooked, but it’s where long-term preservation begins.” — Marcus Tran, Home Organization Consultant
Frequently Asked Questions
Can I put my tissue box holder in the dishwasher?
No, unless explicitly labeled as dishwasher-safe. Most holders—especially those made of wood, glued components, or with electronic parts (like sensor-based dispensers)—can warp, crack, or short-circuit. Hand washing with mild soap and water is always safer.
How do I remove sticky residue from labels or tape?
Apply a small amount of rubbing alcohol or citrus-based adhesive remover to a cotton pad. Gently rub the area until the residue lifts, then wipe with a damp cloth and dry immediately. Avoid metal scrapers that could scratch the surface.
Are automatic tissue dispensers worth the investment?
For high-traffic areas like offices or restrooms, yes. Touchless dispensers reduce cross-contamination and control tissue usage, minimizing waste. However, they require batteries and occasional calibration. Choose models with durable casings and accessible service parts.
Final Checklist: 7 Habits for Long-Lasting Tissue Box Holders
- ✔️ Match the holder material to its environment (dry vs. humid).
- ✔️ Clean monthly with appropriate tools and solutions.
- ✔️ Prevent moisture buildup with proper placement and liners.
- ✔️ Handle tissues gently to avoid damaging the dispenser edge.
- ✔️ Inspect regularly for early signs of wear or mold.
- ✔️ Store backups properly when not in use.
- ✔️ Educate household members or coworkers on proper use.
Conclusion
Extending the life of your tissue box holder doesn’t require expensive products or complex routines. It comes down to thoughtful selection, consistent care, and mindful usage. By integrating these smart tips into your daily habits, you protect your investment, maintain hygiene, and contribute to a more sustainable home or workspace. Small actions add up—start today, and notice the difference over time.


 浙公网安备
33010002000092号
浙公网安备
33010002000092号 浙B2-20120091-4
Comments
No comments yet. Why don't you start the discussion?