
A sourdough starter is a living ecosystem of wild yeast and lactic acid bacteria, essential for crafting naturally leavened bread with depth of flavor and excellent texture. When it’s active and healthy, your starter will rise predictably, double in volume, and be full of bubbles—signs that fermentation is thriving. But what happens when your sourdough starter isn’t bubbling? It’s one of the most common frustrations among home bakers, especially beginners. The silence in the jar can feel discouraging, but more often than not, the issue is fixable. Understanding the root causes and knowing how to respond makes all the difference.
This guide dives into the most frequent reasons why a sourdough starter fails to bubble, outlines practical rescue strategies, and provides a clear action plan to bring your culture back to life. Whether you’re days into creating a new starter or reviving a neglected one from the fridge, this article gives you the tools to diagnose and correct the problem confidently.
Why Bubbling Matters in a Sourdough Starter
Bubbles in a sourdough starter are visual proof of microbial activity. As wild yeast consumes carbohydrates in flour, it produces carbon dioxide gas—the same gas that inflates your dough during proofing. Without visible fermentation signs like bubbling, rising, or a tangy aroma, your starter likely lacks sufficient strength to leaven bread.
It’s important to note that not all bubbles mean readiness. Tiny surface bubbles may appear early due to bacterial activity (often from Leuconostoc species), but sustained, vigorous bubbling throughout the paste indicates a mature, stable colony of Saccharomyces yeast and beneficial lactobacilli. True leavening power comes when both populations are balanced and active.
“Fermentation isn’t magic—it’s microbiology. If your starter isn’t bubbling, something in its environment or feeding routine is holding it back.” — Dr. Debra Wink, Microbiologist & Fermentation Researcher
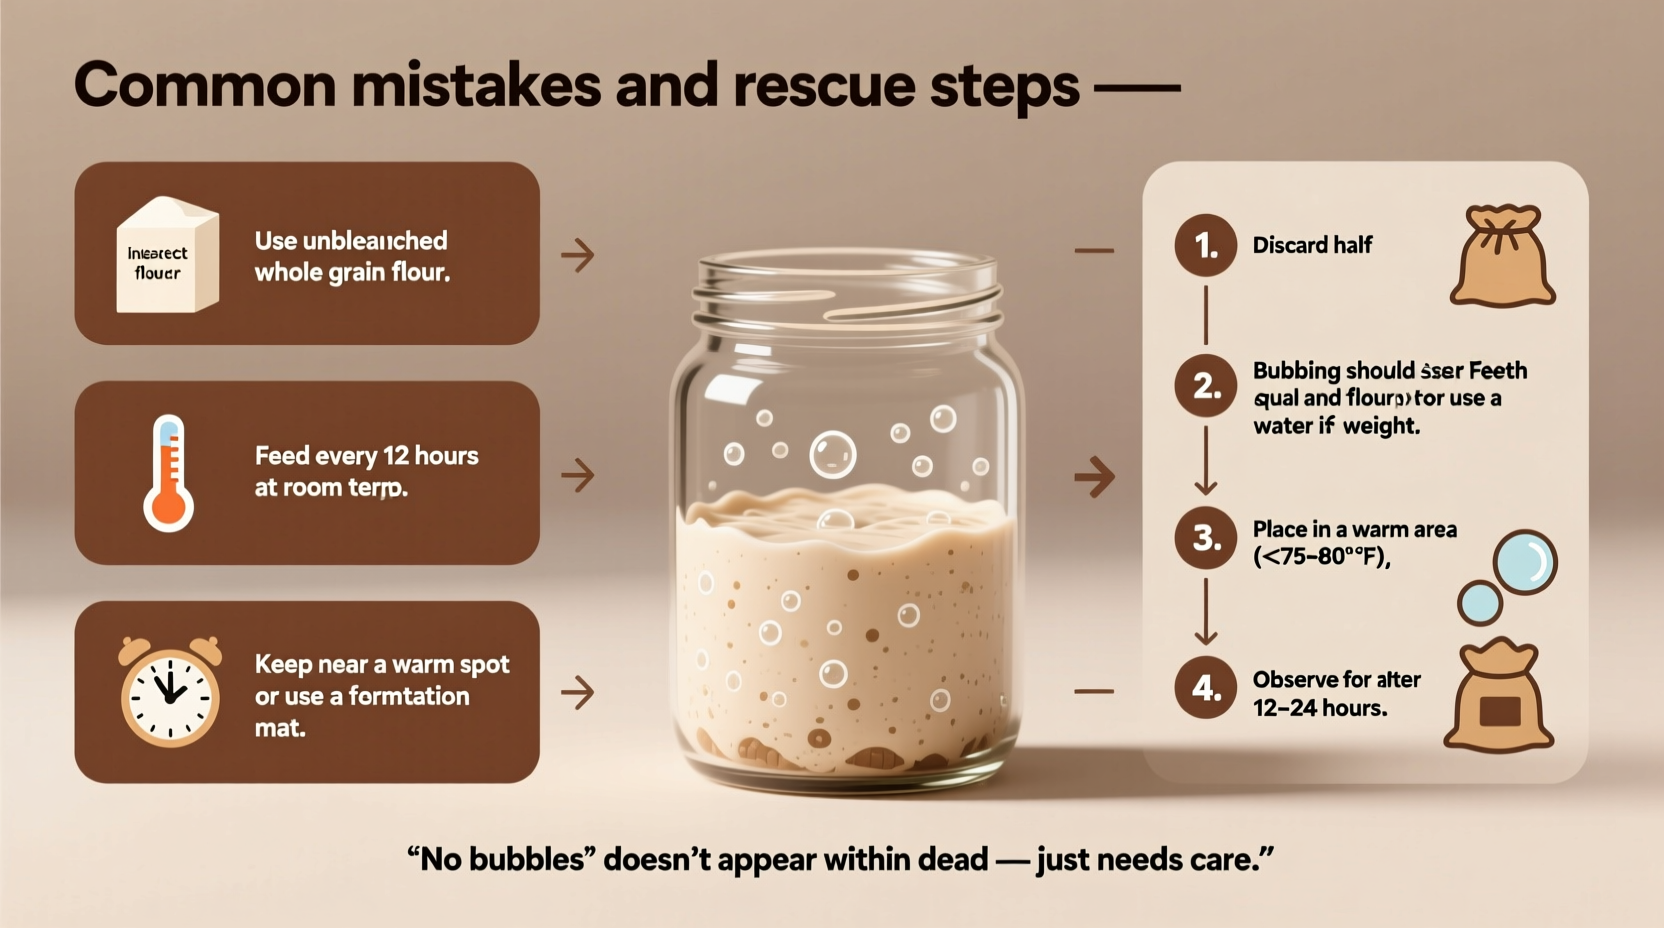
Common Mistakes That Prevent Bubbling
Many well-intentioned bakers unknowingly sabotage their starters by making simple errors in handling, feeding, or storage. Below are the top six missteps that lead to sluggish or non-bubbling cultures.
- Inconsistent feeding schedule: Irregular feedings starve microbes, leading to weak populations.
- Using chlorinated tap water: Chlorine and chloramines kill sensitive wild yeast and bacteria.
- Incorrect flour choice: Highly processed white flours lack nutrients needed for robust fermentation.
- Too cold an environment: Temperatures below 68°F (20°C) drastically slow fermentation.
- Overlooking container hygiene: Residual soap or oil can inhibit microbial growth.
- Impatience during initial development: New starters take 5–14 days to stabilize; early dips in activity are normal.
Do’s and Don’ts for Starter Health
| Do | Don’t |
|---|---|
| Feed at consistent intervals (every 12 or 24 hours) | Feed sporadically or skip days without refrigeration |
| Use lukewarm water (75–80°F / 24–27°C) | Use ice-cold or boiling water |
| Store in a loosely covered glass jar | Seal tightly with a screw-top lid |
| Discard and refresh 50–80% of starter at each feeding | Keep adding flour and water without discarding |
| Keep near a heat source if room is cool | Leave on a windowsill with direct sunlight (can overheat) |
Step-by-Step Rescue Plan for a Dormant Starter
If your starter has stalled—whether it’s newly created or long-stored—follow this five-day revival protocol. This method works whether your starter shows no bubbles, a faint smell, or just won’t rise.
- Day 1 – Reset the pH and remove waste: Discard all but 20g of starter. Feed with 40g unbleached whole wheat or rye flour and 40g filtered water. Mix well, cover loosely, and place in a warm spot (75–80°F / 24–27°C).
- Day 2 – Repeat feeding: Discard down to 20g again. Feed with same ratio. Observe for small bubbles or slight expansion by evening.
- Day 3 – Increase frequency: Feed every 12 hours (morning and night). Use rye flour if available—it’s rich in nutrients and accelerates yeast colonization.
- Day 4 – Monitor closely: Look for doubling within 6–8 hours after feeding, a pleasant tangy-sweet aroma, and uniform bubbling. If still sluggish, switch to 1:2:2 ratio (starter:flour:water).
- Day 5 – Test for strength: Perform a float test: drop ½ tsp of starter into a glass of room-temperature water. If it floats, it’s ready to bake with. If not, continue twice-daily feedings another 1–3 days.
This structured approach resets microbial balance, removes acidic buildup, and encourages dominant yeast strains to flourish. Consistency is key—don’t skip feedings even if progress seems slow.
Real Example: Reviving a Neglected Fridge Starter
Sarah had kept her sourdough starter in the refrigerator for nearly three months without feeding. When she pulled it out to bake, she found a layer of grayish liquid (hooch) on top and no bubbles beneath. The smell was sharply acidic, almost acetone-like. Discouraged, she nearly discarded it.
Instead, she followed the rescue plan: poured off the hooch, discarded all but 20g of the thick paste, and fed it with equal parts rye flour and filtered water. She placed the jar on top of her refrigerator, where warmth from the motor provided a steady 78°F (26°C) environment. By day two, tiny bubbles appeared. On day four, the starter doubled in size within seven hours. By day six, it passed the float test. Sarah baked a loaf of rustic country bread—and it rose beautifully with an open crumb and complex flavor.
Her experience proves that even severely dormant starters can recover with patience and proper care.
Environmental Factors That Affect Fermentation
Temperature is perhaps the most influential factor in starter activity. Yeast and bacteria thrive in a Goldilocks zone: too cold, and metabolism slows; too hot, and delicate strains die off.
- Below 65°F (18°C): Fermentation slows significantly. Bubbling may be minimal or delayed by 24+ hours.
- 68–78°F (20–26°C): Ideal range for balanced yeast and bacterial growth.
- Above 85°F (29°C): Risk of overheating; acetic acid bacteria dominate, creating vinegar-like tang and potentially killing yeast.
To maintain optimal conditions, consider placing your starter:
- On top of the fridge (warmest part of kitchen)
- Near a radiator (but not touching)
- In an oven with only the light turned on
- Inside a proofing box or yogurt maker set to 75°F
Flour Quality and Its Impact on Starter Vitality
The type of flour you use directly influences microbial health. Whole grain flours—especially rye and whole wheat—are packed with minerals, enzymes, and bran particles that feed diverse microbes. In contrast, bleached all-purpose flour lacks many of these nutrients and may contain additives that hinder fermentation.
Rye flour, in particular, is renowned for jump-starting sluggish starters. It contains high levels of soluble sugars and pentosans, which wild yeast can metabolize quickly. Many bakers use rye exclusively during starter creation or revival phases before transitioning back to all-purpose or bread flour.
If switching flours, do so gradually. Abrupt changes can shock the culture. For example, mix 50% rye with 50% all-purpose for two feedings before going fully rye.
When to Walk Away: Signs a Starter Can’t Be Saved
While most starters can be revived, there are rare cases when contamination or prolonged neglect makes recovery impossible. Watch for these red flags:
- Pink, orange, or black mold: Indicates harmful fungal growth. Discard immediately.
- Foul, rotting odor: Beyond sourness, a putrid or sewage-like smell suggests pathogenic bacteria.
- No response after 10 days of consistent feeding: Even with ideal conditions and quality ingredients, zero activity suggests the culture is dead.
In such cases, starting fresh is safer and more efficient. But remember: true failure is rare. Most “dead” starters are merely dormant.
FAQ: Common Questions About Non-Bubbling Starters
How long should I wait before worrying if my starter isn’t bubbling?
For a new starter, allow 5–7 days before concern sets in. Early stages often include quiet periods, especially around days 3–4 when bacterial succession occurs. If there’s still no activity by day 8 with proper feeding and warmth, begin troubleshooting.
Can I use tap water for my sourdough starter?
It depends. If your tap water is heavily chlorinated, it can inhibit microbial growth. Let water sit uncovered for 24 hours to allow chlorine to evaporate, or use filtered or bottled water. Note: chloramine (used in some cities) does not dissipate and requires filtration.
Should I throw away hooch (the dark liquid on top)?
Yes, pour it off before feeding. Hooch is alcohol produced by hungry yeast when deprived of food. While not harmful, it signals underfeeding. Regular hooch formation means you need to feed more frequently or store the starter in the fridge.
Essential Checklist for Starter Success
Use this checklist daily during starter development or revival:
- ✅ Fed within the last 12–24 hours
- ✅ Using filtered or dechlorinated water
- ✅ Stored in a warm location (70–80°F)
- ✅ Covered loosely (not airtight)
- ✅ Discarded 50–80% before each feeding
- ✅ Using quality flour (preferably whole grain)
- ✅ No mold or foul odors present
- ✅ Clean utensils and container used
Conclusion: Patience and Precision Bring Results
A sourdough starter not bubbling doesn’t mean it’s beyond help. More often, it’s a cry for better conditions, consistent care, or a nutritional upgrade. By identifying common mistakes—from improper water to cold kitchens—and applying targeted rescue steps, you can restore vitality to even the most dormant culture. The journey of sourdough is as much about understanding natural rhythms as it is about baking.
Stick with the process. Track your feedings. Adjust based on results. Celebrate small signs of life. Before long, you’ll see that first wave of bubbles rise through the paste—a quiet but powerful sign that life is fermenting again.


 浙公网安备
33010002000092号
浙公网安备
33010002000092号 浙B2-20120091-4
Comments
No comments yet. Why don't you start the discussion?