
Starlink promises high-speed internet from space, especially in remote or rural areas where traditional broadband is unavailable. But like any technology, it’s not immune to slowdowns. If your download speeds have dropped from 100 Mbps to barely 10 Mbps, you're not alone. Many users experience fluctuating performance due to environmental factors, hardware issues, or network congestion. The good news? Most causes of slow Starlink speeds are fixable with the right approach.
This guide breaks down the most common reasons for poor Starlink performance and provides actionable, step-by-step solutions to restore your connection to optimal levels.
Identify the Root Cause of Slow Speeds
Before jumping into fixes, determine whether the issue is temporary or systemic. Starlink speeds naturally vary based on time of day, weather, and satellite availability. A brief dip during peak evening hours may resolve itself. However, persistent slowness requires investigation.
Begin by running a speed test using speedtest.net or the Starlink app. Compare your results to what’s typical for your region—usually between 50–200 Mbps for downloads and 20–40 Mbps for uploads. If your speeds are consistently below 30 Mbps, it's time to troubleshoot.
Common Causes and Immediate Fixes
Several factors can degrade Starlink performance. Addressing them in order of likelihood increases your chances of a quick resolution.
1. Obstructions in the Dish’s Line of Sight
The Starlink dish (User Terminal) requires a clear view of the sky. Even partial blockage from trees, buildings, or snow buildup can disrupt signal acquisition.
Use the Starlink mobile app to access the “Obstructions” view. This real-time map shows which parts of the sky your dish can see and highlights blocked areas in red. Trim overhanging branches or reposition the dish if necessary.
2. Poor Installation Location
Mounting the dish too close to metal surfaces, inside garages, or under eaves can interfere with signal transmission. Always install outdoors with maximum sky visibility.
Elevate the dish using a pole mount or tripod if ground-level placement causes interference. Avoid placing it near large reflective surfaces like solar panels or metal roofs.
3. Weather Interference
Heavy rain, snow, or thick cloud cover can temporarily attenuate the signal—a phenomenon known as \"rain fade.\" While unavoidable, you can mitigate its impact.
Ensure your dish has self-heating enabled (standard on newer models) to melt snow. Manually clear ice buildup if needed, but avoid touching the surface directly—use a soft brush or warm water spray.
“Signal degradation during storms is normal. What matters is recovery afterward. If speeds don’t return within an hour of clearing weather, investigate further.” — Dr. Alan Reyes, Satellite Communications Engineer
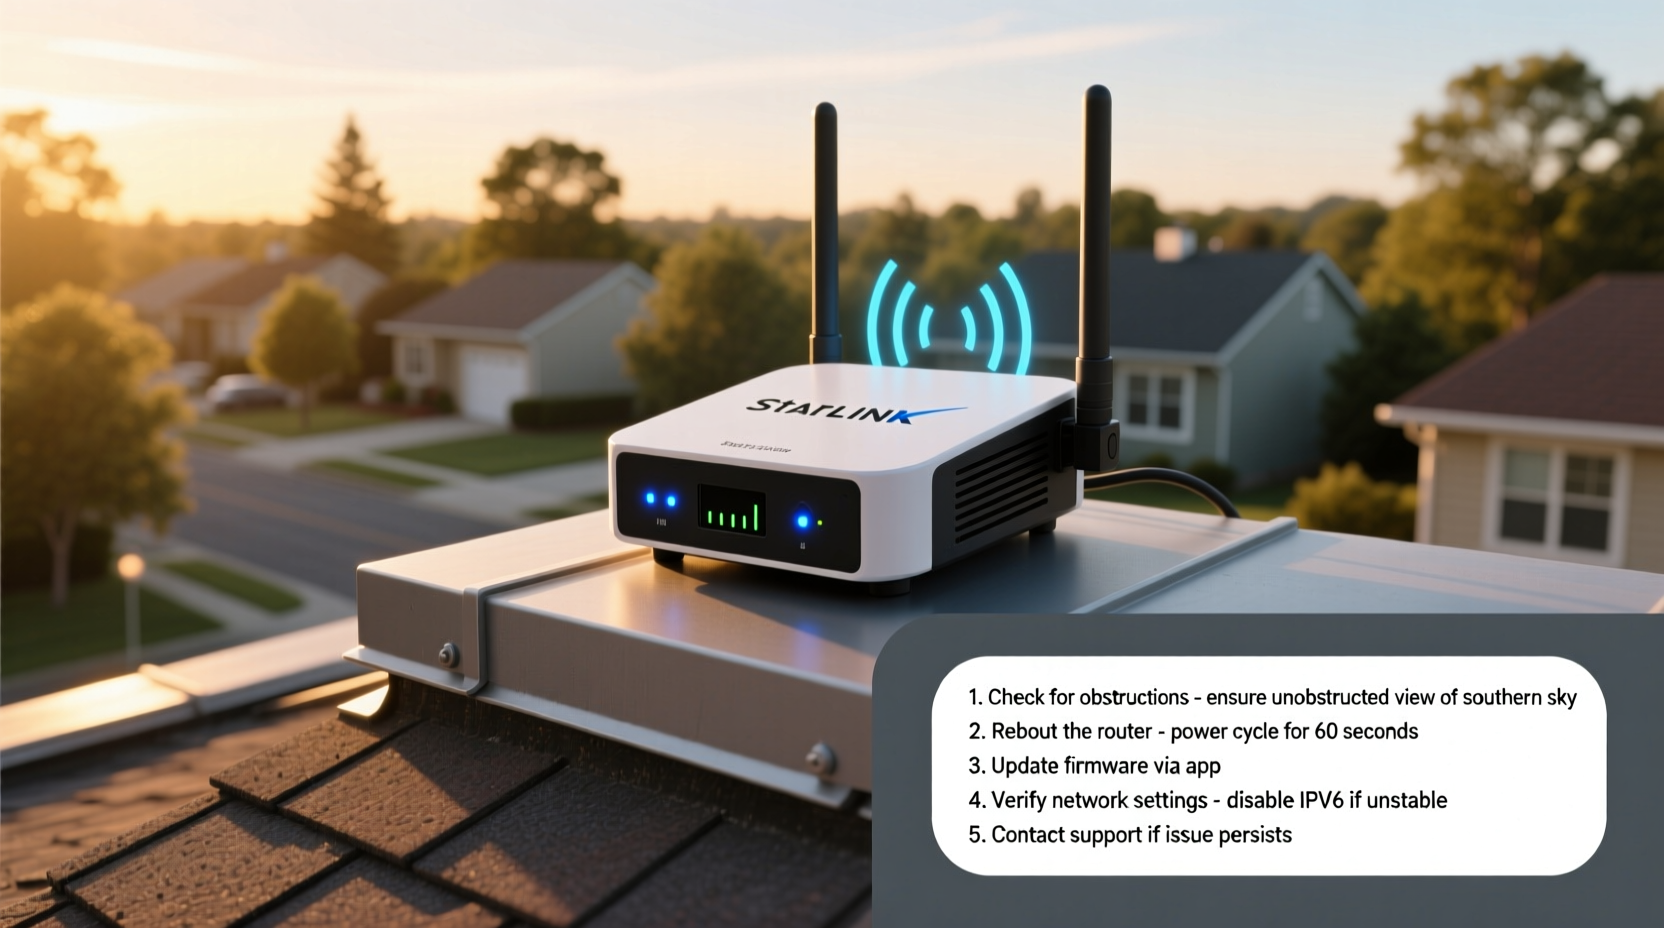
Step-by-Step Troubleshooting Guide
Follow this sequence to systematically eliminate potential issues:
- Check the Starlink App Status: Open the app and verify that your dish is connected and actively linked to a satellite. Look for error messages like “No Signal” or “Obstructed.”
- Run a Reboot Cycle: Unplug the router and dish power cable for 30 seconds, then reconnect. Wait 3–5 minutes for full reboot. This resolves many transient software glitches.
- Verify Cabling: Inspect the coaxial cable between the dish and router. Ensure connections are tight and the cable isn’t kinked or exposed to moisture.
- Update Firmware: The Starlink system updates automatically, but you can check for pending updates in the app under Settings > Software.
- Perform a Factory Reset (if needed): In rare cases, corrupted settings cause instability. Reset via the app: Settings > Advanced > Factory Reset. Note: You’ll need to reconfigure Wi-Fi settings afterward.
Advanced Optimization Techniques
If basic steps fail, consider deeper optimizations.
Use Ethernet Instead of Wi-Fi
Wi-Fi introduces latency and bandwidth loss, especially through walls or over distance. For critical tasks like gaming or video calls, connect your device directly to the Starlink router via Ethernet.
Enable Quality of Service (QoS)
While Starlink doesn’t offer built-in QoS, you can install third-party firmware like OpenWRT on compatible routers or use a separate router with QoS support to prioritize traffic.
Switch to 2.4 GHz Band for Range
The 5 GHz band offers faster speeds but shorter range. If you’re far from the router, switch your device to the 2.4 GHz network for better penetration and stability, even at lower throughput.
Monitor Network Usage
Multiple devices streaming or downloading simultaneously can saturate your connection. Use the Starlink app to see active devices and disconnect unknown ones.
Do’s and Don’ts When Fixing Starlink Speed Issues
| Do’s | Don’ts |
|---|---|
| Reboot the system weekly to maintain performance | Don’t manually tilt or adjust the dish unless relocating |
| Use the app’s Obstructions tool regularly | Don’t cover the dish with non-approved enclosures |
| Keep firmware updated | Don’t ignore persistent error lights on the dish |
| Position the dish away from reflective surfaces | Don’t assume slow speeds are always your fault—check service alerts |
Real-World Example: Rural Homeowner Restores Connection
Mark, a homeowner in northern Montana, noticed his Starlink speeds dropping to 8 Mbps during work hours. After ruling out weather and rebooting the system without success, he opened the Starlink app and discovered a red zone covering 40% of the southern sky—caused by a newly grown pine branch.
He trimmed the limb and ran another speed test. Within minutes, his speeds returned to 112 Mbps. “I didn’t realize how much a single branch could affect it,” Mark said. “Now I check the obstructions map monthly.”
Frequently Asked Questions
Why is my Starlink so slow at night?
Nightly slowdowns often result from network congestion. As more users in your orbital cell go online after work, available bandwidth per user decreases. This is common in densely populated cells and typically improves during off-peak hours.
Can I improve Starlink speed with a better router?
The Starlink router is optimized for the system, so replacing it rarely boosts raw internet speed. However, using a high-performance Wi-Fi 6 mesh system (connected via Ethernet) can improve local network reliability and coverage.
Does Starlink throttle speeds after a data cap?
No. Starlink does not impose hard data caps or throttling under normal residential plans. However, during periods of network congestion, priority may be given to latency-sensitive traffic. Beta plans previously had deprioritization policies, but current standard plans do not.
Final Checklist: Quick Actions to Try Now
- ✅ Run a speed test and compare to expected averages
- ✅ Open the Starlink app and check for obstructions
- ✅ Reboot both dish and router
- ✅ Inspect cables and connections
- ✅ Clear snow or debris from the dish surface
- ✅ Switch to Ethernet for testing
- ✅ Monitor usage and disconnect unused devices
Conclusion: Take Control of Your Connection
Slow Starlink speeds are frustrating, but rarely permanent. With methodical troubleshooting, most performance issues can be resolved in under an hour. Start with the basics—line of sight, reboots, and app diagnostics—then move to advanced steps if needed. Regular maintenance, like checking for new obstructions or cleaning the dish, goes a long way in preserving consistent performance.


 浙公网安备
33010002000092号
浙公网安备
33010002000092号 浙B2-20120091-4
Comments
No comments yet. Why don't you start the discussion?