
A well-chosen accessory can transform both the function and fashion of your everyday carry. One such upgrade is adding a leather keychain to your purse. Beyond its aesthetic appeal—offering a touch of sophistication or rustic charm—it enhances security by keeping your keys tethered and easily accessible. Whether you’re customizing a new handbag or refreshing an old favorite, this guide walks you through every stage of securely and stylishly attaching a leather keychain.
Why Add a Leather Keychain to Your Purse?
Leather keychains serve dual purposes: they elevate your bag’s look and reduce the risk of misplacing keys. Unlike flimsy metal chains or plastic clips, genuine leather develops a rich patina over time, aging gracefully alongside your purse. It also resists wear better than synthetic materials, especially when exposed to daily friction from zippers, pockets, and movement.
From a functional standpoint, dangling your keys freely inside a large tote invites chaos. They get lost under receipts, lipsticks, and phones. A fixed leather loop ensures they remain within reach while preventing scratches on other items in your bag.
“An integrated leather key leash isn’t just decorative—it’s a small design detail that reflects intentionality in personal organization.” — Marcus Lin, Accessory Design Consultant at Urban Tote Co.
Tools and Materials You’ll Need
Before starting, gather the necessary supplies. Using quality tools ensures clean work and prevents damage to your purse. Here's what to prepare:
- Leather keychain strap (pre-cut or custom length, 6–8 inches recommended)
- Snap rivet set (includes male/female posts and washer)
- Hole punch or awl (for precise leather piercing)
- Rivet setting tool or hammer and setter
- Measuring tape or ruler
- Marker or chalk pencil (for marking placement)
- Needle-nose pliers (optional, for tightening)
- Edge beveler and burnisher (optional) – for finishing raw leather edges
Step-by-Step Installation Process
Follow these steps carefully to attach your leather keychain securely without compromising the integrity of your purse.
- Choose the Attachment Location
Select a spot on the exterior or interior flap, side panel, or zipper pull anchor point. Ideal locations are structurally reinforced areas like stitching seams or hardware anchors. Avoid thin fabric zones that may tear under tension. - Clean and Dry the Surface
Wipe the area with a dry cloth. If working with leather, ensure it’s not damp or oily. Any residue could interfere with adhesion or cause staining during installation. - Position and Mark the Spot
Lay the leather strap where you intend to fix it. Use a removable marker to dot the center points where the rivet will pass through both the strap and purse material. Double-check alignment before proceeding. - Punch the Holes
Using a hole punch or awl, pierce through both layers—leather strap and purse fabric—at the marked points. For thick materials, gently twist the awl rather than forcing it straight down to avoid tearing. - Insert the Rivet
Slide the male post of the rivet through the holes from the front side. On the backside, place the washer followed by the female cap. Ensure everything sits flush. - Set the Rivet
If using a rivet press, clamp until the post mushrooms securely into the cap. With a hammer and setter, tap evenly around the post until it flares out and locks in place. Do not overstrike, as this can crack surrounding material. - Attach the Key Ring
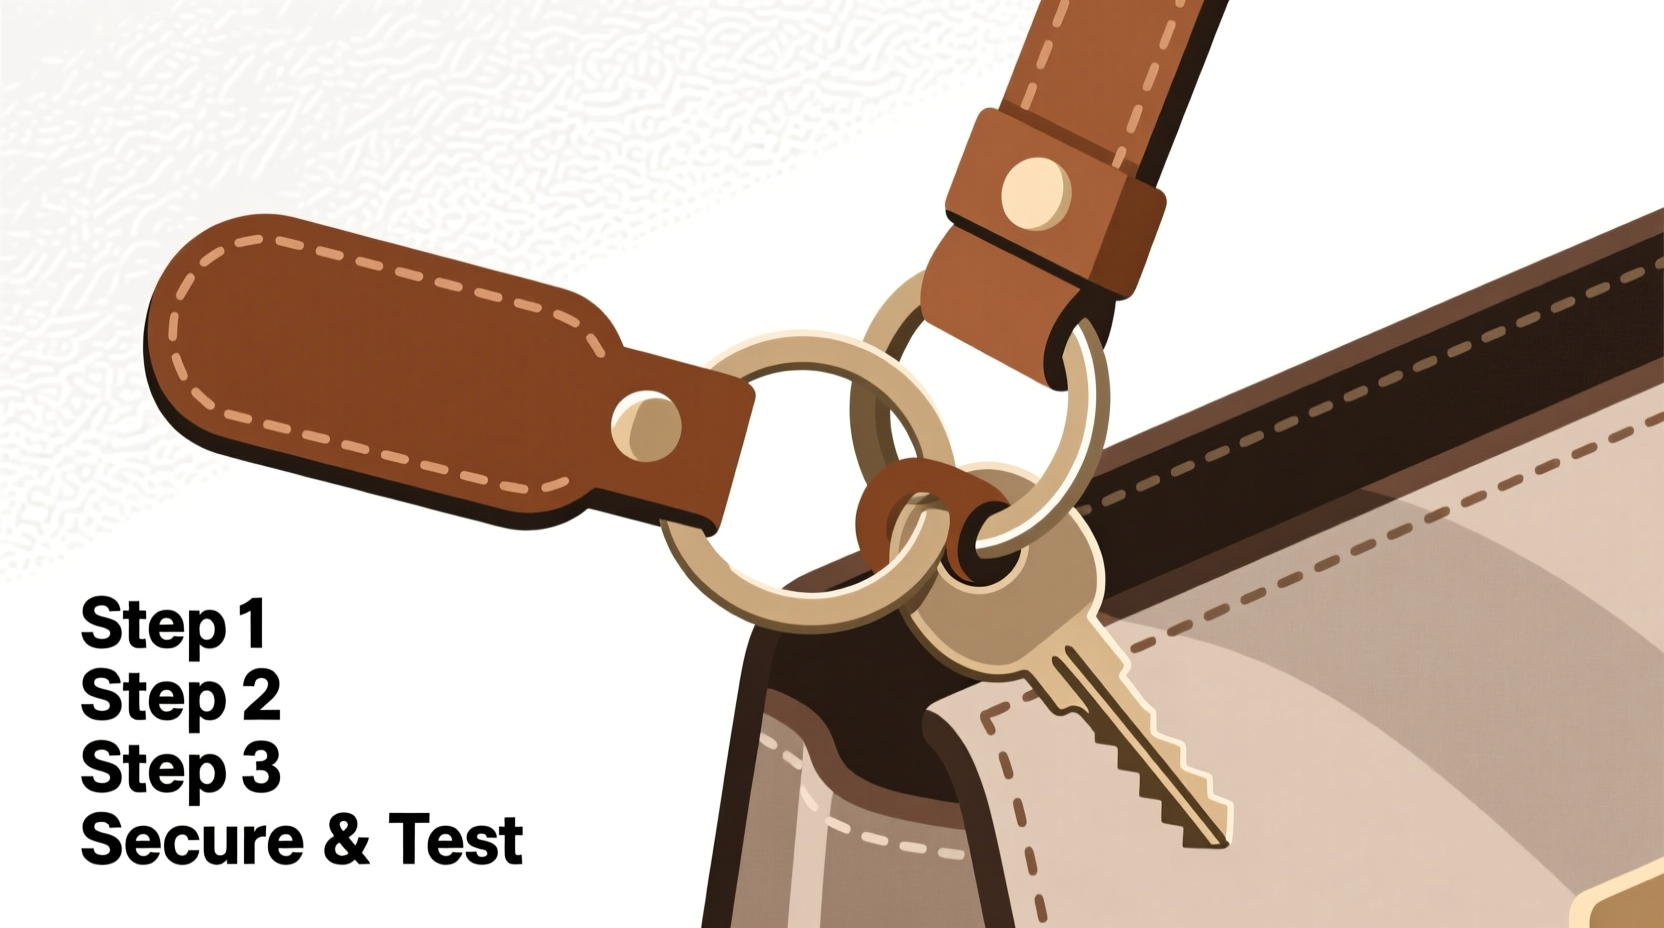
Once the leather strap is secured, slide a stainless steel split ring or swivel clasp onto the free end of the leather. Loop your keys through and test mobility.
Finishing Touches
For a polished result, smooth any rough leather edges with a beveling tool. Apply a light coat of leather conditioner to prevent drying. Let it absorb for 15 minutes, then buff with a soft cloth.
Do’s and Don’ts: What to Avoid During Installation
| Do’s | Don’ts |
|---|---|
| ✓ Reinforce weak fabric with a backing patch before riveting | ✗ Use glue alone—it won’t hold long-term stress |
| ✓ Test fit all components before final assembly | ✗ Drill oversized holes; they compromise grip strength |
| ✓ Match hardware finish (e.g., brass, silver) to existing purse accents | ✗ Place near delicate embellishments like embroidery or beads |
| ✓ Work slowly and check alignment frequently | ✗ Skip protective gear—metal shards can fly when setting rivets |
Real-Life Example: Revamping a Vintage Tote
Sophie, a freelance designer from Portland, inherited her grandmother’s vintage satchel—sturdy but outdated. She wanted to make it practical for daily use without losing its heritage charm. After cleaning the canvas and conditioning the trim, she attached a cognac-brown leather keychain near the top front flap using a brass rivet. The addition gave the bag a modern functional twist while honoring its craftsmanship. “Now I never dig around for my keys at the grocery store,” she said. “And people always compliment the little detail.”
Expert Tips for Long-Term Durability
Even a perfectly installed keychain can fail prematurely without proper maintenance. Follow these best practices to preserve both the attachment and your purse.
- Inspect monthly: Check for loose rivets or fraying leather ends.
- Condition every 6 weeks: Use pH-balanced leather oil to prevent cracking.
- Avoid water exposure: Wet leather stretches and weakens; blot immediately if dampened.
- Rotate usage: Alternate between bags to reduce strain on attachments.
Frequently Asked Questions
Can I attach a leather keychain to a nylon or polyester purse?
Yes, but extra reinforcement is essential. Use a layered leather or felt backing behind the fabric to distribute pressure and prevent tearing. Sew around the perimeter before riveting for added strength.
Is there a no-drill method for attaching a keychain?
While magnetic clips or adhesive hooks exist, they lack reliability. Over time, glue degrades and magnets detach unexpectedly. For lasting results, mechanical fasteners like rivets or grommets are superior.
How long should the leather strap be?
A 6 to 8-inch length offers optimal balance—long enough for easy access, short enough to prevent snagging. Adjust based on your bag size and how deep your pocket or compartment is.
Final Checklist Before You Begin
- Preparation
- ☐ Select matching leather and hardware
- ☐ Clean the attachment area
- ☐ Confirm tool availability
- Installation
- ☐ Mark precise hole positions
- ☐ Punch cleanly through both layers
- ☐ Set rivet firmly without damaging fabric
- Aftercare
- ☐ Condition the leather
- ☐ Test key movement and stability
- ☐ Inspect monthly for wear
Conclusion: Elevate Function with Thoughtful Design
Attaching a leather keychain to your purse is more than a minor DIY project—it’s an investment in convenience, longevity, and personal style. When done correctly, it blends seamlessly into your bag’s design while solving a common organizational challenge. With the right tools, attention to detail, and a bit of patience, you can achieve a professional-grade result at home.


 浙公网安备
33010002000092号
浙公网安备
33010002000092号 浙B2-20120091-4
Comments
No comments yet. Why don't you start the discussion?