
Adding audio to a video is one of the most impactful ways to enhance storytelling, improve engagement, and deliver your message clearly. Whether you're creating a tutorial, vlog, promotional clip, or social media content, well-mixed audio can elevate your production from amateur to professional. The good news? You don’t need expensive gear or advanced editing skills to do it right. With the right approach and tools, anyone can seamlessly integrate audio into their videos—music, voiceovers, sound effects, or ambient noise.
This guide walks you through every essential step, from choosing the right software to syncing and exporting your final product. By the end, you’ll know exactly how to layer audio tracks with precision, avoid common pitfalls, and ensure your videos sound as good as they look.
Choose the Right Editing Software
The first decision you’ll make is which tool to use. Your choice depends on your experience level, budget, and output needs. Here’s a quick breakdown of popular options:
| Software | Skill Level | Cost | Best For |
|---|---|---|---|
| DaVinci Resolve | Beginner to Pro | Free (Studio version paid) | Film-quality editing & audio mixing |
| Adobe Premiere Pro | Intermediate+ | Paid (subscription) | Professional workflows |
| iMovie | Beginner | Free (Mac only) | Quick edits and simple audio sync |
| Shotcut | Beginner to Intermediate | Free | Cross-platform open-source editing |
| CapCut | Beginner | Free (with in-app ads) | Social media content creation |
For beginners, iMovie or CapCut offer intuitive drag-and-drop interfaces. More experienced users may prefer DaVinci Resolve for its powerful Fairlight audio workspace. Choose a tool that matches your comfort level and system capabilities.
Prepare Your Audio Files
Before importing anything into your editor, organize your audio assets. This includes voice recordings, background music, sound effects, or ambient noise. Follow these steps to ensure compatibility and clarity:
- Record in a quiet environment – Use a quiet room with minimal echo. Even built-in microphones work if background noise is low.
- Save in high-quality format – Use WAV or AIFF for best quality; MP3 is acceptable for music if file size is a concern.
- Name files clearly – Label them like “voiceover_intro.wav” or “bg_music_uplifting.mp3” to avoid confusion later.
- Check levels – Ensure your audio isn’t too loud (clipping) or too soft. Aim for peaks around -6 dB during recording.
If you’re narrating, read your script slowly and enunciate. Pause slightly between sentences to allow for easier editing. Record multiple takes if needed—better to have options than to struggle with a poor take later.
“Audio clarity is often more important than video resolution. A viewer will forgive a slightly blurry image but not muffled or distorted sound.” — Lena Torres, Video Production Specialist at MediaFlow Studios
Step-by-Step Guide to Adding Audio
Once your tools and files are ready, follow this universal workflow to integrate audio into your video:
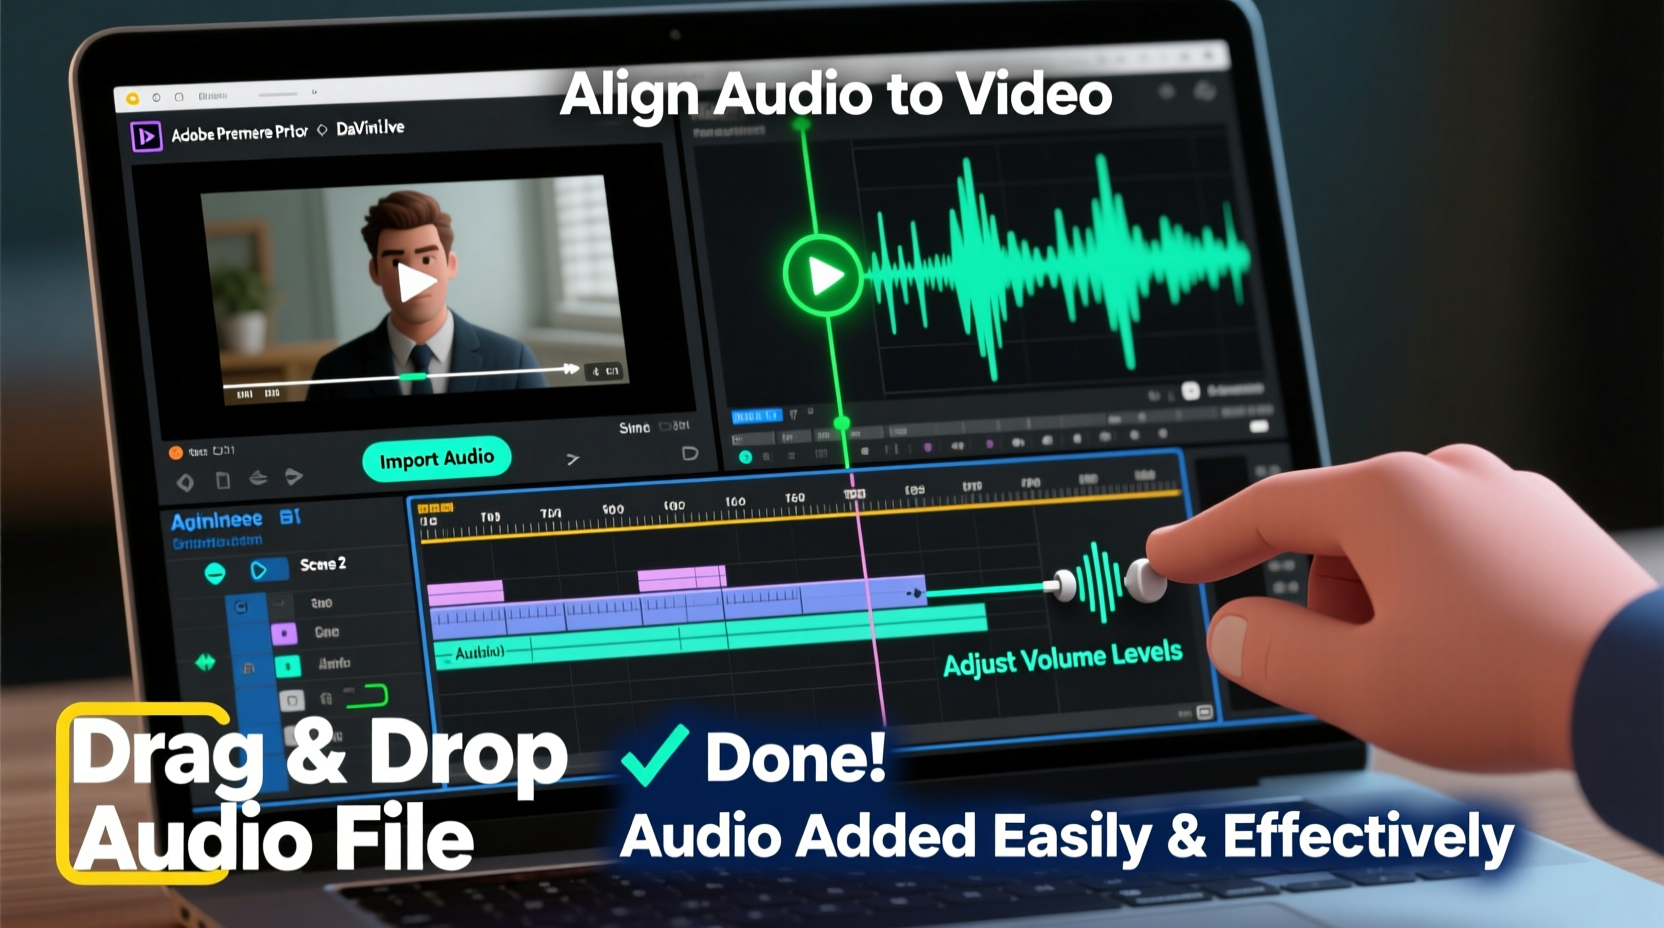
- Import your video and audio files – Open your editing software and import both the video clip and the audio file(s). Most programs support drag-and-drop.
- Add video to the timeline – Place your main video clip on the primary video track.
- Insert audio on a separate track – Drag your audio file below the video on an audio track. Keep original audio (like camera mic) on a different track if you plan to keep it temporarily.
- Sync the audio – If replacing narration, align the new audio with lip movements or scene cues. Use waveform peaks to match spoken words with video frames.
- Trim and adjust – Cut unwanted silence or overlap. Extend or loop music if needed to match video length.
- Adjust volume levels – Lower background music when speech is present. Use keyframes to fade music in/out smoothly.
- Apply basic audio enhancements – Use noise reduction to remove hiss, and EQ to boost vocal clarity (around 2–4 kHz).
- Preview and refine – Play the sequence multiple times. Listen on headphones and external speakers to catch imbalances.
- Export the final video – Choose a high-quality preset (e.g., MP4 H.264, 1080p, 320 kbps audio bitrate).
A Real-World Example: Enhancing a Travel Vlog
Consider Maya, a travel content creator filming a walking tour through Kyoto. She recorded the video on her phone but realized the built-in microphone picked up too much wind and crowd noise. To fix this, she re-recorded her narration at home using her laptop’s microphone in a closet (to reduce echo). She downloaded royalty-free traditional Japanese music from a Creative Commons library. Using DaVinci Resolve, she:
- Muted the original audio track
- Added her voiceover on a new audio layer
- Aligned her narration with specific landmarks shown on screen
- Lowered the music volume to 30% during speech and raised it during scenic transitions
- Applied a slight reverb to make her voice feel more natural in outdoor scenes
The result was a polished, immersive video where viewers could clearly hear her commentary while still enjoying atmospheric music. Engagement increased by 45% compared to her previous audio-heavy clips.
Common Mistakes and How to Avoid Them
Even experienced editors make errors when adding audio. Here are frequent issues and practical solutions:
| Mistake | Why It’s Bad | How to Fix |
|---|---|---|
| Overlapping music and speech | Speech becomes hard to understand | Use ducking: automatically lower music when voice starts |
| Poor audio sync | Lip movements don’t match sound | Zoom in on waveforms and align peaks manually |
| Using copyrighted music | Risk of takedown or demonetization | Use royalty-free platforms like YouTube Audio Library or Pixabay |
| No backup of original files | Lost data ruins workflow | Store copies on cloud or external drive |
FAQ
Can I add audio to a video without re-recording?
Yes. You can overlay existing audio files—such as music, voiceovers, or sound effects—without altering the original video. Just import both into your editor and align them on the timeline.
How do I prevent audio from sounding flat or robotic?
Apply subtle equalization to enhance warmth (boost around 100–200 Hz) and clarity (slight boost at 3 kHz). Avoid over-processing. Natural pauses and varied tone in speech also help maintain authenticity.
Is it possible to add audio to a video on a smartphone?
Absolutely. Apps like CapCut, InShot, and Adobe Premiere Rush let you add music, voiceovers, and sound effects directly on iOS or Android devices. They offer touch-friendly interfaces and cloud syncing.
Final Checklist Before Exporting
- ✅ All audio tracks are properly synced with visuals
- ✅ Voice levels are clear and consistent
- ✅ Background music doesn’t overpower speech
- ✅ No sudden volume jumps or drops
- ✅ Audio fades in and out smoothly
- ✅ Final export includes embedded audio (test playback)
- ✅ File format is compatible with intended platform (YouTube, Instagram, etc.)
Conclusion
Adding audio to a video doesn’t require a studio or technical degree. With thoughtful preparation, the right tools, and attention to detail, you can transform a silent clip into a compelling story. Whether you're educating, entertaining, or promoting, clear and well-balanced audio ensures your audience stays engaged from start to finish.


 浙公网安备
33010002000092号
浙公网安备
33010002000092号 浙B2-20120091-4
Comments
No comments yet. Why don't you start the discussion?