
Growing your own food year-round isn’t limited to warm climates or expensive setups. With a well-designed, budget-friendly greenhouse, you can extend your growing season, protect plants from harsh weather, and harvest fresh produce even in winter. The best part? You don’t need professional construction skills or a big budget. This guide walks through every phase of building a functional, durable greenhouse using accessible materials and practical techniques.
Why Build a Homemade Greenhouse?
A greenhouse creates a controlled microclimate that traps heat and humidity, enabling plants to thrive outside their natural outdoor seasons. Whether you're starting seedlings early in spring or growing tomatoes in December, a greenhouse gives you the edge. Commercial models can cost thousands, but a DIY version built with recycled or low-cost materials can be assembled for under $300 — sometimes much less.
Homemade greenhouses also offer flexibility. You can customize size, shape, and placement based on your yard, climate, and gardening goals. Plus, the satisfaction of harvesting lettuce grown in a structure you built yourself adds value beyond savings.
Planning Your Greenhouse: Location, Size & Design
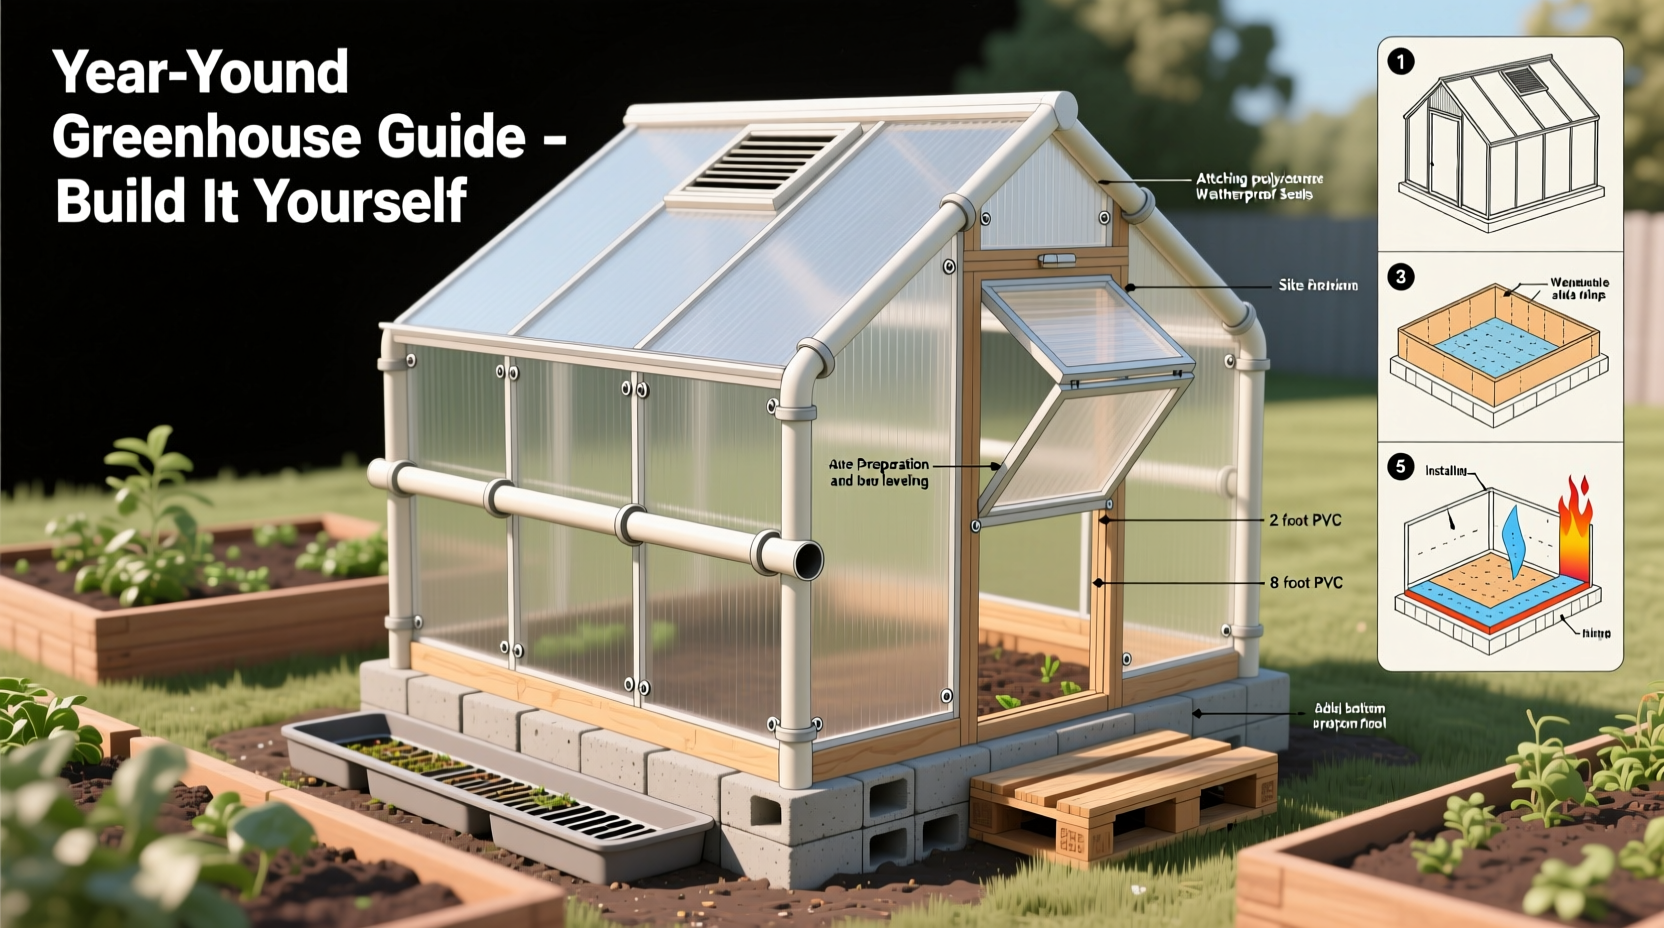
Before cutting any wood or laying down plastic, plan strategically. A poorly placed greenhouse may receive insufficient light or become too hot in summer.
- Sunlight: Choose a south-facing location (in the Northern Hemisphere) with no shading from trees or buildings between 9 AM and 3 PM.
- Drainage: Avoid low spots where water pools. Elevate slightly if needed or add gravel beneath the base.
- Access: Ensure easy access to water, tools, and electricity if you plan to use fans or heaters.
- Size: Start small—8 ft x 6 ft is ideal for beginners. It fits most backyards and allows room for shelves, trays, and walking space.
Three common designs for budget builds include:
| Design | Pros | Cons |
|---|---|---|
| Lean-to | Attached to house or shed; uses existing wall; lower material cost | Limited space; dependent on host structure |
| Hoophouse (Quonset) | Easy to assemble; good airflow; low wind resistance | Less headroom; shorter lifespan of plastic cover |
| Freestanding Rigid Frame | Durable; long-lasting; customizable | Higher upfront labor and material cost |
“Even a modest greenhouse can increase your annual yield by 40% or more when used efficiently.” — Dr. Linda Chen, Sustainable Agriculture Researcher, Oregon State University
Step-by-Step Construction Guide
This section outlines how to build a freestanding hoop-style greenhouse using PVC pipes and polyethylene sheeting — one of the most affordable and beginner-friendly methods.
- Measure and mark the footprint: Use stakes and string to outline an 8 ft x 12 ft rectangle. Level the ground with a rake and tamper.
- Install base frame: Cut pressure-treated 2x4 lumber to size and bolt into a rectangular frame. Anchor it to the ground with rebar stakes every 2 feet.
- Create hoop supports: Bend 10-ft lengths of 1-inch PVC pipe into arches. Insert both ends into 18-inch lengths of 1.5-inch PVC conduit buried vertically in the base frame at 2-foot intervals.
- Reinforce the structure: Run a horizontal PVC ridge pole along the top of the hoops and secure with zip ties or PVC straps. Add cross-bracing at both ends with additional PVC or wood.
- Attach greenhouse film: Drape 6-mil UV-resistant polyethylene sheeting over the frame. Stretch tightly and staple temporarily to the base frame. Trim excess, then secure permanently with batten strips or sand-filled tubes.
- Install doors and vents: Cut openings at one or both ends. Frame with wood or PVC and hang clear poly sheeting as a roll-up door. Add automatic vent openers or manually operated roof flaps for temperature control.
- Seal and insulate : Tape all seams with greenhouse repair tape. In colder zones, add a second layer of plastic with an air gap for insulation using a blower.
Maximizing Efficiency on a Budget
The cheapest greenhouse is only effective if it maintains stable conditions. Smart systems don’t have to be expensive.
- Passive heating: Place black-painted water barrels inside to absorb heat during the day and release it at night.
- Thermal mass: Lay dark stone or brick on the floor to store solar energy.
- Cold frames inside: Nest smaller enclosures within the greenhouse for ultra-sensitive seedlings.
- Recycled materials: Use old windows for sidewalls, pallets for shelving, or repurposed storm doors for entry points.
Mini Case Study: Urban Grower in Zone 5
In Columbus, Ohio, gardener Maria Ruiz built a 10x12 hoop greenhouse for $217 using reclaimed lumber, donated greenhouse plastic, and PVC from a hardware surplus store. She planted cold-hardy kale, spinach, and lettuce in November. By insulating with bubble wrap on the north wall and using thermal curtains at night, she harvested greens throughout January and February. “I paid less than a single grocery bill for the whole setup,” she said, “and I’ve already recouped the cost in fresh produce.”
Essential Maintenance Checklist
To keep your greenhouse productive year after year, follow this seasonal checklist:
- ✅ Clean interior surfaces twice a year to prevent mold and algae buildup
- ✅ Inspect plastic covering for tears; patch immediately with repair tape
- ✅ Check ventilation mechanisms—ensure manual vents open easily and automatic ones function
- ✅ Sanitize benches and containers before each planting cycle
- ✅ Monitor humidity with a hygrometer; aim for 50–70%
- ✅ Rotate crops to avoid soil-borne diseases if using in-ground planting
- ✅ Remove snow buildup promptly in winter to prevent structural damage
Frequently Asked Questions
How do I prevent overheating in summer?
Greenhouses can exceed 100°F on sunny days. Prevent heat stress by installing shade cloth (30–50%), opening vents early in the morning, and using evaporative cooling like misters or damp straw on the floor. A small solar-powered fan also helps circulate air.
Can I grow tropical plants in a homemade greenhouse?
Yes, but only with supplemental heating in cold climates. Pair insulation with a small electric heater (use a thermostat) or compost-based heating beds. Pineapples, figs, and citrus can thrive with consistent warmth above 60°F.
How long will a DIY greenhouse last?
A well-maintained PVC and plastic model lasts 3–5 years before the cover degrades. Wooden or metal-framed greenhouses with polycarbonate panels can last 10–15 years. Replacing the plastic every few years keeps costs low while maintaining performance.
Conclusion: Start Small, Grow Confidently
Building a homemade greenhouse doesn’t require engineering expertise or deep pockets. With careful planning, basic tools, and attention to sunlight and airflow, you can create a thriving year-round garden. The key is starting simple, learning through experience, and making incremental improvements. Whether you’re nurturing seedlings in March or harvesting herbs in January, your greenhouse becomes a hub of resilience and self-reliance.


 浙公网安备
33010002000092号
浙公网安备
33010002000092号 浙B2-20120091-4
Comments
No comments yet. Why don't you start the discussion?