
A well-designed bookcase does more than store books—it enhances the flow of a room, showcases personal style, and maximizes underutilized space. Off-the-shelf units often fall short in dimensions, proportions, or aesthetics. A custom-built bookcase, however, can be tailored precisely to your room’s architecture, ceiling height, wall contours, and storage needs. With careful planning and basic woodworking skills, you can create a piece that looks professionally installed and functions flawlessly for years.
1. Measure and Plan Your Space
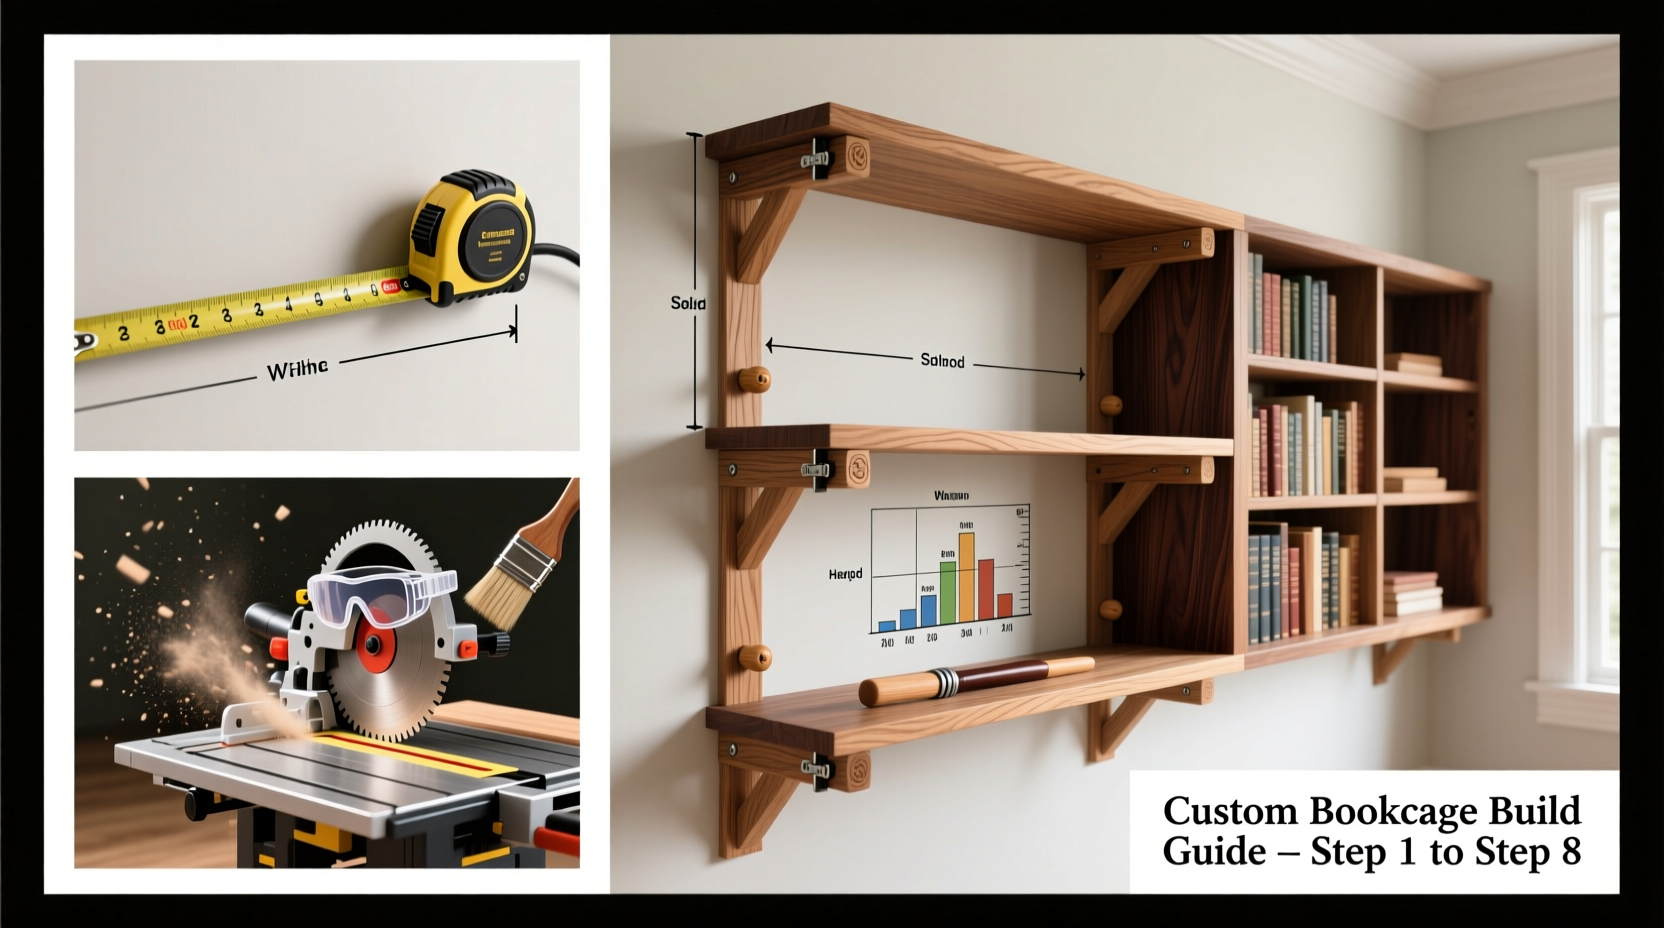
The foundation of any successful custom furniture build is accurate measurement. Begin by assessing the area where the bookcase will live—this could be a recessed wall, an alcove, beside a fireplace, or spanning an entire wall. Use a laser measure or metal tape for precision.
Record the following dimensions:
- Width: Measure at floor level, mid-height, and near the ceiling. Walls are rarely perfectly straight.
- Height: From floor to ceiling, noting any baseboard or crown molding clearance.
- Depth: Determine how far the bookcase should extend from the wall. Standard shelves are 10–12 inches deep; deeper units suit larger books or decorative objects.
- Obstructions: Note outlets, vents, door swings, radiators, or trim that may affect placement.
Sketch a rough diagram of the space, including architectural details. Decide whether the bookcase will be floor-to-ceiling, sit on the floor with crown molding, or be wall-mounted. This plan will guide material selection and structural design.
2. Choose Materials and Design Style
Selecting the right materials affects durability, appearance, and ease of construction. For a built-in look, hardwoods like oak, maple, or poplar offer strength and a professional finish. Plywood (especially Baltic birch) is cost-effective and stable, ideal for large panels.
Consider the room’s existing decor:
- Modern: Clean lines, minimal trim, painted finishes, floating shelves.
- Traditional: Crown molding, paneled sides, raised panel doors, stained wood.
- Rustic: Reclaimed wood, visible joinery, open shelving.
Shelving material thickness depends on span and load:
| Material | Max Shelf Span (no sag) | Recommended Thickness |
|---|---|---|
| Pine Board | 30 inches | 3/4 inch |
| Baltic Birch Plywood | 36 inches | 3/4 inch |
| Oak Hardwood | 42 inches | 3/4 inch |
| MDF (painted only) | 36 inches | 3/4 inch |
“Custom bookcases succeed when they respond to the room’s rhythm—not just function, but proportion and light.” — Daniel Reeves, Cabinetmaker & Interior Millwork Specialist
3. Build a Step-by-Step Construction Plan
Follow this timeline to move from concept to completion over a weekend or two, depending on complexity.
- Day 1: Finalize design, cut list, and purchase materials.
- Day 2: Cut all pieces using a circular saw or table saw. Label each part (e.g., “Left Side,” “Top Panel”).
- Day 3: Assemble the frame—sides, top, bottom, and fixed shelves—using pocket screws or dado joints.
- Day 4: Install adjustable shelf pins and test fit in space.
- Day 5: Sand, prime (if painting), and finish.
- Day 6: Secure to wall studs and add trim.
For stability, anchor the unit to wall studs using L-brackets or cleats. Never rely solely on floor support for tall units.
Joinery Options Compared
Different methods balance strength, appearance, and tool requirements:
- Pocket Screws: Easy with a Kreg Jig, hidden from front, strong for face frames.
- Dado Joints: Grooves cut into verticals to hold shelves—excellent weight distribution.
- Rabbets: Used for backing or joining corners; requires precise cutting.
- Cleats: Wooden strips mounted to wall to support the base—ideal for heavy loads.
4. Real Example: Fitting a Bookcase into an Awkward Alcove
Sarah, a teacher in Portland, wanted a bookcase for her home office—a narrow alcove between two windows, 78 inches high and 41.5 inches wide, with uneven walls. She measured at three points and discovered a 3/8-inch taper across the width.
Instead of forcing symmetry, she designed a case that tapered slightly inward. She used 3/4-inch birch plywood for sides and shelves, with a solid poplar face frame to hide edge grain. Adjustable shelf pins allowed flexibility for textbooks and décor.
To accommodate the out-of-plumb walls, she shimmed the sides during installation and added quarter-round trim to conceal gaps. The result was a seamless, built-in look that made the room feel larger and more organized.
5. Essential Tools and Safety Checklist
Before starting, gather the necessary tools and ensure a safe workspace.
Checklist: What You’ll Need
- Tape measure or laser distance meter
- Level and square
- Circular saw, table saw, or track saw
- Drill/driver and drill bits
- Kreg Jig (for pocket holes) or router (for dados)
- Clamps (at least four)
- Sander (orbital preferred)
- Stud finder and drywall anchors (if no studs align)
- Safety glasses and hearing protection
Work in a clean, well-lit area with adequate ventilation, especially when sanding or applying finishes. Always double-check measurements before cutting—“measure twice, cut once” remains timeless advice.
6. Common Mistakes and How to Avoid Them
Even experienced DIYers make errors. Here’s what to watch for:
| Mistake | Why It Happens | Solution |
|---|---|---|
| Bookcase leans forward | Not anchored to wall | Secure to at least two wall studs with brackets |
| Shelves sag over time | Over-spanned or undersized material | Use thicker wood or add vertical dividers every 24–30 inches |
| Gaps between case and wall | Ignoring wall irregularities | Shim during install and use flexible trim |
| Doors don’t align | Frame not square | Check diagonals during assembly; adjust before gluing |
FAQ
Can I build a custom bookcase without power tools?
Yes, but it requires more time and effort. Use pre-cut lumber or have it sized at a hardware store. Hand saws, chisels, and clamps can assemble simple designs, though precision may vary.
How do I prevent warping in plywood shelves?
Balance the grain by applying the same finish to both sides. Support long spans with center supports or thicker material. Store panels flat before use.
Should I paint or stain my bookcase?
It depends on the look and material. Stain enhances natural wood grain and works best on hardwoods. Paint offers color flexibility and hides imperfections, ideal for MDF or plywood. Always prime first if painting.
Final Steps: Finishing and Installation
Once assembled, sand all surfaces progressively—from 120 to 220 grit. Wipe away dust with a tack cloth. Apply finish according to manufacturer instructions: oil for warmth, polyurethane for durability, or paint for modern flair.
During installation, use a stud finder to locate framing. Position the bookcase and check for level side-to-side and front-to-back. Shim as needed, then secure with screws through the back or base. Add baseboard and crown molding to blend with the room’s trim for a built-in effect.
Conclusion
A custom bookcase isn’t just furniture—it’s a functional sculpture shaped by your space and needs. By measuring meticulously, choosing quality materials, and assembling with care, you create more than storage: you create permanence. Whether you’re housing a growing library or displaying cherished objects, a perfectly fitted bookcase elevates the everyday.


 浙公网安备
33010002000092号
浙公网安备
33010002000092号 浙B2-20120091-4
Comments
No comments yet. Why don't you start the discussion?