
Adding pictures to your videos transforms static content into dynamic storytelling. Whether you're creating a family slideshow, a marketing campaign, or a social media post, integrating images enhances emotional impact and visual interest. The good news? You don’t need advanced editing skills to do it well. With the right approach and tools, anyone can produce polished, engaging videos in minutes.
This guide walks you through the entire process—from choosing software to exporting a high-quality final product—so you can create visually compelling videos that captivate your audience.
Select the Right Video Editing Software
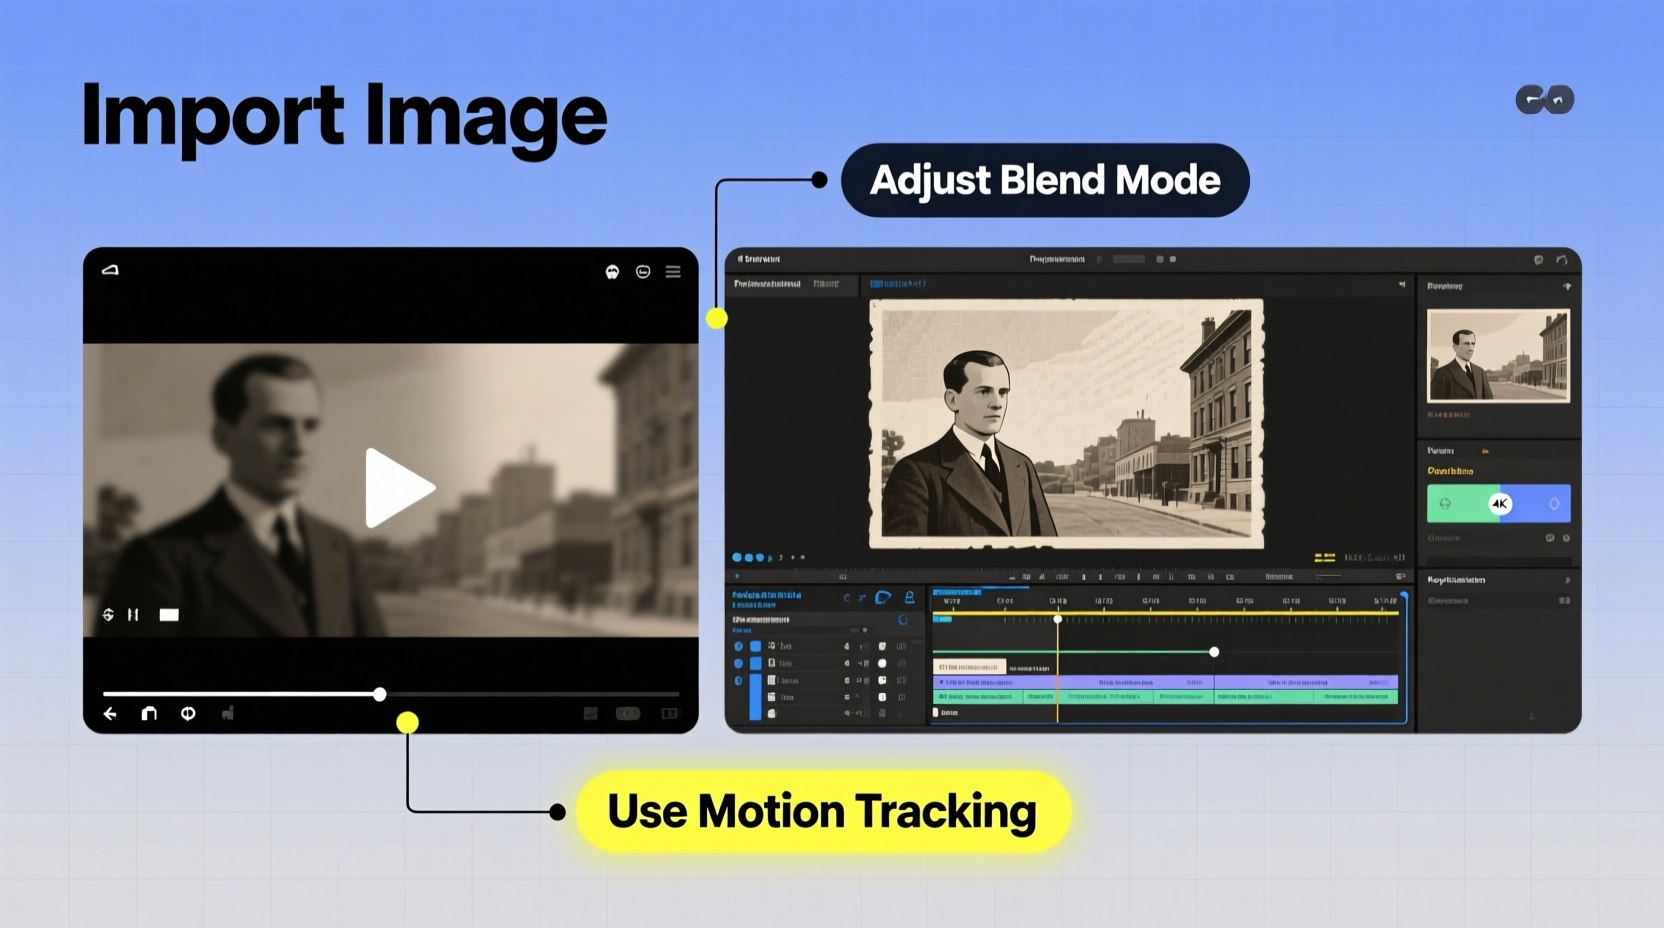
The first step is selecting an editing platform that matches your skill level and goals. Modern video editors offer intuitive drag-and-drop interfaces, making it easier than ever to layer images over footage, adjust timing, and apply effects.
Beginners should consider user-friendly options like:
- iMovie (Mac/iOS) – Free, simple interface, excellent for basic photo integration.
- CapCut (Windows/Mac/Mobile) – Free with powerful features, ideal for social media creators.
- Adobe Premiere Rush – Cross-platform, cloud-synced, and beginner-accessible while offering pro-level control.
For more advanced users, tools like Adobe Premiere Pro or Davinci Resolve provide precise control over image placement, transitions, and animation.
Prepare Your Images and Video Footage
Before importing anything into your editor, organize your assets. Poorly formatted images can lead to blurry outputs or unexpected cropping.
Follow these preparation steps:
- Choose high-resolution images (at least 1920x1080 pixels) to match HD video standards.
- Resize or crop photos to fit your video’s aspect ratio (e.g., 16:9 for YouTube, 9:16 for TikTok/Instagram Reels).
- Name files clearly (e.g., “family_reunion_01.jpg”) to avoid confusion during editing.
- Back up originals before making adjustments.
Use tools like Photoshop Express, GIMP, or even Canva to resize and enhance images before importing them into your video project.
Image Format Best Practices
| Format | Best For | Limitations |
|---|---|---|
| JPEG | General photos, fast loading | No transparency support |
| PNG | Graphics with transparency (logos, overlays) | Larger file size |
| WebP | Web-based projects, balance of quality and size | Not supported in all editors |
Step-by-Step: Adding Pictures to Your Video
Once your materials are ready, follow this workflow in any standard video editor:
- Create a new project and set the correct resolution and frame rate (usually 1080p at 30fps).
- Import your video clip and place it on the timeline.
- Add your images by dragging them from the media library onto a track above the video (overlay track).
- Adjust image duration by trimming its length on the timeline—typically 3–5 seconds per image works well.
- Reposition and scale the image using the transform tool to avoid awkward cropping.
- Add transitions (fade in/out, slide, zoom) between images for smoother flow.
- Apply filters or color grading to unify the look of photos and video footage.
- Preview and refine timing, alignment, and audio sync.
Most editors allow you to animate still images using a \"Ken Burns\" effect—slow zooming or panning across a photo to simulate motion. This technique prevents flat visuals and keeps viewers engaged.
“Static images can feel lifeless, but a subtle pan or zoom adds cinematic depth without complexity.” — Daniel Reeves, Video Storytelling Coach
Enhance Visual Impact with Layering and Effects
Don’t just drop images on top of video—use layering techniques to create professional compositions.
Try these creative approaches:
- Picture-in-Picture (PiP): Overlay a small image in a corner while your main video plays underneath.
- Full-screen image sequences: Alternate between video clips and full-bleed photos for dramatic pacing.
- Textured overlays: Use semi-transparent PNGs (like light leaks or film grain) to give photos a vintage feel.
- Masking: In advanced editors, mask parts of an image to reveal only specific areas over the video.
To maintain coherence, ensure all visuals share a consistent color tone. If your video has a warm filter, edit your photos to match. Tools like LUTs (Look-Up Tables) can be applied across both video and stills for uniformity.
Real Example: Creating a Travel Recap Video
Sophie, a travel blogger, wanted to showcase her Portugal trip. She filmed short clips of streets, cafes, and sunsets, but knew adding personal photos would deepen viewer connection.
She imported her 1080p footage into CapCut, then added 12 high-res photos taken on her phone. Using the app’s auto-resize feature, she adjusted each image to fit the 9:16 vertical format. She applied a gentle zoom effect to each photo, synced them with upbeat background music, and inserted smooth cross-dissolve transitions.
The result? A 60-second Instagram Reel that gained 45K views in two days—audience comments praised the “cinematic” feel and emotional journey.
Sophie’s success came not from fancy gear, but from thoughtful image integration and pacing.
Exporting for Maximum Quality
After editing, export settings determine how your video looks across platforms.
Key export tips:
- Match resolution to your project settings (e.g., 1920x1080).
- Use H.264 codec—it’s widely compatible and balances quality with file size.
- Set bitrate to at least 8–12 Mbps for HD videos to prevent compression artifacts.
- Choose the right format: MP4 is universal; MOV offers higher quality but larger files.
If uploading to YouTube or Vimeo, enable “high-quality upload” and avoid re-compressing after export.
Checklist: Adding Pictures to Videos Like a Pro
☐ Gather high-resolution images
☐ Resize to match video aspect ratio
☐ Organize files in a dedicated folder
✅ Editing Phase
☐ Import video and images into editor
☐ Place images on overlay track
☐ Adjust duration and position
☐ Add transitions and effects
☐ Sync with music or voiceover
✅ Final Output
☐ Preview on multiple devices
☐ Export in correct format and resolution
☐ Test playback before sharing
Frequently Asked Questions
Can I add pictures to a video on my phone?
Yes. Apps like CapCut, InShot, and Canva allow you to import photos and video, layer them, and export professionally looking content directly from iOS or Android devices.
Why do my images look blurry in the video?
This usually happens when images are too small or incorrectly scaled. Always use photos at or above your video’s resolution (e.g., 1920x1080 for HD). Avoid stretching low-res images beyond their original size.
How long should each picture appear in the video?
Between 3 and 5 seconds is ideal for comprehension and engagement. Faster cuts work for energetic montages; longer durations suit reflective or detailed images.
Bring Your Stories to Life
Integrating pictures into videos isn’t just a technical task—it’s a storytelling opportunity. With careful preparation and attention to detail, you can elevate ordinary clips into memorable narratives. The tools are accessible, the techniques are straightforward, and the results can be truly stunning.
Start small: pick one video, add three meaningful images, and experiment with transitions. As you grow more confident, explore advanced effects and layered compositions. Every great editor started exactly where you are now.


 浙公网安备
33010002000092号
浙公网安备
33010002000092号 浙B2-20120091-4
Comments
No comments yet. Why don't you start the discussion?