
Converting video content into audio is a common need for podcasters, students, content creators, and professionals who want to repurpose material. Whether you're pulling narration from a tutorial, saving a lecture for offline listening, or creating a music track from a video clip, extracting audio doesn’t have to be complicated. With the right tools and a clear process, you can convert any video file into high-quality audio in minutes — even without technical expertise.
Why Extract Audio from Video?
There are countless practical reasons to separate audio from video. Some users want to create podcasts from recorded webinars. Others may wish to archive interviews as MP3s for easy playback during commutes. Musicians often extract clean vocal tracks or instrumentals for remixing. Language learners benefit from turning educational videos into audio files they can study on the go.
The ability to isolate sound gives you flexibility. You reduce file size, improve portability, and adapt content for platforms that support only audio. Plus, modern tools make this process faster than ever.
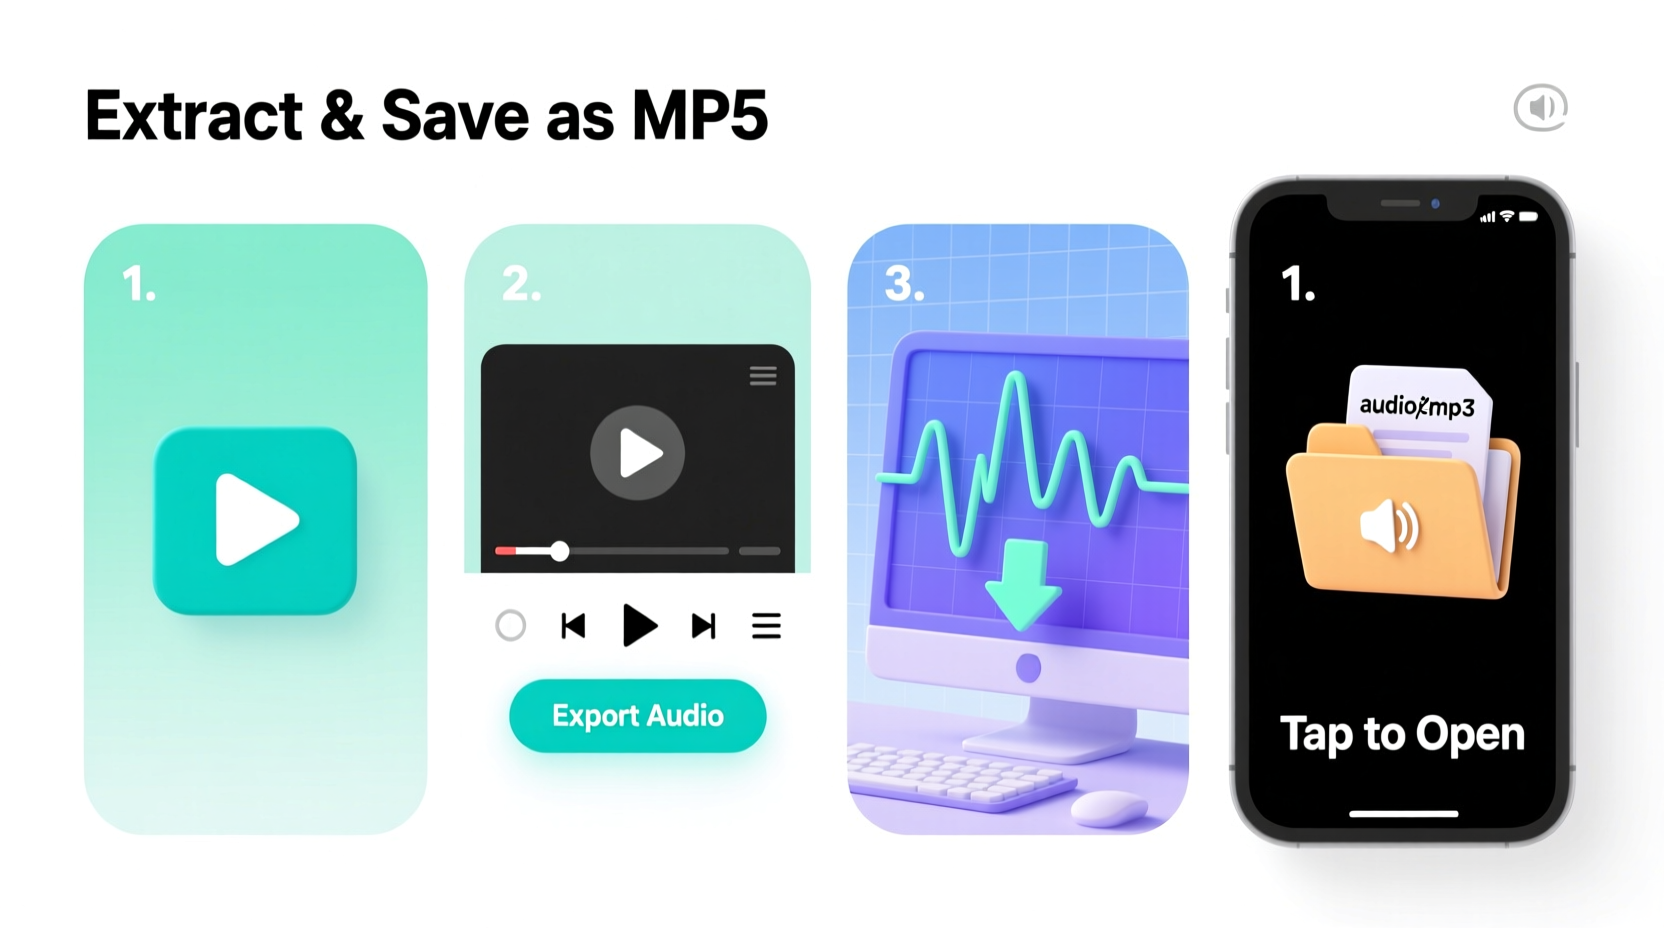
Step-by-Step Guide to Extracting Audio from Video
Follow this structured approach to convert any video into an audio file, regardless of your operating system or preferred software.
- Choose Your Source Video File
Select the video you want to extract audio from. Ensure it’s accessible on your device and note its format (MP4, AVI, MOV, etc.). Most tools support common formats like MP4, but older or niche codecs may require conversion first. - Select an Audio Extraction Tool
Pick a reliable tool based on your needs: simplicity, output quality, batch processing, or platform compatibility. Options range from desktop applications to online converters and command-line utilities. - Install or Access the Tool
If using desktop software, install it securely from the official website. For web-based tools, open the service in a modern browser. Avoid uploading sensitive content to unknown online platforms. - Import the Video File
Open the tool and use the import or “Add File” function to load your video. Some tools allow drag-and-drop; others require browsing your folders. - Set Output Format and Quality
Choose your desired audio format. MP3 is widely compatible and small in size. WAV offers lossless quality for editing. AAC balances quality and compression. Adjust bitrate if available — 192 kbps is ideal for general use; 320 kbps for high fidelity. - Specify Save Location
Designate where the extracted audio will be saved. Keeping it organized helps avoid confusion later, especially when processing multiple files. - Start the Extraction Process
Click “Extract,” “Convert,” or equivalent. Processing time depends on video length and system performance. Larger files may take several minutes. - Verify the Output
Once complete, play the audio file to confirm clarity and sync. Check for missing segments or distortion, particularly if the original video had complex audio layers.
Top Tools for Audio Extraction
Different tools suit different workflows. Here's a comparison of five trusted options across platforms.
| Tool | Platform | Best For | Output Formats | Cost |
|---|---|---|---|---|
| HandBrake | Windows, Mac, Linux | Free, open-source conversion with presets | MP3, AAC, AC3 | Free |
| Freemake Video Converter | Windows | Beginners with drag-and-drop interface | MP3, WMA, WAV, FLAC | Free (ads) |
| Online-Convert.com | Web-based | Quick one-off extractions | MP3, WAV, OGG, FLAC | Free (with limits) |
| FFmpeg (CLI) | All platforms | Advanced users automating tasks | All major formats | Free |
| Adobe Audition | Windows, Mac | Professional editing and noise removal | MP3, WAV, AIFF, AAC | Paid (subscription) |
Using FFmpeg: A Power User Example
For those comfortable with command-line interfaces, FFmpeg offers unmatched control. To extract audio from a file named lecture.mp4 and save it as a high-bitrate MP3:
ffmpeg -i lecture.mp4 -vn -ar 44100 -ac 2 -b:a 320k output_audio.mp3-i lecture.mp4: Input file-vn: Disable video stream-ar 44100: Set audio sample rate-ac 2: Stereo audio-b:a 320k: High-quality bitrate
This method is ideal for scripting bulk conversions or integrating into automated workflows.
Checklist: Preparing for Successful Audio Extraction
Before starting, ensure your setup avoids common pitfalls.
- ✅ Confirm the video plays correctly on your device
- ✅ Check available disk space (audio files still require storage)
- ✅ Identify the target format (MP3 for sharing, WAV for editing)
- ✅ Back up original files if they’ll be modified
- ✅ Disable pop-up blockers when using online tools
- ✅ Review copyright status — do not extract audio from protected content without permission
“Extracting audio efficiently starts with choosing the right tool for your skill level and end-use. Simplicity and reliability matter more than advanced features for most users.” — Daniel Park, Digital Media Engineer
Real-World Example: Turning Webinars into Podcast Episodes
Sophie runs a marketing consultancy and records weekly client webinars. She wanted to repurpose these sessions into a branded podcast but lacked time for manual transcription or re-recording. Using Freemake Video Converter, she extracted audio from each 60-minute session in under 10 minutes per file. After minor cleanup in Audacity (removing pauses and background noise), she uploaded the MP3s to her hosting platform. Within a month, her podcast gained 1,200 subscribers, many citing the convenience of audio-only access.
This case shows how simple extraction can expand content reach without additional production costs.
Common Mistakes to Avoid
Even straightforward processes can go wrong. Watch out for these errors:
- Ignoring file permissions: Some DRM-protected videos (e.g., streaming service downloads) cannot be processed legally or technically.
- Overlooking audio quality settings: Default bitrates may result in muffled or tinny sound. Adjust according to purpose.
- Using unreliable online converters: Free sites might inject malware, limit file sizes, or retain copies of your data.
- Forgetting metadata: Add titles, artist names, and album info if distributing audio publicly.
- Processing large batches without testing: Run one file first to verify output before committing hours to conversion.
Frequently Asked Questions
Can I extract audio from YouTube videos?
Yes, but only if you own the content or have explicit permission. Downloading copyrighted YouTube videos violates their terms of service. Use official download options or APIs where available.
What’s the best audio format for extracted files?
MP3 is best for general use due to universal compatibility and small size. Use WAV or FLAC for archival or editing purposes where quality is critical.
Is it legal to extract audio from videos?
It depends on usage. Personal backups of purchased or self-created content are generally acceptable. Distributing extracted audio from copyrighted material without authorization is illegal.
Final Tips for Consistent Results
Consistency improves efficiency. Develop a standard workflow: always check input quality, use the same output settings for similar projects, and store files in labeled folders. If you frequently extract audio, consider creating presets in your chosen software or writing reusable scripts with FFmpeg.
Conclusion: Turn Video into Portable, Usable Audio Today
Extracting audio from video is no longer a technical hurdle reserved for editors. With intuitive tools and a clear method, anyone can transform visual content into portable, reusable sound files. Whether you’re building a podcast library, studying lectures, or archiving important recordings, the steps are simple and repeatable. Choose a reliable tool, follow best practices, and start unlocking the audio hidden in your video collection.


 浙公网安备
33010002000092号
浙公网安备
33010002000092号 浙B2-20120091-4
Comments
No comments yet. Why don't you start the discussion?