
Creating a photo collage is more than just arranging pictures—it’s about storytelling, memory preservation, and personal expression. Whether you’re designing a birthday gift, decorating your home, or crafting social media content, a well-made collage can turn ordinary snapshots into something extraordinary. The good news? You don’t need advanced design skills or expensive software. With the right approach and tools available on your computer, you can produce professional-looking collages in under an hour.
Why Make a Photo Collage?
A photo collage brings together moments from different times and places into a single visual narrative. It allows you to highlight themes—like a vacation, family reunion, or personal growth journey—in a way that individual photos often can’t. Digital collages are easy to share, print, or frame, making them ideal for both sentimental and creative projects.
“Visual storytelling isn’t just for professionals. A thoughtfully arranged collage can convey emotion, chronology, and connection better than words.” — Daniel Reeves, Digital Media Instructor at Portland Art Institute
Choosing the Right Software
The first step in creating a stunning collage is selecting the right tool. While many assume graphic design requires complex programs like Adobe Photoshop, there are simpler, free alternatives that deliver excellent results.
| Software | Best For | Cost | Learning Curve |
|---|---|---|---|
| Canva (Desktop App/Web) | Beginners, social media, quick designs | Free (Pro version $12.99/mo) | Low |
| PicMonkey | Creative layouts, text overlays | Free trial, then subscription | Low to Medium |
| Fotor | Photo enhancement + collage | Free with premium upgrades | Low |
| Adobe Photoshop | Advanced editing, precise control | $20.99/mo | High |
| PhotoPad (by NCH Software) | Lightweight, offline use | Free for basic features | Low |
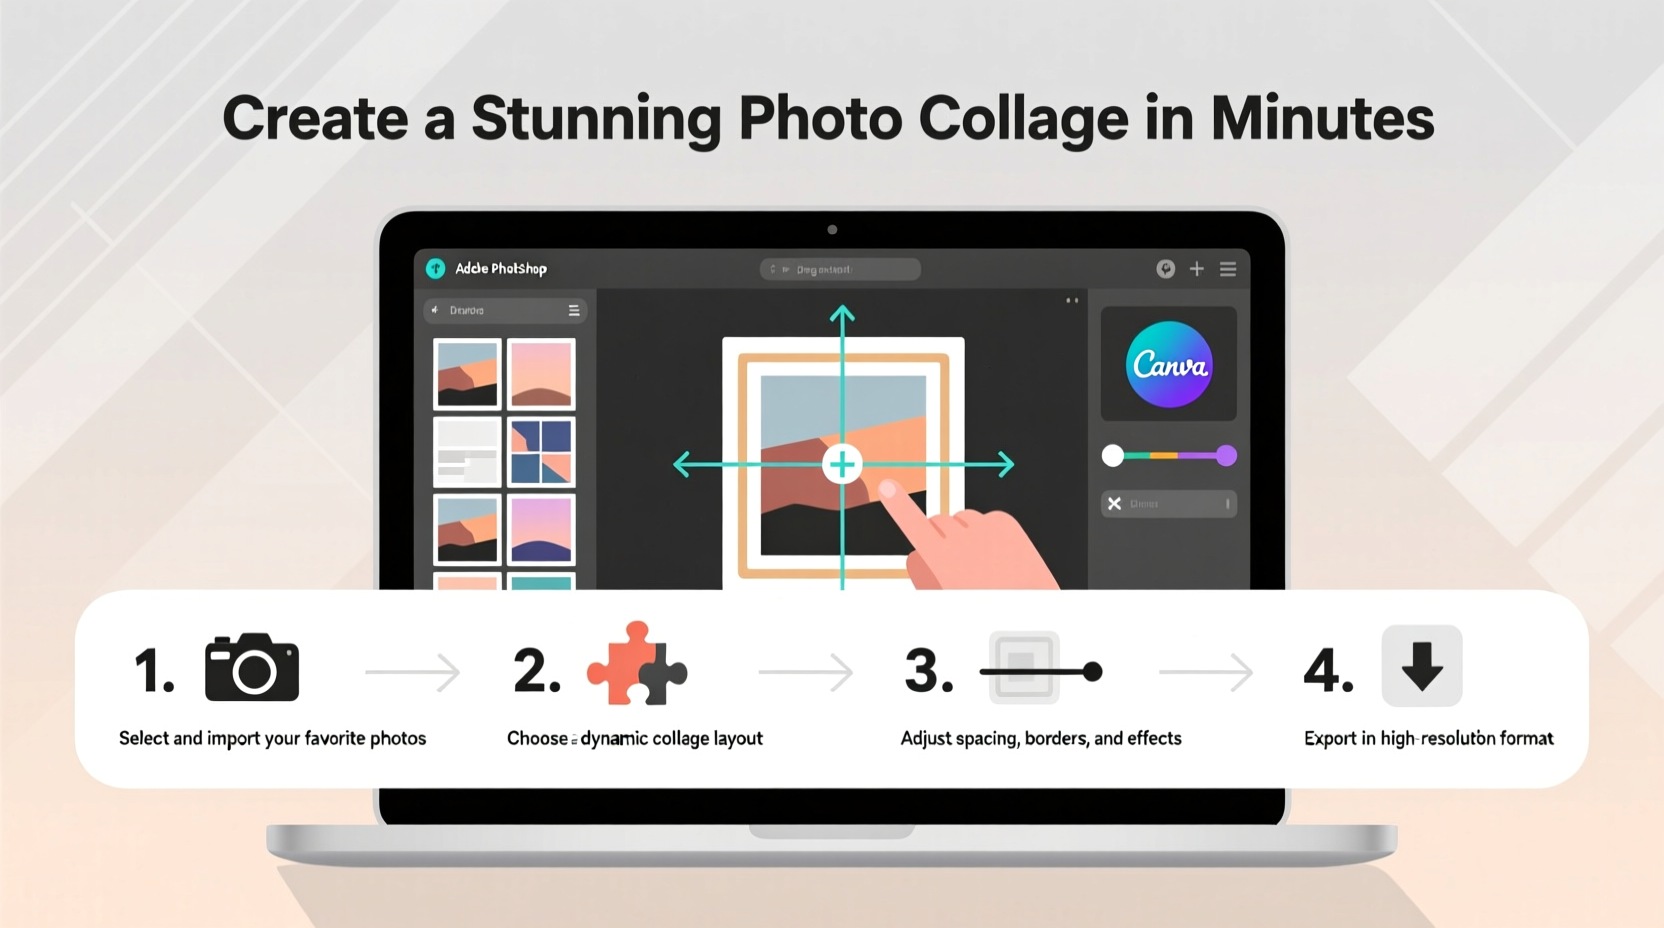
Step-by-Step Guide to Building Your Collage
Follow this proven workflow to create a polished, visually appealing collage from start to finish.
- Gather and Organize Your Photos
Select 4–12 high-resolution images that fit a theme—such as “Summer Road Trip” or “Family Milestones.” Save them in a dedicated folder on your desktop for quick access. - Choose a Layout Style
Decide whether you want a grid, freestyle, polaroid-style, or themed template (e.g., heart-shaped, timeline). Grids work well for uniformity; freestyle allows creative overlap and angles. - Open Your Chosen Software
Launch your preferred program. In Canva, for example, search “photo collage” in the templates section and pick one that matches your vision. - Upload and Arrange Photos
Drag your images into the template. Replace placeholder photos one by one. Resize and reposition each image for balance. Avoid crowding corners or leaving large empty spaces. - Adjust Visual Consistency
Apply the same filter or brightness setting across all photos to unify the look. Most tools offer batch-editing options under “Edit All Images” or similar menus. - Add Text or Decorative Elements (Optional)
Include a title (“Our Wedding Day”), date, or short quote. Use clean fonts like Montserrat or Lato for readability. Keep text minimal—let the photos remain the focus. - Review and Refine
Zoom out and view the entire collage. Check for alignment, color harmony, and clarity. Rotate or crop images if needed to improve flow. - Export and Save
Download in high-resolution JPEG or PNG format. For printing, choose 300 DPI and ensure the dimensions match your frame size (e.g., 8x10 inches).
Real Example: Creating a Graduation Memory Board
Sarah wanted to surprise her sister with a digital collage of her college years. She collected 10 photos: freshman dorm move-in, study group sessions, graduation ceremony, and candid campus moments. Using Canva on her laptop, she selected a diagonal split layout with overlapping frames. She applied a warm vintage filter to all images for consistency and added the text “Proud of You, Class of 2024” in soft gold lettering at the bottom. The entire process took 35 minutes. She printed it on matte photo paper and framed it—her sister called it “the perfect keepsake.”
Essential Tips for a Polished Result
- Maintain aspect ratio when resizing to prevent image distortion.
- Use negative space intentionally—don’t fill every inch.
- Limit font styles to one or two max for a clean appearance.
- Preview in grayscale to check contrast and composition.
- Save a project file so you can edit later without starting over.
Checklist: Before You Finalize Your Collage
Run through this final checklist to ensure quality and impact:
- ✅ All photos are in focus and well-lit
- ✅ Colors and tones are consistent across images
- ✅ No awkward cropping (e.g., cut-off faces or limbs)
- ✅ Text is legible and not overlapping important details
- ✅ Layout guides the eye naturally (left to right or top to center)
- ✅ File is saved in appropriate resolution (web vs. print)
- ✅ Backup copy stored in cloud or external drive
Common Mistakes to Avoid
Even simple errors can undermine an otherwise great collage. Watch out for these pitfalls:
- Overcrowding: Too many small photos reduce visual impact. Prioritize quality over quantity.
- Inconsistent Themes: Mixing wedding photos with pet snapshots confuses the narrative.
- Poor Resolution: Blurry or pixelated images ruin professionalism. Always use originals, not compressed social media versions.
- Clashing Fonts: Avoid decorative scripts next to bold sans-serifs. Stick to cohesive typography.
Frequently Asked Questions
Can I make a photo collage for free?
Yes. Tools like Canva, Fotor, and PhotoPad offer robust free versions with hundreds of templates, filters, and export options. While premium features exist, they aren’t necessary for creating beautiful collages.
How do I print my collage at the right size?
Before exporting, set your canvas size to match standard frame dimensions (e.g., 8x10, 11x14). In Canva or Fotor, go to “File” > “Page Setup” and enter the correct inches or centimeters. Download as PDF for highest print fidelity.
What if my photos have different orientations?
This is common and manageable. Use square or rectangular templates that accommodate both landscape and portrait formats. Alternatively, crop images uniformly using the software’s batch-crop tool to maintain visual rhythm.
Final Thoughts and Next Steps
A stunning photo collage doesn’t require artistic talent—just intention, organization, and the right tools. By following a clear process and paying attention to balance, consistency, and storytelling, you can transform scattered memories into a meaningful piece of personal art. The ease of modern software means anyone with a computer can do it, and the emotional payoff is often far greater than the effort invested.


 浙公网安备
33010002000092号
浙公网安备
33010002000092号 浙B2-20120091-4
Comments
No comments yet. Why don't you start the discussion?