
Transforming still images into a compelling video is no longer reserved for professional editors. Whether you're creating a wedding slideshow, a travel recap, or a social media story, turning photos into a dynamic video can elevate your storytelling. With intuitive software and smart techniques, you can produce polished results in under an hour—no prior experience required.
The key lies in combining the right tools with thoughtful pacing, transitions, music, and effects. This guide walks you through every stage of the process, from selecting your best shots to exporting a shareable file that captivates your audience.
1. Gather and Organize Your Images
Before opening any editing software, start by curating your photos. A cluttered selection leads to a disjointed video. Choose high-resolution images that tell a cohesive story—chronologically, thematically, or emotionally.
Create a dedicated folder on your computer and name it clearly (e.g., “Beach_Vacation_Slideshow”). Inside, organize images in the order you want them to appear. Use descriptive filenames like “01_Arrival.jpg” or “05_Sunset_Dinner.jpg” to maintain sequence without relying solely on thumbnails.
Consider the emotional arc of your video. Begin with establishing shots, build momentum with action or interaction, and conclude with a strong closing image—a smile, a landmark, or a heartfelt moment.
2. Choose the Right Video Editing Tool
Not all tools are created equal. The best choice depends on your technical comfort, budget, and desired output quality. Below is a comparison of popular options across platforms.
| Software | Platform | Best For | Cost |
|---|---|---|---|
| Canva | Web, iOS, Android | Beginners, social media content | Free + Pro ($12.99/mo) |
| Adobe Express | Web, Desktop | Quick edits with brand consistency | Free + Premium plans |
| Windows Photos App | Windows 10/11 | Simple slideshows with music | Free |
| iMovie | Mac, iOS | Apple users wanting advanced features | Free |
| DaVinci Resolve | Windows, Mac, Linux | Professional-grade control | Free + Studio ($295) |
For most users, Canva or iMovie offers the ideal balance of ease and functionality. If you need watermark-free exports and premium transitions, consider upgrading to a Pro plan. DaVinci Resolve is powerful but has a steeper learning curve—best saved for when you’re ready to grow beyond basics.
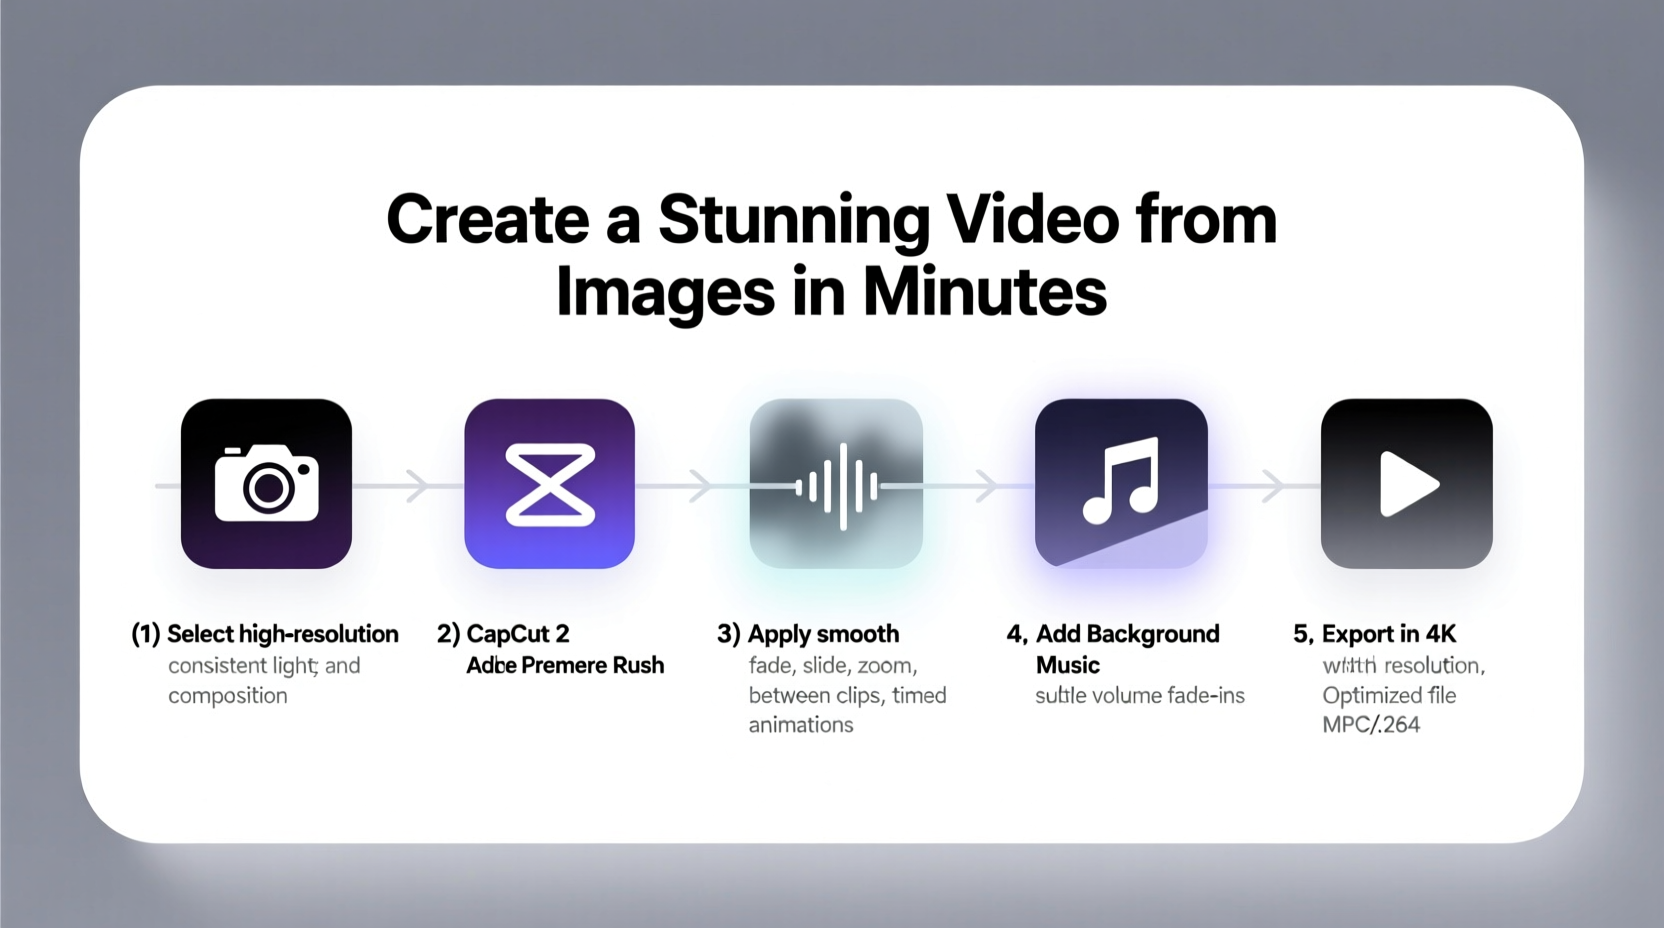
3. Build Your Video: Step-by-Step Process
Follow this timeline to assemble your video efficiently. Allocate 30–60 minutes depending on length and complexity.
- Import your images into the chosen editor. Drag and drop your organized folder directly into the media library.
- Arrange clips on the timeline in narrative order. Most tools allow drag-and-drop reordering.
- Set image duration. Default is often 3–5 seconds per photo. Adjust based on content: action shots may need less time; emotional moments benefit from 5–7 seconds.
- Add smooth transitions (fade, pan, zoom) between images. Avoid overusing flashy effects—subtlety enhances professionalism.
- Overlay background music. Pick royalty-free tracks from the app’s library or import your own. Match tempo to mood: upbeat for travel, soft piano for weddings.
- Adjust audio levels so music doesn’t overpower narration (if added).
- Insert text overlays for titles, dates, or captions. Use clean fonts and limit text per screen to 6–8 words.
- Preview and refine. Watch the full sequence multiple times. Trim pauses, fix awkward transitions, and ensure rhythm feels natural.
- Export in HD (1080p recommended). Choose MP4 format for universal compatibility.
4. Enhance Visual Appeal with Pro Techniques
A basic slideshow becomes stunning when enriched with cinematic touches. These techniques require minimal effort but significantly boost impact.
- Ken Burns Effect: Apply slow zoom and pan to static images. This creates movement and focuses attention on key subjects.
- Color grading: Use preset filters (e.g., warm, vintage, cinematic) to unify tone across varied lighting conditions.
- Frame consistency: Add subtle borders or mattes if images vary in size or aspect ratio.
- Sound design: Layer ambient sounds (waves, laughter, city noise) beneath music for immersive depth.
“Even simple videos gain emotional weight when visuals, sound, and pacing align.” — Daniel Reyes, Multimedia Producer at Storyline Studios
One real-world example: Sarah, a small business owner, turned customer-submitted product photos into a 60-second Instagram reel. She used Canva to apply fade transitions, added trending audio, and included text like “Real customers, real results.” The video gained over 10,000 views and boosted engagement by 40% compared to static posts.
5. Final Checklist Before Exporting
Use this checklist to ensure your video meets professional standards before sharing:
- ✅ All images are sharp and properly oriented
- ✅ Sequence tells a clear, engaging story
- ✅ Transitions are consistent and not distracting
- ✅ Music complements the mood and isn’t too loud
- ✅ Text is readable and free of typos
- ✅ Total length is appropriate (under 2 mins for social, up to 5 mins for personal events)
- ✅ Export settings: 1080p resolution, MP4 format, 24–30fps
Frequently Asked Questions
How many photos do I need for a 1-minute video?
At an average of 4–5 seconds per image, you’ll need 12–15 photos for a one-minute video. Shorter durations (2–3 seconds) allow for 20+ images, creating a faster-paced montage.
Can I make a video from images on my phone?
Yes. Apps like Canva, Adobe Express, and Apple’s iMovie let you create videos directly on smartphones. Import photos from your gallery, add music, and export in HD—all within minutes.
Do I need to worry about copyright when using music?
Absolutely. Always use royalty-free or licensed music. Built-in libraries in Canva, iMovie, and Adobe Express offer safe, free tracks. Avoid downloading songs from YouTube or Spotify unless explicitly labeled for reuse.
Bring Your Memories to Life
Creating a stunning video from images doesn’t require expensive gear or years of training. With thoughtful planning and accessible tools, anyone can turn a collection of photos into a moving narrative. The result isn’t just a video—it’s a shared experience, a preserved memory, or a powerful message delivered with emotion.
Start small. Pick five favorite images from your last trip, add a song you love, and experiment with transitions. Share it with a friend. Refine it. Then do it again. Each project builds your confidence and skill. Before long, you’ll be crafting videos that don’t just show moments—they make people feel them.


 浙公网安备
33010002000092号
浙公网安备
33010002000092号 浙B2-20120091-4
Comments
No comments yet. Why don't you start the discussion?