
A square puff quilt is a charming, textured bedding option that combines softness with visual interest. While the puff quilt itself adds volume and warmth, its appearance can be elevated—and its longevity increased—by pairing it with a custom-made cover. Unlike standard duvet covers, a well-crafted cover for a puff quilt must accommodate extra thickness and maintain breathability without flattening the puffs. This guide walks through the entire process of designing and constructing a stylish, functional cover that enhances your handmade or store-bought puff quilt.
Selecting the Right Fabric
The foundation of a successful puff quilt cover lies in fabric selection. Because puff quilts are inherently bulky, the cover must be both strong and slightly forgiving in texture and weave. Cotton poplin, linen blends, and tightly woven cotton shirtings are ideal—they offer durability, breathability, and a crisp finish without restricting the quilt’s loft.
Avoid overly stretchy or flimsy materials like jersey knits or lightweight voile. These can distort during use and fail to protect the puff structure. If you're aiming for luxury, consider sateen weaves for their subtle sheen, but ensure they have a thread count above 200 to prevent snagging.
Measurements and Sizing Guide
Precision in measurement ensures a clean fit. Begin by laying your puff quilt flat on a large surface, smoothing out any major creases without compressing the puffs. Use a tape measure to record the exact width and length. Add two inches to each dimension—this accounts for seam allowances (½ inch per side) and allows room for the quilt’s thickness when inserted.
For example, if your puff quilt measures 50” x 60”, cut your fabric pieces to 52” x 62”. The extra space prevents strain on seams and makes insertion easier. Height is also a consideration; puff quilts can be 2–3 inches thick. Ensure your cover’s opening design accommodates this depth.
“Fit is everything with puff quilts. A tight cover crushes the puff effect, while one too loose looks sloppy. Always measure twice and test-fit before final stitching.” — Lena Ruiz, Textile Designer & Quilting Instructor
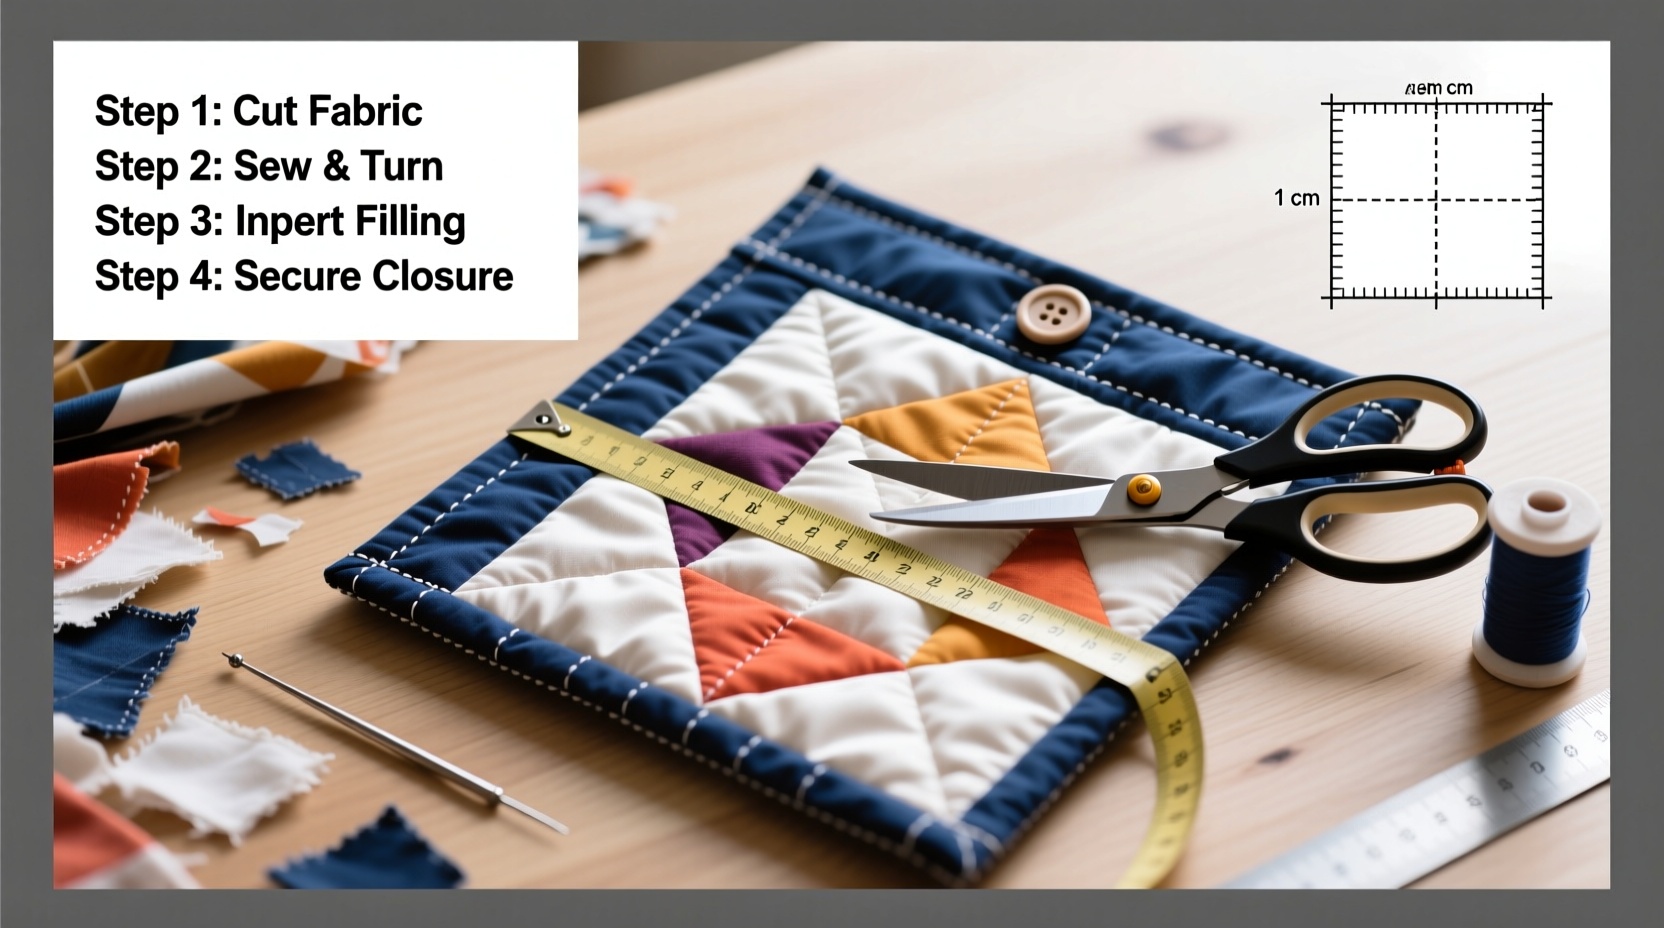
Construction Steps: Building the Cover
Follow this detailed sequence to assemble a durable, attractive cover.
- Cut the fabric: Using your adjusted measurements, cut two identical rectangles—one for the front and one for the back. If desired, add decorative elements like piping or contrast binding at this stage.
- Prepare the opening: Decide on the closure type. A center-back envelope overlap is simple and effective. For this, cut the back panel into two overlapping pieces, each about one-third and two-thirds of the total width, allowing them to slide over each other.
- Sew the side and bottom seams: With right sides together, pin and stitch the front panel to the left back panel along the left edge and bottom edge using a ½-inch seam allowance. Repeat for the right back panel on the right edge. Leave the top open.
- Finish the edges: To prevent fraying, serge or zigzag-stitch all raw edges before final assembly. Alternatively, use French seams for a clean interior finish, especially with sheer or lightweight cottons.
- Press seams open: Carefully press the stitched seams flat with an iron on low heat. This creates a polished look and reduces bulk.
- Create the envelope overlap: Fold the inner edges of the two back panels toward the wrong side by ½ inch, then again by another ½ inch to encase the raw edge. Iron and pin in place. Stitch close to the folded edge to secure.
- Optional topstitching: For added style, topstitch ¼ inch from the edge around the entire perimeter of the front panel. This reinforces the shape and gives a tailored appearance.
Design Options and Customization
A puff quilt cover doesn’t have to be plain. Thoughtful design touches elevate it from functional to fashionable.
- Contrast binding: Apply a colored or patterned bias tape along the edges for a framed look.
- Monogramming: Embroider initials or a small motif near a corner for personalization.
- Button closures: Instead of an envelope back, sew buttons and loops for a vintage aesthetic.
- Front opening: A hidden zipper along the bottom edge offers a sleek, modern alternative.
Consider seasonal rotation—lightweight linen covers for summer, heavier cotton blends for winter. Having multiple covers extends the life of the quilt by reducing washing frequency.
| Feature | Best For | Pros | Cons |
|---|---|---|---|
| Envelope Back | Beginners, frequent washing | Easy to make, no special tools | May gape if oversized |
| Hidden Bottom Zipper | Decorative quilts, tighter fit | Secure closure, clean lines | Requires zipper foot and precision |
| Button & Loop Closure | Vintage style, heirloom pieces | Charming, adjustable | Slower to open/close |
Mini Case Study: Reviving a Handmade Heirloom
Sophie inherited a hand-stitched puff quilt from her grandmother, made from repurposed dress fabrics. While the quilt was structurally sound, its original cover had worn thin and yellowed. She wanted to preserve the quilt’s integrity while giving it a fresh, modern look.
Sophie measured the quilt carefully, adding two inches to each side. She chose unbleached organic cotton with a herringbone texture for durability and a natural aesthetic. Opting for an envelope back with navy-blue contrast binding, she added a single embroidered initial in matching thread. The new cover protected the delicate puff stitches, allowed airflow, and transformed the quilt into a centerpiece for her guest bed. After six months of regular use and gentle machine washing, the cover remained intact and vibrant.
Care and Maintenance Tips
To extend the life of your puff quilt cover, follow these guidelines:
- Wash in cold water on a gentle cycle with mild detergent.
- Avoid bleach and fabric softeners, which degrade fibers and reduce absorbency.
- Tumble dry on low or air-dry flat to prevent shrinkage.
- Store the cover separately from the quilt when not in use to minimize compression.
Frequently Asked Questions
Can I use flannel for a puff quilt cover?
Flannel is soft but tends to pill and lose shape over time. It may also trap moisture, increasing the risk of mildew. If used, line it with cotton for stability and wash infrequently.
How do I prevent the cover from slipping off?
Incorporate internal ties or corner loops that attach to the quilt’s corners. Alternatively, use a bottom zipper for a snug, fixed fit.
Is it safe to machine wash a puff quilt inside the cover?
No. Puff quilts should never be machine washed due to their layered construction. The cover can be washed regularly, but the quilt itself requires spot cleaning or professional care.
Final Checklist Before Sewing
- Checklist:
- ☐ Measure quilt dimensions including thickness
- ☐ Add 2 inches total (1 inch per side) for seam allowance and ease
- ☐ Pre-wash and iron fabric
- ☐ Choose closure method (envelope, zipper, buttons)
- ☐ Cut front and back panels accurately
- ☐ Finish raw edges before sewing main seams
- ☐ Test fit the quilt before final stitching
- ☐ Press all seams for a professional finish
Conclusion
Creating a stylish cover for a square puff quilt is a rewarding project that blends practicality with creativity. With careful fabric selection, precise measurements, and thoughtful construction, you can craft a cover that protects, enhances, and prolongs the beauty of your quilt. Whether you’re refreshing an heirloom or complementing a new handmade piece, a custom cover reflects attention to detail and a love for textile craftsmanship. Take the time to sew with intention—your quilt deserves nothing less.


 浙公网安备
33010002000092号
浙公网安备
33010002000092号 浙B2-20120091-4
Comments
No comments yet. Why don't you start the discussion?