
Accessing and reading your Gmail emails should be simple, efficient, and stress-free. Whether you're new to Gmail or looking to refine your workflow, understanding the core steps—along with some lesser-known features—can make a significant difference in how quickly and effectively you manage your inbox. This guide walks you through every stage of opening and reading your Gmail messages across devices, while also offering optimization strategies used by experienced email managers.
1. Access Your Gmail Account
The first step is logging into your Gmail account. Gmail is accessible from any device with an internet connection—be it a desktop, laptop, tablet, or smartphone. Here’s how:
- Open a web browser (Chrome, Safari, Firefox, etc.) and go to https://mail.google.com.
- Enter your full Gmail address (e.g., username@gmail.com) and click “Next.”
- Input your password and sign in.
- If two-factor authentication is enabled, complete the verification step using your phone, security key, or backup code.
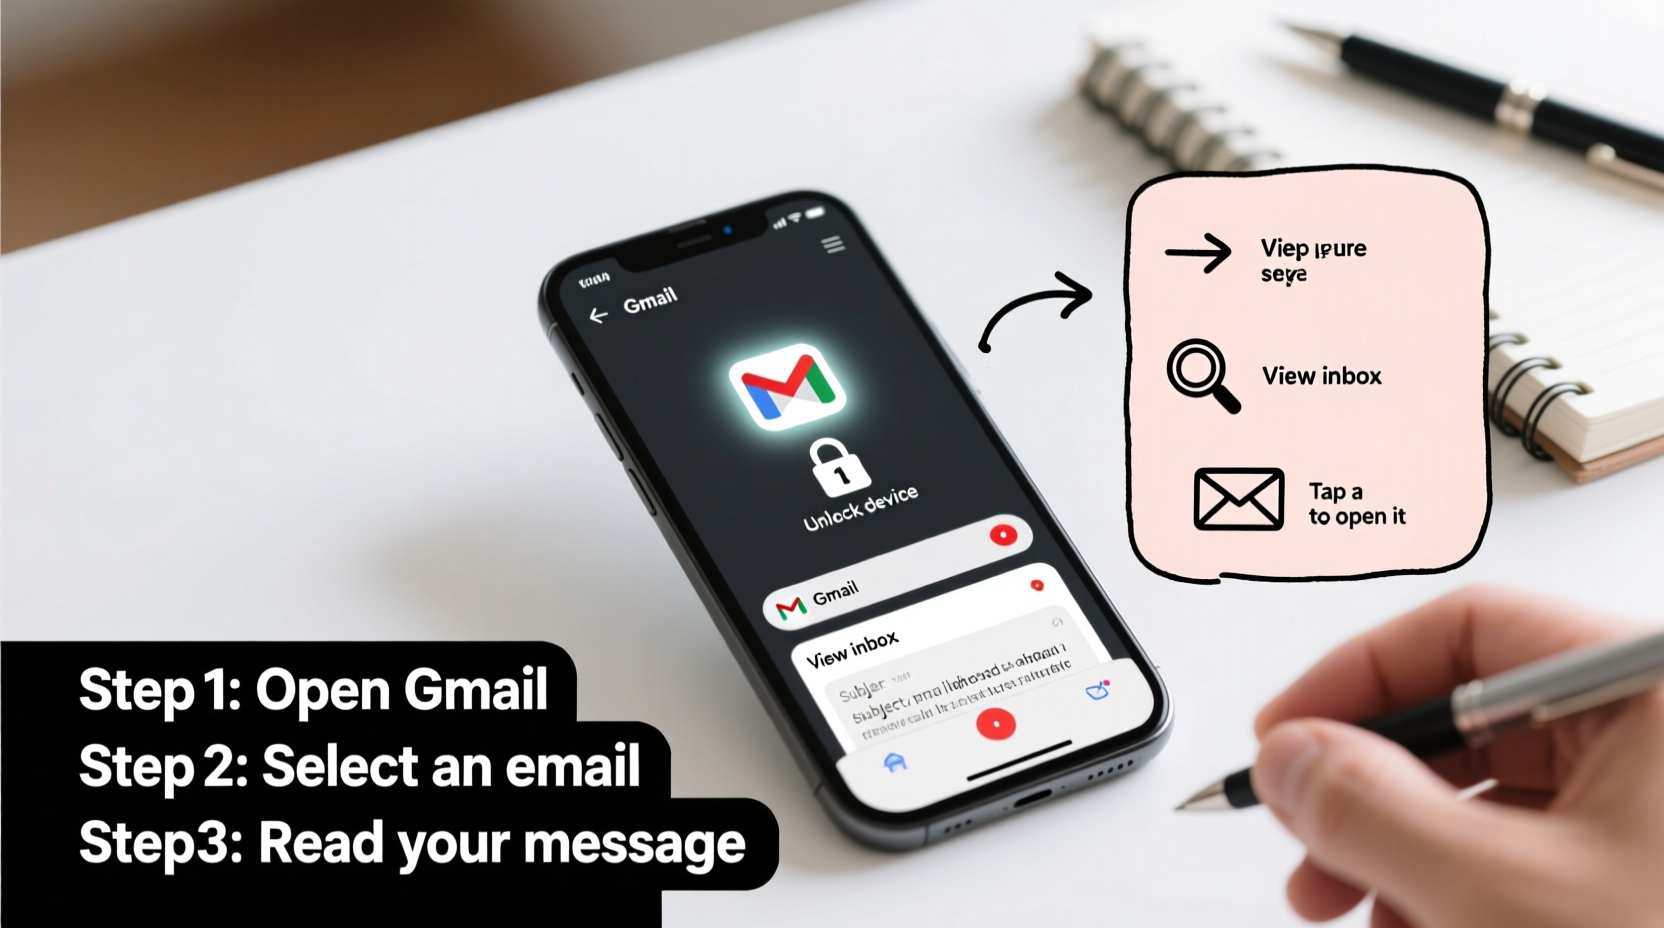
Once logged in, you’ll land directly on your primary inbox, where unread messages are typically highlighted or appear at the top.
2. Navigate the Gmail Interface
Familiarity with Gmail’s layout makes reading emails faster and more intuitive. The main sections include:
- Inbox: Displays all incoming messages unless filtered into other categories.
- Sidebar: Contains shortcuts like “Primary,” “Social,” “Promotions,” “Starred,” “Sent,” “Drafts,” and “Trash.”
- Email List Panel: Shows sender, subject line, snippet, time, and labels for each message.
- Reading Pane: Where the full content of a selected email appears.
By default, clicking any message opens it in the same window. For users who prefer side-by-side viewing, enabling the “Split pane” or “Preview pane” mode under Settings > See all settings > Advanced can improve multitasking.
Understanding Email Status Indicators
Gmail uses visual cues to help identify message status:
| Indicator | Meaning |
|---|---|
| Bold text | Email is unread |
| Gray circle | Email has not been starred |
| Yellow star | Email is marked as important or manually starred |
| Blue underline | Email contains attachments |
| Clock icon | Email is snoozed and will reappear later |
3. Open and Read Emails Efficiently
Opening an email is straightforward, but doing so efficiently involves knowing a few keyboard shortcuts and interface behaviors.
- Click on any email in your inbox list to open it in the main reading pane.
- To open in a new tab, right-click the message and select “Open in new tab,” or use Ctrl + Click (Windows) or Cmd + Click (Mac).
- Use arrow keys to move between messages without using the mouse—press ↓ to go down the list, ↑ to go up.
- Press Enter to open the selected email fully.
- To mark as read/unread, press Shift + I (toggle read status).
For touch-based devices like smartphones, simply tap once to open the message. Swipe gestures allow quick archiving (swipe left/right) or deletion, depending on your app settings.
“Power users save over an hour a week just by mastering Gmail’s keyboard shortcuts.” — David Lin, Productivity Consultant at FlowWork Labs
4. Optimize Your Reading Experience
Not all emails require deep attention. Learning to triage helps you focus only on what matters.
Skim Smartly
Start by scanning the sender, subject line, and first few lines. Ask yourself:
- Is this urgent or time-sensitive?
- Does it require action, or is it informational?
- Can it be dealt with in under two minutes?
If yes, reply immediately. If not, archive it or move it to a labeled folder for later review.
Use Labels and Categories
Gmail’s tab system (Primary, Social, Promotions) helps separate personal emails from marketing content. You can further customize this:
- Create custom labels via Settings > See all settings > Filters and Blocked Addresses > Create a new filter.
- Apply rules based on sender, keywords, or subject lines.
- Assign colors to labels for visual clarity.
This ensures that when you open your inbox, high-priority messages stand out, reducing the cognitive load of deciding what to read first.
5. Real-World Example: Managing a Busy Inbox
Sophie, a freelance graphic designer, receives over 80 emails daily—from clients, collaborators, newsletters, and automated alerts. Initially overwhelmed, she applied the following routine:
- She set up filters to automatically label client emails with “Work – Client” and moved non-urgent newsletters to a “Read Later” label.
- She enabled the Priority Inbox view so only high-importance messages appeared at the top.
- Each morning, she spends 10 minutes reviewing unread emails using keyboard navigation, responding to quick items, and archiving the rest.
Within a week, Sophie reduced her email processing time by 60% and rarely misses critical messages. Her success wasn’t due to working harder—but smarter, using Gmail’s built-in tools.
Essential Checklist: How to Open and Read Gmail Like a Pro
- ✅ Log in securely at mail.google.com
- ✅ Identify unread messages (bold text)
- ✅ Click or tap to open the email in the reading pane
- ✅ Use arrow keys and Enter to navigate without the mouse
- ✅ Apply labels or stars to organize follow-ups
- ✅ Mark unimportant messages as read to reduce visual noise
- ✅ Log out on shared devices or use incognito mode
Frequently Asked Questions
Why can’t I see the full email after opening it?
This may happen if images are blocked or if the message is truncated. Click “Display images below” if prompted, or check whether the email was cut off due to size limits. Large emails may be partially downloaded; clicking “View entire message” at the bottom resolves this.
How do I keep emails from disappearing after I read them?
Emails don’t disappear unless archived, deleted, or filtered. If a read email vanishes, check “All Mail” or “Trash.” To prevent automatic archiving, avoid using “Delete” or “Archive” buttons accidentally. Consider adjusting your swipe settings on mobile apps.
Can I read Gmail offline?
Yes. Enable Offline Mode in Settings > See all settings > Offline. Once activated, Gmail syncs recent messages and allows reading and drafting emails without internet. Changes sync automatically when you reconnect.
Final Thoughts: Make Email Work for You
Opening and reading Gmail emails doesn’t have to be a daily chore. With the right habits—consistent login practices, smart navigation, labeling, and efficient triage—you transform your inbox from a source of stress into a streamlined communication hub. The key isn’t checking email more often, but making each session count.
Start today: spend five minutes setting up one filter, learn three keyboard shortcuts, or reorganize your labels. Small actions compound into major productivity gains. Over time, you won’t just read your emails—you’ll control them.


 浙公网安备
33010002000092号
浙公网安备
33010002000092号 浙B2-20120091-4
Comments
No comments yet. Why don't you start the discussion?