
The Samsung Galaxy Ace 4, though released several years ago, remains in use across various regions due to its reliability and simplicity. One of its key features is expandable storage via a microSD card, allowing users to significantly increase available space for photos, apps, music, and documents. However, improper installation can lead to poor performance, data corruption, or even hardware damage. This guide provides a thorough, practical walkthrough on how to correctly insert and configure an SD card in your Ace 4, ensuring optimal functionality and longevity.
Understanding Your Ace 4’s Storage Options
The Ace 4 supports microSD cards up to 64GB, which was the standard maximum at the time of its release. The internal storage ranges between 4GB and 8GB depending on the model, with only about half usable after the operating system and pre-installed apps take their share. This makes external storage not just helpful—but often essential—for continued usability.
The microSD slot is located under the back cover, next to the battery compartment. Unlike newer smartphones that use hybrid trays or SIM-only slots, the Ace 4 uses a dedicated microSD bay, making it straightforward to access without affecting SIM connectivity.
What You’ll Need Before Starting
Before you begin, gather the necessary tools and materials. Having everything ready ensures a smooth process and reduces the risk of mishandling delicate components.
- A compatible microSD card (up to 64GB, Class 10 recommended)
- Your Ace 4 smartphone
- A clean, well-lit workspace
- Optional: A small plastic tool or fingernail to assist with cover removal
Ensure the microSD card is formatted to FAT32, which is the file system recognized by Android 4.4 KitKat (the OS running on the Ace 4). Most new cards come pre-formatted this way, but if you’re reusing a card from another device, verify its format using a computer.
“Improper insertion or forcing the card can damage the contact pins, leading to permanent read/write failure.” — Tech Repair Hub, Mobile Hardware Specialists
Step-by-Step Installation Process
Follow these steps carefully to install the microSD card without damaging your device.
- Power down the phone completely. Press and hold the Power button, then select “Power off” from the menu. Wait until the screen goes black.
- Remove the back cover. Place your thumb on the bottom edge near the camera and gently pry upward. The cover should snap off easily. Avoid using metal tools that could scratch or short-circuit components.
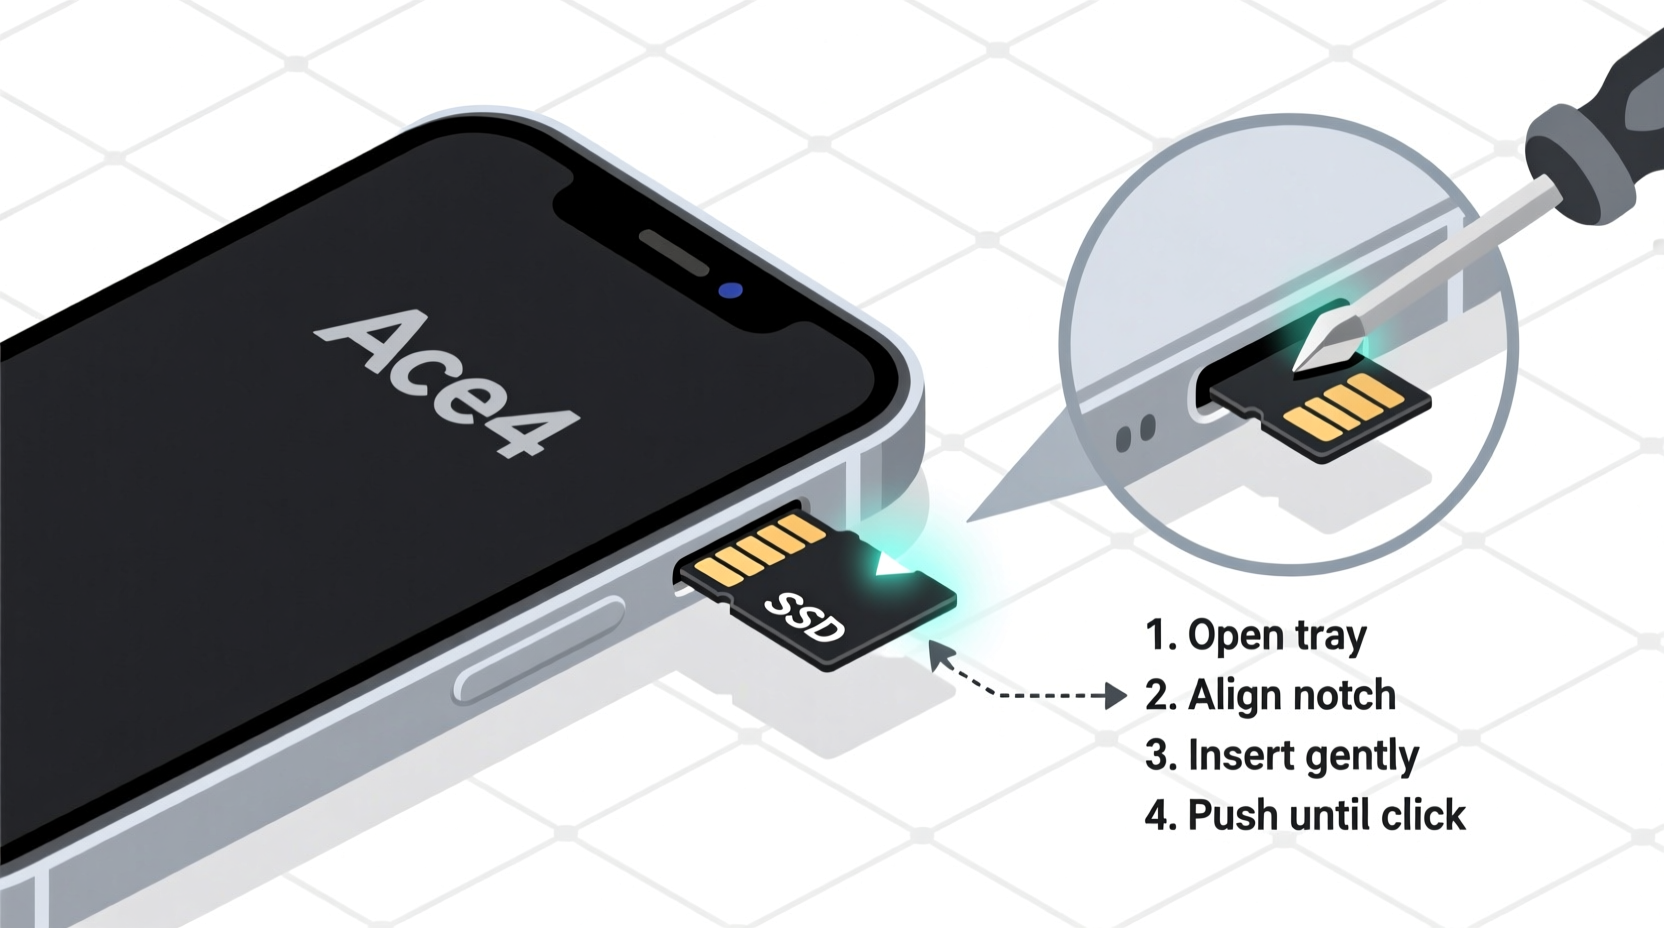
- Locate the microSD slot. It sits on the right side of the battery compartment, labeled with a small SD icon. The slot uses a push-push mechanism—no tray required.
- Insert the microSD card. Hold the card with the gold contacts facing down and the notched corner aligned with the slot’s shape. Gently push the card straight in until it clicks into place. Do not force it—if resistance is felt, double-check orientation.
- Reinstall the back cover. Align the top edge first, then press along the sides until the cover snaps securely.
- Power on the device. Allow the phone to boot normally. After a few moments, a notification may appear confirming SD card detection.
Configuring and Testing the SD Card
Once installed, the Ace 4 will automatically detect and mount the card. However, manual verification ensures everything works correctly.
Verify Detection in Settings
Navigate to: Settings > More > Storage. Under “SD card,” you should see total capacity, available space, and status. If it shows “Unmounted,” tap “Mount SD card.”
Set Default Save Location (Optional)
To save photos, videos, and downloads directly to the SD card:
- Open the Camera app.
- Go to Settings within the app.
- Select Storage location and choose “Memory card.”
Note: The Ace 4 does not support adopting the SD card as internal storage (a feature introduced in later Android versions), so apps cannot be moved entirely to the card. However, some apps allow caching or media files to be stored externally.
Test Read/Write Performance
Create a simple test: take a photo, record a short video, or download a file from a browser. Confirm these are saved to the SD card by checking the DCIM or Download folders using a file manager like My Files.
| Action | Expected Result | Troubleshooting Tip |
|---|---|---|
| Phone boots with card inserted | Normal startup, no error messages | Reinsert card; ensure correct orientation |
| Storage settings show SD card info | Capacity and usage displayed | Format card via computer if unrecognized |
| New photo saves successfully | Image appears in DCIM folder on SD card | Check camera storage setting |
Common Mistakes and How to Avoid Them
Even experienced users make errors when handling older devices. Awareness of common pitfalls helps prevent unnecessary issues.
- Using incompatible cards: Cards larger than 64GB (e.g., 128GB) may not work, even if physically fitting. Stick to SDHC standards.
- Inserting upside down: The Ace 4’s slot only accepts one orientation. Forcing it can bend internal pins.
- Removing the card while powered on: Can corrupt data or damage the file system. Always shut down first.
- Ignoring file system requirements: exFAT or NTFS cards won’t be readable. Format to FAT32 using a PC if needed.
Real-World Example: Maria’s Upgrade Experience
Maria had been using her Ace 4 for over two years. Recently, she started receiving “Storage Full” warnings despite deleting old messages. She purchased a 32GB Class 10 microSD card but initially struggled to get it recognized. After reading online forums, she realized she’d inserted the card while the phone was on. Following a proper shutdown and reinsertion, the card mounted successfully. She then changed her camera settings to save photos to the SD card and freed up over 2GB of internal memory. Her phone now runs smoother, and she’s able to keep family photos without constant cleanup.
Frequently Asked Questions
Can I use a 128GB microSD card in my Ace 4?
No. The Ace 4 officially supports microSDHC cards up to 64GB. Larger SDXC cards (128GB+) use a different file addressing system and are not compatible, even if the device detects them initially.
Why is my SD card showing as “Damaged” or “Corrupted”?
This usually occurs due to improper ejection, power loss during write operations, or a failing card. Try backing up any readable data, then format the card using your computer. If the issue persists, the card may be defective.
How do I move existing files to the new SD card?
Use the built-in My Files app. Navigate to internal storage folders (DCIM, Downloads, etc.), long-press the files or folders you want to move, tap “Copy” or “Move,” then navigate to the SD card directory and paste.
Final Checklist Before Use
Before relying on your newly installed SD card, run through this quick checklist:
- ✅ Phone is powered off during installation
- ✅ microSD card is inserted with contacts facing down
- ✅ Back cover is securely snapped in place
- ✅ Device recognizes the card in Storage settings
- ✅ Test file saved successfully to the card
- ✅ Camera and download settings updated to use external storage
Conclusion
Installing an SD card in your Ace 4 is a simple yet critical task that extends the life and utility of your device. With the right card, proper technique, and a few minutes of careful attention, you can unlock significant additional storage. Whether preserving memories, storing documents, or simply avoiding frustrating low-storage alerts, this upgrade pays immediate dividends. Take the time to do it right—your future self will thank you when your phone continues to serve you reliably for months or even years to come.


 浙公网安备
33010002000092号
浙公网安备
33010002000092号 浙B2-20120091-4
Comments
No comments yet. Why don't you start the discussion?