
Putting a leash on your dog might seem like a simple task, but doing it incorrectly can lead to discomfort, anxiety, or even injury. A poorly attached leash may slip off, cause chafing, or trigger resistance during walks. When done right, however, the process becomes a seamless part of your routine—one that sets a positive tone for every outing. This guide breaks down the correct method with attention to safety, comfort, and training psychology, ensuring both you and your dog feel confident and secure.
Why Proper Leash Application Matters
A dog’s neck and shoulders are sensitive areas. Using the wrong technique—or rushing the process—can create negative associations with walking, leading to pulling, balking, or fear-based behaviors. The goal is not just to attach a leash, but to do so in a way that respects your dog’s physical structure and emotional state.
Dogs come in all shapes and sizes, from broad-chested bulldogs to slender greyhounds, and each has unique anatomical needs. A collar that fits one breed perfectly might restrict another. Understanding these differences ensures long-term comfort and prevents strain on the trachea, spine, or joints.
“Leash attachment should be calm, consistent, and predictable. Dogs thrive on routine, and a gentle approach builds trust.” — Dr. Lena Torres, Veterinary Behaviorist
Step-by-Step: How to Put a Leash on Your Dog Safely
- Choose the Right Equipment
Select a well-fitted collar or harness based on your dog’s breed, size, and behavior. For dogs prone to pulling, a front-clip harness reduces strain on the neck. For small breeds or those with delicate tracheas (like Pomeranians or Yorkshire Terriers), a harness is strongly recommended. - Approach Calmly
Before reaching for the leash, ensure your dog is relaxed. Call their name gently or offer a quiet command like “let’s go.” Avoid sudden movements. If your dog tends to bolt when they see the leash, practice leaving it out without using it to reduce overexcitement. - Secure the Collar or Harness First
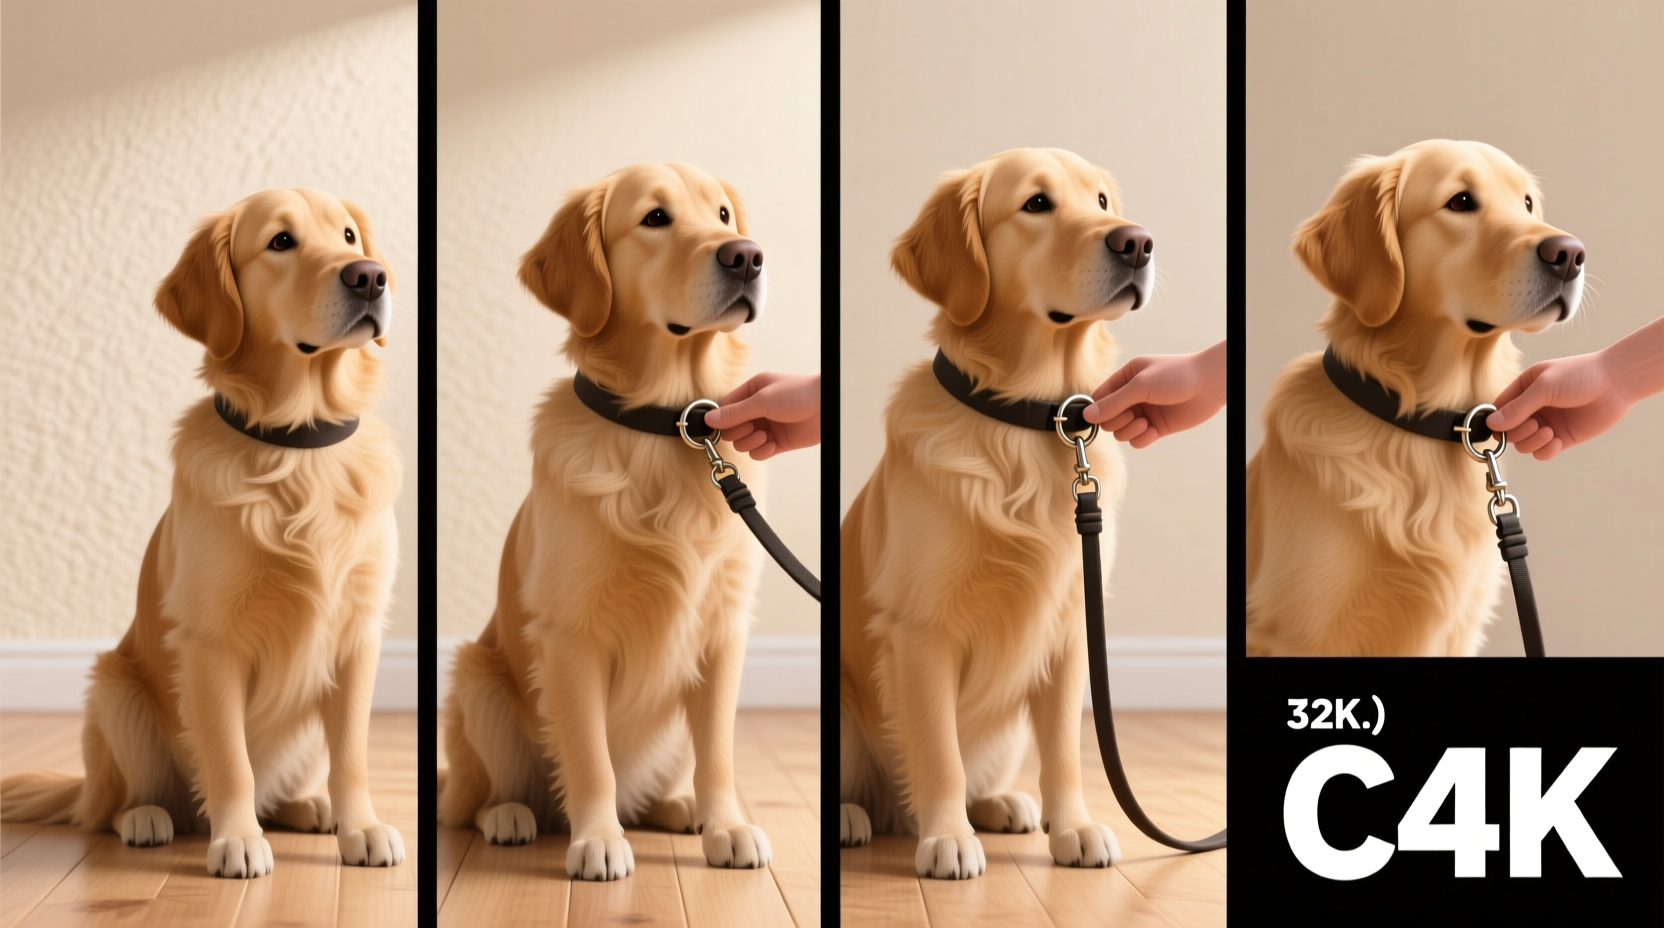
If the collar or harness isn’t already on, put it on before attaching the leash. For collars, slide it over the head so the ID tag sits on the left side. Ensure you can fit two fingers snugly between the collar and the dog’s neck. Too tight risks choking; too loose increases escape risk. - Attach the Leash Correctly
Hold the leash in one hand and use the other to lift the metal D-ring on the collar or harness slightly. Clip the leash snap firmly into the ring until you hear a click. Give a light tug to confirm it’s secure. Never drape the leash over the dog’s head or back—it can tangle and startle them. - Check Fit and Position
Once the leash is on, observe your dog’s posture. Their head should move freely. If using a harness, ensure straps aren’t twisted and padding aligns with the chest. Adjust if needed before stepping outside. - Begin the Walk with a Positive Cue
Use a consistent verbal cue like “let’s walk” or “ready?” to signal the start. Allow your dog a moment to orient themselves before moving forward. This builds anticipation and cooperation rather than tension.
Choosing Between Collar and Harness: A Quick Comparison
| Feature | Collar | Harness |
|---|---|---|
| Best For | Well-trained dogs who don’t pull | Puppies, pullers, brachycephalic breeds |
| Neck Pressure | Higher—risk to trachea if pulled | Distributed across chest and shoulders |
| Ease of Use | Simple and quick | Slightly more steps to put on |
| Safety | Lower for escape-prone dogs | Higher—reduces slipping risk |
| Training Support | Limited control | Better guidance and redirection |
Common Mistakes to Avoid
- Using a choke or prong collar improperly – These tools require professional guidance. Misuse can cause physical harm and erode trust.
- Attaching the leash while the dog is moving – Wait until your dog is standing or sitting calmly to prevent jerking.
- Letting the leash dangle before clipping – It can scare sensitive dogs or get tangled around legs.
- Forcing the collar over the ears roughly – Especially painful for dogs with ear sensitivities or past trauma.
- Ignoring signs of discomfort – Whining, shaking head, or backing away indicate the fit or method needs adjustment.
Real-Life Example: Transforming a Reactive Walker
Max, a two-year-old Australian Shepherd, used to lunge and bark at other dogs during walks. His owner initially used a standard collar, which only increased his tension whenever the leash tightened. After consulting a trainer, she switched to a front-clip harness and retrained the leash application process. Instead of rushing to clip Max the moment he saw the leash, she began practicing “calm touch” exercises: gently touching the harness, rewarding stillness, and gradually building up to full attachment.
Within three weeks, Max no longer lunged when the leash appeared. He would sit patiently as the harness was secured. The change wasn’t just about equipment—it was about creating a peaceful ritual. Today, walks are enjoyable for both of them.
Essential Checklist Before Every Walk
- ✅ Inspect collar/harness for wear, fraying, or broken buckles
- ✅ Confirm proper fit (two-finger test)
- ✅ Choose the right leash type (standard, retractable*, hands-free)
- ✅ Attach leash to the correct D-ring (back for most harnesses, top for collars)
- ✅ Ensure ID tags are current and securely fastened
- ✅ Offer a treat or praise during attachment to build positive association
Frequently Asked Questions
Should I leave the harness on my dog all day?
No. While harnesses are safer than collars for walking, they should be removed when not in use. Continuous wear can cause skin irritation, matting, or pressure sores, especially in humid conditions or for dogs with thick coats.
My dog hates the leash—what should I do?
This often stems from rushed or negative associations. Start by letting your dog sniff the leash and reward curiosity. Touch the harness gently and give treats. Gradually increase contact until you can fully attach it. Use high-value rewards and keep sessions under 60 seconds. Patience is key.
Can I use a leash with a martingale collar?
Yes, martingale collars are excellent for dogs with narrow heads (like Greyhounds) that can slip out of regular collars. They tighten slightly under tension but have a limit to prevent choking. Always attach the leash to the smaller, sliding D-ring, not the fixed loop.
Final Thoughts: Building a Better Walking Experience
Putting a leash on your dog is more than a mechanical act—it’s the first step in a shared journey. When done with care, it establishes respect, safety, and connection. Small details like a properly fitted harness, a calm demeanor, and positive reinforcement compound over time into stress-free walks and a stronger bond.
Dogs respond to consistency and kindness. By refining how you attach the leash, you’re not just preventing escapes or injuries—you’re teaching your dog that going outside is something safe, predictable, and enjoyable.


 浙公网安备
33010002000092号
浙公网安备
33010002000092号 浙B2-20120091-4
Comments
No comments yet. Why don't you start the discussion?