
Free motion quilting opens up a world of creative possibilities, allowing you to stitch intricate designs with complete control over fabric movement. However, standard sewing machine operation relies on feed dogs to advance the fabric forward—a mechanism that must be disengaged for successful free motion work. On many Kenmore models, this requires a manual process rather than a simple switch. Understanding how to safely disable the feed dogs ensures clean stitching, protects your machine, and enhances your quilting experience.
Understanding Feed Dogs and Their Role in Quilting
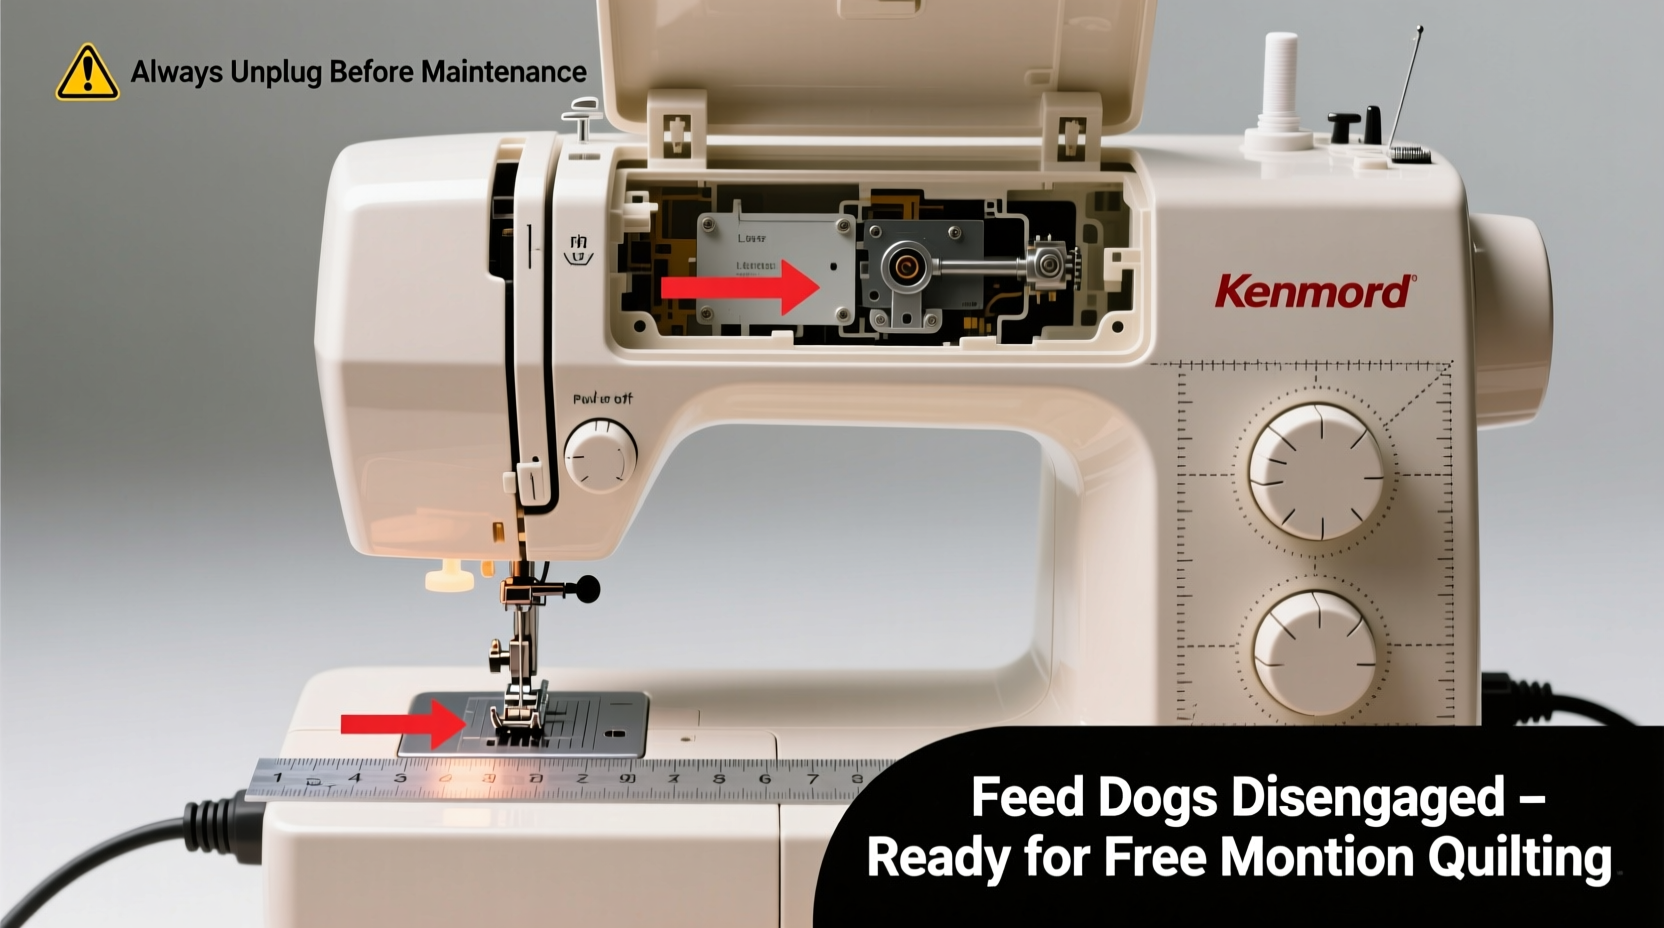
Feed dogs are the small, toothed metal bars beneath the presser foot that move fabric through the machine during regular sewing. They provide consistent stitch length and prevent shifting. But when it comes to free motion quilting, they interfere with the quilter’s ability to guide the fabric freely in any direction.
Disabling the feed dogs eliminates this automated feeding action, enabling you to move the fabric manually under the needle. This is essential for techniques like stippling, echo quilting, or custom designs where precision and fluidity matter more than straight-line consistency.
“Mastering free motion quilting starts with understanding your machine’s mechanics—especially how to manage the feed dogs properly.” — Diane Thomas, Certified Sewing Instructor and Quilting Specialist
Preparation: Tools and Safety Checks
Before attempting to disable the feed dogs on your Kenmore sewing machine, gather the necessary tools and perform safety checks to avoid damage or injury.
- Screwdriver (usually Phillips-head) – Required to access internal components on most older Kenmore models.
- Small container – To store screws safely and prevent loss.
- Owner’s manual – Confirm whether your model supports feed dog disengagement and locate the correct access points.
- Lint brush and small vacuum – Clean around the feed dog area before working.
- Machine cover or cloth – Protect surrounding surfaces from debris or dropped parts.
Safety Precautions
- Unplug the machine to eliminate accidental startup.
- Lower the needle into the fabric or handwheel position to reduce risk of pricking.
- Avoid forcing any parts; if resistance occurs, stop and recheck the procedure.
- Never leave screws or tools near open electrical components.
Step-by-Step Guide to Disabling Feed Dogs on Kenmore Machines
Unlike modern computerized machines with drop-feed levers, many Kenmore models—especially those manufactured between the 1970s and early 2000s—require manual feed dog removal or blocking. Follow these steps carefully:
- Remove the throat plate
Use a screwdriver to unscrew the throat plate (also called the needle plate). Set it aside with its screws. This exposes the feed dogs and their connecting mechanism. - Inspect the feed dog assembly
Look for two or three small metal teeth connected to a shaft running underneath. Some models have a lever or knob on the back or side labeled “drop feed” or marked with an icon. If present, slide it to the “down” position. If not, proceed to manual disabling. - Locate the feed dog lift rod or bracket
This connects the feed dogs to the drive mechanism. It's typically found just below the needle bar housing. You may need to remove a side cover using a screwdriver. - Disconnect or block the feed dogs
On non-adjustable models, you can either:- Loosen the setscrew holding the feed dog linkage and gently slide it out (if removable), or
- Place a thin piece of plastic or tape over the feed dog teeth and reinstall the throat plate to keep them lowered.
- Test the result
Reassemble the throat plate without fully tightening. Turn the handwheel slowly to ensure the needle doesn’t hit any obstructed parts. Then, plug in the machine and run it briefly without fabric to confirm no grinding sounds. - Install a darning or free motion foot
Replace your regular presser foot with a darning foot (often included with Kenmore kits) or a spring-action hopping foot. This allows the fabric to move freely while still providing some stability.
Do’s and Don’ts When Disabling Feed Dogs
| Do’s | Don’ts |
|---|---|
| Consult your Kenmore model number and manual before starting | Assume all Kenmore machines disable feed dogs the same way |
| Clean lint and thread buildup before accessing internal parts | Use excessive force when removing or adjusting components |
| Label and organize screws as you remove them | Leave the machine plugged in during maintenance |
| Test machine operation at low speed after modification | Begin quilting immediately without a trial run |
Real Example: Sarah’s First Free Motion Project
Sarah, a hobby quilter from Ohio, recently upgraded from basic straight-line quilting to free motion designs. She owns a vintage Kenmore 158.1600 model, which lacks a built-in feed dog drop lever. After researching online forums and consulting her manual, she followed the disassembly steps above. Initially hesitant about removing the throat plate, she used a magnetic tray for screws and cleaned years of lint from under the feed dogs.
Instead of disconnecting the linkage permanently, she opted to cover the feed dog teeth with high-temperature tape and reinstalled the plate. Using a spring-action darning foot, she practiced stippling on a layered cotton-poly batting sandwich. Her first attempts were wobbly, but within two hours, she achieved even, flowing patterns. “I was afraid I’d break my mom’s old machine,” she said, “but taking it slow made all the difference.”
Maintaining Your Machine After Feed Dog Modification
Once feed dogs are disabled, extra care is needed to preserve machine performance. Since the timing and tension systems remain active, improper use can lead to skipped stitches or bobbin jams.
After completing a quilting session, remove the tape or blockage and reconnect the feed dog mechanism if you plan to return to regular sewing. Leaving the feed dogs disengaged long-term can affect stitch accuracy and machine calibration.
Regular maintenance includes:
- Oil the hook race and moving parts monthly (refer to your manual for oiling points).
- Check needle alignment after reassembling the throat plate.
- Store the machine covered to prevent dust accumulation in exposed areas.
Frequently Asked Questions
Can I permanently disable feed dogs on my Kenmore?
No, permanent removal is not recommended. Most Kenmore models are designed for intermittent use of free motion quilting. Reversible methods like taping or temporary disconnection allow you to restore full functionality for everyday sewing tasks.
Why does my thread keep breaking during free motion quilting?
This often results from incorrect tension settings, dull needles, or using all-purpose thread instead of 50-weight cotton or polyester designed for quilting. Ensure you're using a fresh needle (size 75/11 or 80/12) and appropriate thread.
Is there a way to lower feed dogs without opening the machine?
Some newer Kenmore models (like the 2080 or 2100 series) feature a drop-feed lever on the side. Check your user manual for specific instructions. If no lever exists, physical access is required.
Final Checklist Before Starting Free Motion Quilting
- Unplugged the machine
- Removed throat plate and inspected feed dogs
- Disconnected or blocked feed dog teeth safely
- Reinstalled throat plate securely
- Attached darning or hopping foot
- Adjusted upper thread tension (lowered to 2–3)
- Loaded a walking or quilting foot for future regular sewing (optional)
- Tested machine on scrap fabric
Conclusion
Disabling feed dogs on a Kenmore sewing machine for free motion quilting doesn’t require advanced engineering skills—just patience, attention to detail, and respect for your equipment. By following this guide, you gain the freedom to create expressive, hand-guided designs while preserving your machine’s longevity. Whether you’re reviving a classic Kenmore or adapting it for modern techniques, mastering this foundational step empowers your creativity.


 浙公网安备
33010002000092号
浙公网安备
33010002000092号 浙B2-20120091-4
Comments
No comments yet. Why don't you start the discussion?