
Flashing your cell phone—whether to install a custom ROM, update firmware, or fix software issues—can significantly improve performance and functionality. However, many users hesitate due to the fear of losing personal data. With proper preparation and the right approach, you can flash your device safely while preserving photos, messages, apps, and settings. This guide walks you through every critical stage, from backup strategies to post-flash verification, ensuring a smooth and secure process.
Understanding Phone Flashing: What It Means and Why You’d Do It
Flashing refers to rewriting or replacing the operating system or firmware on your smartphone. Common reasons include:
- Installing a newer version of Android (or iOS in rare cases via jailbreak tools)
- Upgrading to a custom ROM like LineageOS for better performance or features
- Fixing boot loops, crashes, or unresponsive software
- Bypassing carrier restrictions or unlocking bootloader capabilities
While flashing can rejuvenate an aging device, it carries risks—especially data loss. Unlike a factory reset, which erases user data but leaves system partitions intact, flashing often involves modifying system, boot, and recovery partitions. If not handled correctly, this can corrupt internal storage or trigger unintended wipes.
“Proper preparation is 90% of a successful flash. The technical steps are straightforward; the danger lies in skipping backups and assumptions.” — David Lin, Mobile Firmware Engineer at XDA Developers
Essential Pre-Flash Checklist
Before touching any flashing tool, complete these foundational steps to protect your data and ensure compatibility.
- Verify device model and firmware version: Use Settings > About Phone to confirm exact model number (e.g., SM-G975U, not just “Galaxy S10”). Mismatched firmware bricks devices.
- Enable Developer Options and USB Debugging: Go to Settings > About Phone > Tap Build Number 7 times. Then enable USB Debugging under Developer Options.
- Backup all critical data: Use both cloud and local methods. Prioritize contacts, messages, photos, app data, and call logs.
- Download correct tools and files: This includes OEM-specific flashing tools (Odin for Samsung, Fastboot for Pixel), correct ROM, and matching bootloader drivers.
- Disable lock screen security temporarily: Some flashing processes fail if password/pattern protection is active.
Data Backup Strategies That Actually Work
Not all backups are equal. Cloud sync may miss app data or SMS. Local backups offer more control but require manual management.
| Backup Method | Covers | Limits |
|---|---|---|
| Google Account Sync | Contacts, Calendar, Photos (if enabled), Play Store apps | Doesn’t save app data, SMS, or call history unless using third-party sync |
| OEM Tools (Samsung Smart Switch, Xiaomi Mi PC Suite) | Full device clone including apps, settings, messages | Vendor-specific; may not work after flashing non-stock ROMs |
| Local ADB Backup (via computer) | User data, app data, settings (selective) | Does not back up system files or media; requires command-line knowledge |
| Third-party Apps (Swift Backup, Titanium Backup*) | Apps, SMS, MMS, call logs, Wi-Fi passwords | *Root required for full functionality; some apps no longer updated |
For maximum safety, use a combination: Google Sync + OEM tool + external SD card copy of DCIM and Downloads folders.
Real Example: Recovering from a Failed Flash Attempt
A developer in Austin attempted to flash a custom ROM on their OnePlus 8T without backing up SMS. The process completed, but the new ROM lacked SMS support initially. Because they had used Swift Backup to export messages to encrypted storage, they restored them within minutes. In contrast, a colleague who skipped backup lost two years of message history. This highlights why even \"minor\" data deserves protection.
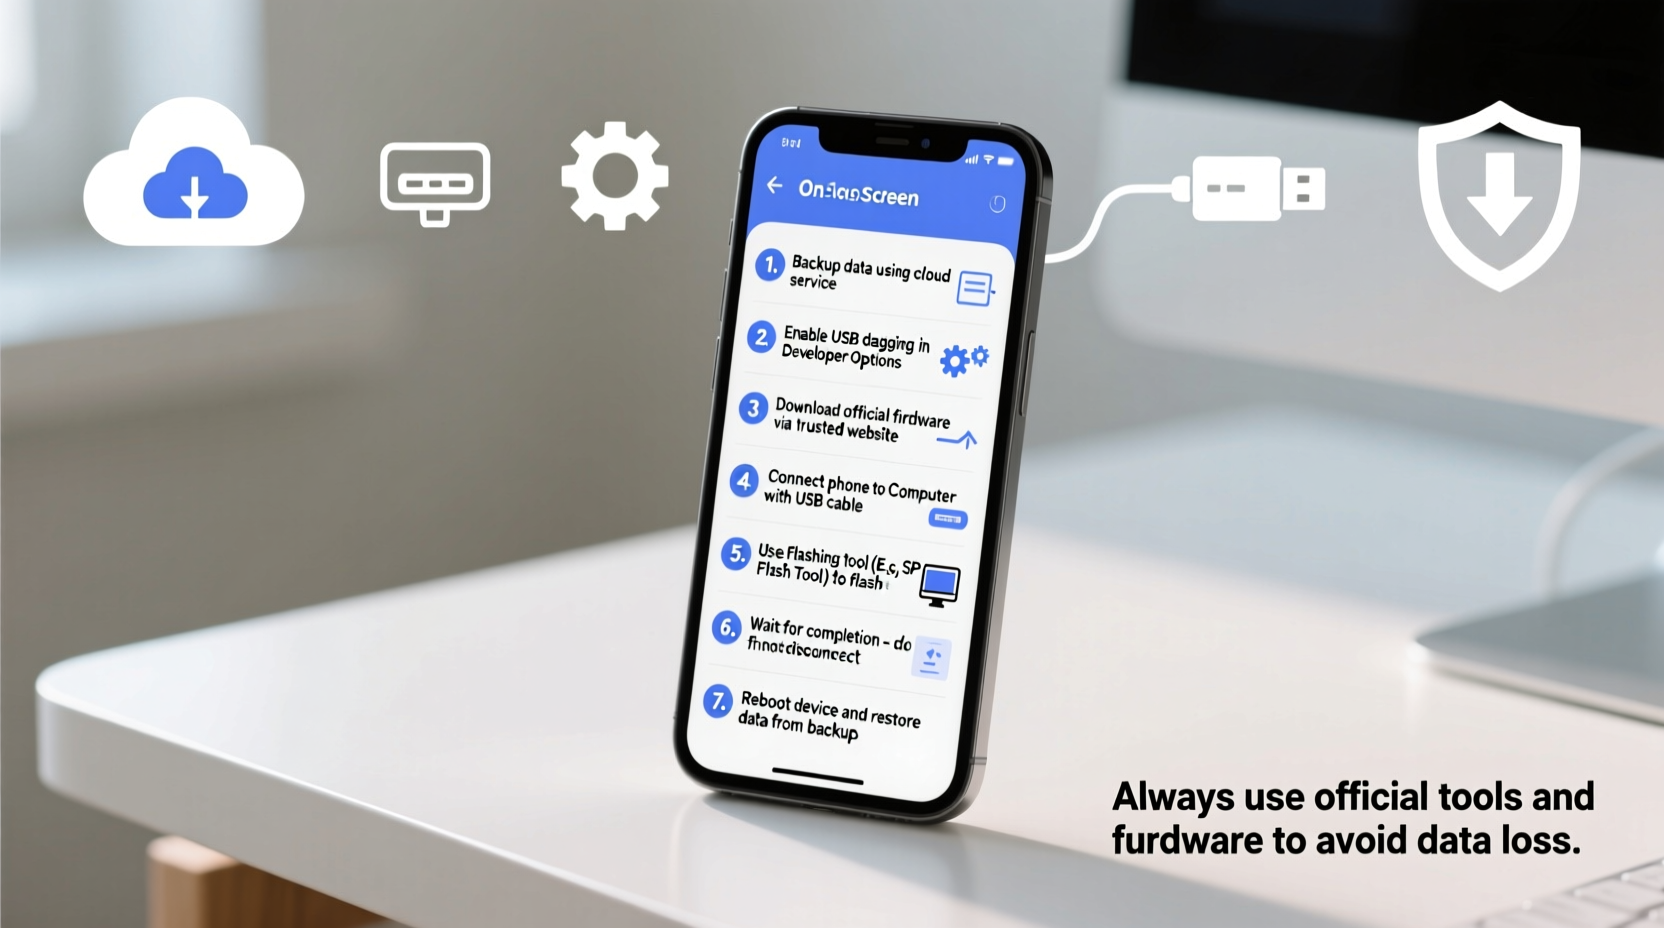
Step-by-Step Flashing Process Without Data Loss
The following steps apply to Android devices using fastboot or Odin-style flashing. While specifics vary by brand, the logic remains consistent.
- Boot into Download Mode: Power off, then press specific key combo (e.g., Volume Down + Power for Samsung, Volume Down + Power for Pixels). This loads the flashing interface.
- Connect to Computer: Use a high-quality USB cable. Install necessary drivers if prompted (Samsung USB Drivers, ADB/Fastboot Platform Tools).
- Launch Flashing Tool: For Samsung, open Odin; for Pixel, use
fastboot flashcommands. Load the correct firmware file (tar.md5 for Odin, .img for fastboot). - Configure Settings to Preserve Data:
- In Odin, do not check \"Auto Reboot\" until verified.
- Ensure only AP (Android Package) and CP (Modem) are selected—avoid CSC unless you want a factory reset.
- Use \"Home CSC\" instead of \"CSC\" to prevent data wipe.
- Start Flashing: Click Start or run the command. Wait for completion (green PASS! in Odin or success message in terminal). Do not disconnect.
- Reboot Manually: Once done, reboot to recovery mode first, then to system. This avoids automatic resets triggered by certain flags.
Post-Flash Verification and Data Recovery
After reboot, don’t assume everything is intact. Verify each data category:
- Check photo gallery and file manager for media files
- Open messaging app to confirm SMS/MMS presence
- Test Wi-Fi and Bluetooth connections (sometimes reset)
- Review installed apps—some may need re-login
If data appears missing, do not panic. First, reboot again. Sometimes partitions remount late. If still absent:
- Reconnect to computer and check if internal storage is readable via MTP.
- Use file explorer to navigate to
/sdcard/or/storage/emulated/0. - If files exist but aren’t visible, clear cache of Media Storage app in Settings > Apps.
If data is truly gone, restore from your earlier backup. OEM tools usually offer a \"Restore\" function; ADB backups can be restored via adb restore backup.ab.
Frequently Asked Questions
Will flashing always erase my data?
No—not if done correctly. Using CSC in Odin or performing a clean flash in fastboot typically triggers a wipe. But selecting only AP or using incremental updates preserves user data. Always double-check options before proceeding.
Can I flash without a computer?
Sometimes. OTA (over-the-air) updates are flashes that preserve data automatically. Custom recoveries like TWRP allow sideloading ZIPs directly from the phone. However, initial flashing almost always requires a PC for safety and control.
Is flashing legal and will it void my warranty?
Flashing custom firmware may void warranty depending on region and manufacturer policy. However, relocking the bootloader and restoring stock ROM can often reverse traces. Unlocking the bootloader itself usually voids warranty, so proceed with informed consent.
Final Steps and Ongoing Maintenance
Once your phone is successfully flashed and data confirmed intact, take a moment to secure your progress. Re-enable lock screen security, reconnect accounts, and install essential apps. Consider creating a snapshot backup using TWRP if available—it’s the closest thing to a system image on mobile.
Maintain your device by keeping regular backups, especially before future flashes. Monitor community forums (like XDA) for your model to stay updated on stable builds and known bugs.
“The best flashed phone is one that works silently—no glitches, no missing files, just better performance.” — Maria Chen, Android Modder & Tech Educator
Take Control of Your Device
Flashing your phone doesn’t have to be a high-risk gamble. With methodical preparation, the right tools, and respect for the process, you can upgrade your device safely—without sacrificing precious memories or critical information. Whether you're fixing a bug-ridden OS or exploring custom ROMs, confidence comes from knowledge. Now that you’ve mastered the steps, go ahead: unlock your phone’s full potential, one safe flash at a time.


 浙公网安备
33010002000092号
浙公网安备
33010002000092号 浙B2-20120091-4
Comments
No comments yet. Why don't you start the discussion?