
Automating household appliances with a clock timer enhances convenience, reduces energy waste, and improves security. Whether you're scheduling lights to deter intruders, managing a water heater’s operation, or controlling a fan during peak humidity hours, a properly installed timer delivers reliable performance. However, incorrect installation can lead to electrical hazards, device damage, or fire risks. This guide walks through the entire process—from planning to testing—with an emphasis on safety, compatibility, and long-term reliability.
Why Use a Clock Timer in Your Home?
Clock timers allow homeowners to automate electrical devices without investing in smart home systems. They are cost-effective, easy to maintain, and function independently of Wi-Fi or apps. Common uses include:
- Turning lights on and off to simulate occupancy while away
- Scheduling outdoor lighting at dusk and dawn
- Controlling heating or cooling cycles to save energy
- Operating pumps, fans, or irrigation systems on a fixed routine
Unlike digital smart plugs, mechanical or digital plug-in timers don’t require updates or cloud connectivity, making them ideal for users seeking simplicity and dependability.
Choosing the Right Timer for Your Needs
Not all timers are interchangeable. Selecting the correct model depends on load type, voltage, amperage, and control method. Here's what to consider:
| Factor | What to Check | Common Mistakes to Avoid |
|---|---|---|
| Voltage Compatibility | Ensure the timer matches your home’s electrical system (typically 120V in North America) | Using a 240V timer on a 120V circuit may result in failure to operate |
| Load Capacity (Wattage/Amps) | Verify total wattage of connected devices is below the timer’s maximum rating | Overloading causes overheating and potential fire hazard |
| Type of Device | Motors (fans, pumps) need timers rated for inductive loads | Standard resistive-only timers fail prematurely with motor-driven equipment |
| Installation Type | Plug-in (outlet), hardwired (junction box), or DIN rail (breaker panel) | Hardwiring a plug-in-only timer violates code and voids warranties |
“Always match the timer’s electrical rating not just to the device, but also account for startup surges—especially with compressors or motors.” — Carlos Mendez, Licensed Electrician & Home Automation Consultant
Step-by-Step Installation Guide
Follow these steps carefully to install a hardwired clock timer—a common upgrade from standard switches for lighting or HVAC components. If you’re using a plug-in model, skip to wiring considerations after Step 3.
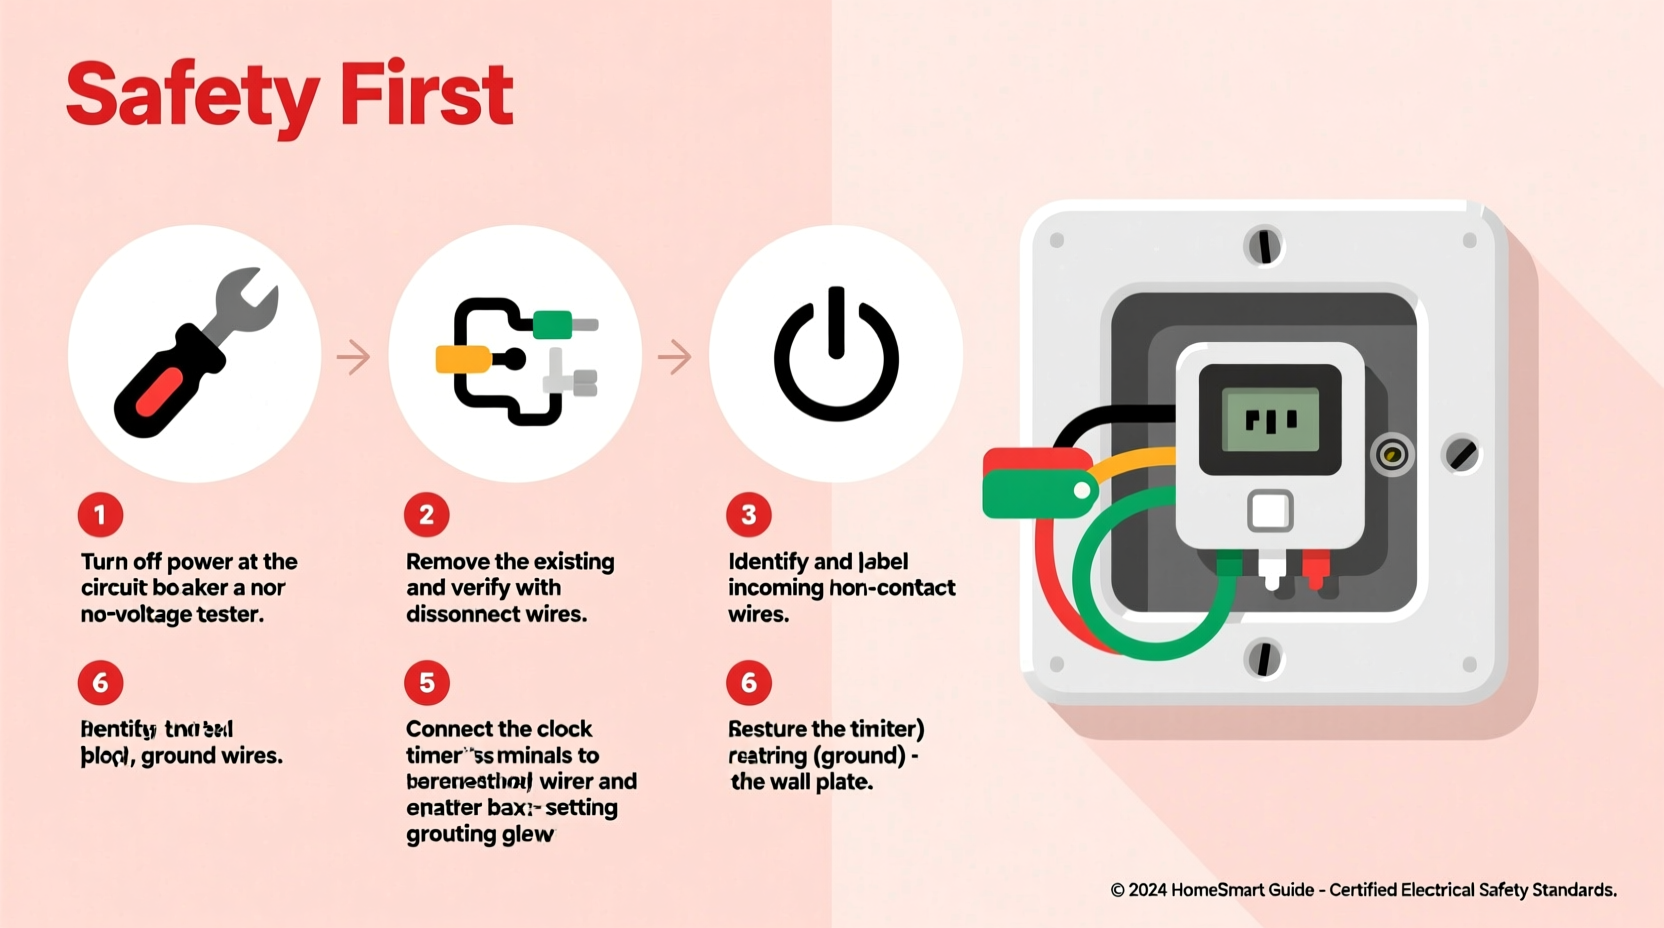
- Turn Off Power at the Breaker
Locate the correct circuit breaker for the device you're controlling. Flip it to OFF and use a non-contact voltage tester at the outlet or switch box to confirm no power is present. - Remove the Existing Switch or Outlet
Unscrew the faceplate and mounting screws. Gently pull out the old switch or receptacle. Identify the wires: typically black (hot), white (neutral), green/bare (ground), and sometimes red (traveler/load). - Select the Correct Timer Model
For single-pole switching (most common), choose a timer that supports line/load connections. Ensure it includes neutral if required—many digital models won't function without one. - Connect Wires According to Manufacturer Diagram
Strip wire ends if necessary (¼ inch exposed copper). Connect:- Black (line/hot) → Timer’s “Line” or “In” terminal
- Black (load) → Timer’s “Load” or “Out” terminal
- White (neutral) → Timer’s neutral wire (if provided)
- Ground (bare/green) → Timer’s ground and metal box (if applicable)
- Secure the Timer in the Electrical Box
Fold wires neatly into the junction box. Align mounting holes and screw the timer into place. Attach the faceplate. - Restore Power and Test Operation
Return to the breaker panel and restore power. Set the current time on the timer, then program on/off cycles. Observe whether the connected device activates as scheduled. - Verify Safety and Stability
After 24 hours of operation, check the timer housing for warmth. It should remain cool. Flickering lights or tripped breakers indicate miswiring or overload.
Real-World Example: Automating a Garage Workshop Fan
Mark, a DIY enthusiast in Portland, wanted his garage ventilation fan to run for two hours after each evening work session without relying on memory. He selected a digital 7-day programmable timer rated for 15A and inductive loads.
After turning off the main garage circuit, he replaced the wall switch with the timer, connecting line, load, neutral, and ground per instructions. He programmed weekday runs from 6:30 PM to 8:30 PM and disabled weekends. The first test showed immediate activation, but the fan cycled erratically. Upon inspection, Mark realized he’d missed connecting the neutral wire—critical for the timer’s internal electronics. Once corrected, the unit operated flawlessly.
This case highlights how even small oversights can disrupt functionality—and why verifying every connection matters.
Safety Checklist Before and After Installation
Use this checklist to ensure a safe and compliant installation:
- ☑ Power is completely shut off and verified with a voltage tester
- ☑ Timer is rated for the connected device’s voltage and load type
- ☑ Neutral wire is connected if required by the timer model
- ☑ All wire nuts are tight and no bare copper is exposed outside terminals
- ☑ Timer is securely mounted and does not strain wire connections
- ☑ Device operates correctly on schedule and responds to manual override
- ☑ No heat, buzzing, or burning smells after 30 minutes of operation
“The most dangerous installations aren’t the ones that fail immediately—they’re the ones that seem fine until they overheat months later.” — National Fire Protection Association (NFPA) Electrical Safety Bulletin
Frequently Asked Questions
Can I install a clock timer myself, or do I need an electrician?
You can install a plug-in timer without professional help—it simply replaces a lamp or appliance cord. However, hardwired installations involving wall switches or breaker panels should only be done by licensed individuals unless you have proven electrical experience. Local codes may require permits or inspections for permanent modifications.
Why does my timer reset or lose settings during a power outage?
Most basic models lack battery backup. If maintaining timing accuracy is crucial (e.g., medical equipment or sump pumps), choose a timer with a built-in lithium reserve or pair it with an uninterruptible power supply (UPS).
Can one timer control multiple devices?
Yes, as long as the combined load doesn’t exceed the timer’s maximum capacity. For example, a 120V/15A timer (1800 watts max) can handle several lights or outlets on the same circuit. Always calculate total wattage: add up each device’s rated consumption before connecting.
Final Recommendations and Next Steps
A well-installed clock timer brings automation, efficiency, and peace of mind. By selecting the right model, respecting electrical limits, and following proper procedures, you gain consistent control over essential home systems. Remember: electricity demands respect. When in doubt, consult a certified electrician rather than risk injury or property damage.
Start small—automate a porch light or coffee maker—to build confidence. Then expand to larger applications like water heaters or HVAC components. With careful planning and attention to detail, your home becomes smarter, safer, and more efficient—one timed circuit at a time.


 浙公网安备
33010002000092号
浙公网安备
33010002000092号 浙B2-20120091-4
Comments
No comments yet. Why don't you start the discussion?