
Cast iron skillets are legendary in kitchens for their durability, heat retention, and ability to develop a natural non-stick surface over time. But before you can sear a steak or flip a pancake without sticking, your new (or restored) skillet must be properly seasoned. Seasoning isn’t just a one-time ritual—it’s the foundation of cast iron care. When done right, it creates a smooth, polymerized layer of oil that protects against rust and improves cooking performance.
Many beginners either skip seasoning altogether or make mistakes that compromise the skillet’s longevity. The truth is, proper initial seasoning transforms raw iron into a kitchen heirloom. This guide walks you through every essential step, explains the science behind the process, and provides expert-backed tips to ensure success from day one.
Why Seasoning Matters: More Than Just Non-Stick
Seasoning a cast iron skillet is not optional—it's fundamental. Unseasoned cast iron is porous, reactive, and prone to rust. When exposed to moisture and air, bare iron oxidizes rapidly. Even brief contact with acidic foods like tomatoes or lemon juice can leach metal into your meal and damage the pan’s surface.
The seasoning process involves baking a thin layer of oil onto the skillet at high heat. This causes the oil to undergo polymerization—a chemical reaction where molecules bond into a hard, plastic-like coating. The result is a slick, resilient finish that resists food adhesion and corrosion.
“Proper seasoning turns cast iron from a liability into an asset. It’s not about tradition; it’s about chemistry.” — Dr. Rebecca Langston, Materials Scientist and Cookware Researcher, University of Illinois
This protective layer builds up over time with use and maintenance, but the initial seasoning sets the stage. A well-seasoned skillet reduces cleanup, improves flavor development, and lasts generations when cared for properly.
What You’ll Need: Tools and Supplies
Before beginning, gather all necessary materials. Having everything ready ensures a smooth, uninterrupted process. Here’s what you need:
- A clean cast iron skillet – New or stripped of old seasoning
- Oven-safe gloves – Essential for handling hot cookware
- Paper towels or lint-free cloth – For applying and wiping oil
- High-smoke-point oil – Flaxseed, grapeseed, sunflower, or vegetable oil
- Baking sheet or aluminum foil – To catch drips in the oven
- Oven – Must reach and maintain 450°F (230°C)
- Wire rack (optional) – Allows even airflow during cooling
Choosing the Right Oil: Science Behind the Selection
Not all oils work equally well for seasoning. The ideal oil has a high smoke point and contains polyunsaturated fats, which polymerize more effectively. Here’s a comparison of common options:
| Oil Type | Smoke Point (°F) | Polymerization Potential | Best For First-Time Seasoning? |
|---|---|---|---|
| Flaxseed Oil | 225–235°F | Excellent | Yes (despite lower smoke point) |
| Grapeseed Oil | 420°F | Very Good | Yes |
| Sunflower Oil | 440°F | Good | Yes |
| Vegetable Oil | 400–450°F | Fair | Moderate |
| Olive Oil | 375°F | Poor | No |
| Butter | 302°F | Very Poor | No |
While flaxseed oil produces a hard, glossy finish due to its high linolenic acid content, it can flake if applied too thickly. Grapeseed oil offers a balance of performance and stability, making it a top choice for beginners. Whatever oil you choose, apply it thinly—excess oil leads to stickiness, not slickness.
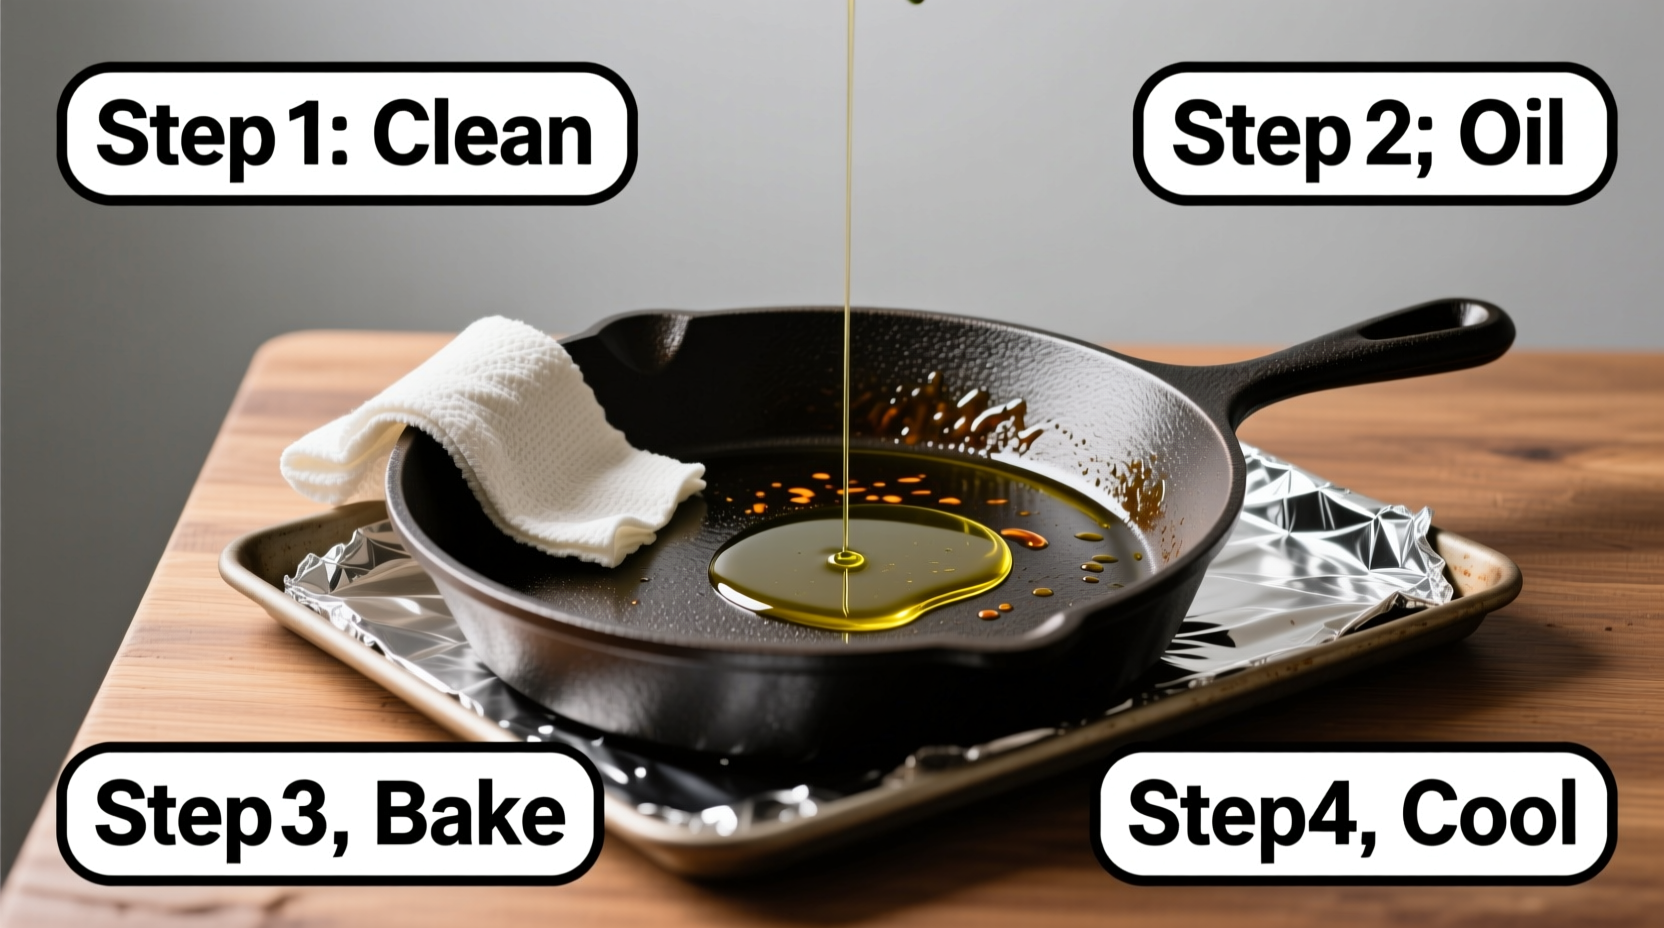
Step-by-Step Guide to Seasoning Your Skillet
Follow this detailed sequence to season your cast iron skillet correctly the first time. Each step is designed to maximize adhesion, prevent defects, and build a durable base layer.
- Preheat the Oven to 450°F (230°C)
Set your oven to 450°F. Place a baking sheet or aluminum foil on the bottom rack to catch any oil drips. This prevents smoking and simplifies cleanup. - Clean the Skillet Thoroughly
If your skillet is new, wash it with warm water and mild dish soap to remove factory wax or preservatives. Use steel wool or a stiff brush if needed. Rinse and dry completely with a towel, then place it on the stove over medium heat for 3–5 minutes to evaporate any remaining moisture. - Apply a Thin Layer of Oil
Pour a small amount (about ½ teaspoon) of your chosen oil into the skillet. Using a paper towel or cloth, spread the oil evenly across the entire surface—including the handle, sides, and bottom. Then, take a clean towel and wipe the skillet almost completely dry. This removes excess oil and prevents pooling, which causes uneven seasoning. - Place Skillet Upside Down in Oven
Position the skillet upside down on the middle rack. This allows gravity to pull excess oil downward, minimizing puddling on the cooking surface. If you have a wire rack, place the skillet on it for better air circulation. - Bake for One Hour
Let the skillet bake for exactly 60 minutes. Do not open the oven during this time—temperature fluctuations can interfere with polymerization. - Turn Off Oven and Cool Gradually
After one hour, turn off the oven and let the skillet cool inside. Rapid cooling can cause micro-cracking in the seasoning layer. Allow it to come to room temperature before removing. - Repeat 2–3 Times
For optimal results, repeat steps 3 through 6 two to three more times. Each additional layer strengthens the coating and improves non-stick performance.
Real Example: From Rusty Pan to Kitchen Hero
Jamie, a home cook in Portland, inherited her grandmother’s 1940s cast iron skillet. It arrived covered in rust and grime. “I thought it was beyond saving,” she said. She scrubbed it with vinegar and steel wool, rinsed, dried thoroughly, and followed the seven-step process outlined above using grapeseed oil. After four seasoning rounds, the skillet developed a deep, glassy finish. Her first test? Scrambled eggs—with no sticking. “It felt like magic,” she recalled. “Now it’s my go-to pan for everything from cornbread to searing salmon.”
This example shows that even heavily damaged skillets can be revived with patience and correct technique. The key was starting with a clean surface and building layers methodically.
Common Mistakes to Avoid
Even experienced cooks sometimes sabotage their seasoning efforts unknowingly. Watch out for these pitfalls:
- Using too much oil – Leads to sticky, uneven layers that never fully polymerize.
- Skipping pre-drying – Any moisture left on the pan turns to steam during heating, weakening adhesion.
- Opening the oven mid-cycle – Temperature drops disrupt the curing process.
- Seasoning only the cooking surface – The entire pan needs protection, including the handle and exterior.
- Using non-oven-safe gloves – Melting gloves pose safety risks when removing hot pans.
“The biggest mistake people make is treating seasoning like painting—thick coats don’t help. Think of it like varnishing wood: thin, multiple layers win every time.” — Carlos Mendez, Master Blacksmith and Cast Iron Restorer
Do’s and Don’ts of Initial Seasoning
| Do | Don't |
|---|---|
| Use high-smoke-point oil | Use butter or olive oil |
| Wipe off excess oil after application | Leave visible oil pools on the surface |
| Bake upside down to prevent pooling | Place right-side up in the oven |
| Let the pan cool slowly in the oven | Remove immediately and cool on counter |
| Repeat seasoning 2–3 times | Expect perfect results from a single coat |
| Store in a dry place with light oil coating | Leave damp or uncovered in humid areas |
FAQ: Answering Common Questions
Can I season a cast iron skillet on the stovetop instead of in the oven?
While possible, stovetop seasoning is less effective for the initial coat. It only seasons the bottom directly in contact with heat, leaving sides and handles vulnerable. Oven seasoning ensures full coverage and consistent temperature, making it the preferred method for first-time seasoning.
My skillet smells smoky during seasoning—is that normal?
Yes, especially with flaxseed or grapeseed oil. Some smoke is expected as the oil reaches its smoke point and begins to polymerize. Ensure good ventilation. Excessive smoke may indicate too much oil was applied—wipe more thoroughly next time.
How do I know if the seasoning worked?
A successful seasoning job results in a smooth, matte to semi-gloss black surface. It shouldn’t feel greasy or sticky. Test it by frying an egg on medium heat with minimal added oil. If food releases easily and cleanup is simple, the seasoning is effective.
Final Checklist Before First Use
Before cooking with your newly seasoned skillet, confirm the following:
- ✅ Completed 2–3 full seasoning cycles
- ✅ No visible oil residue or stickiness
- ✅ Entire pan—including handle—is coated
- ✅ Stored in a dry location away from humidity
- ✅ Ready for gentle first uses (e.g., sautéing vegetables, frying eggs)
Conclusion: Start Strong, Cook Better
Seasoning a cast iron skillet correctly the first time isn’t complicated—but it demands attention to detail. By understanding the chemistry, selecting the right oil, and following a precise method, you lay the groundwork for decades of reliable cooking. This isn’t just maintenance; it’s an investment in performance, flavor, and culinary confidence.
Your skillet will improve with every use. Each time you cook with fat and clean it properly, you’re adding to the seasoning naturally. But none of that matters without a solid foundation. Take the time now to do it right. Fire up your oven, grab that bottle of grapeseed oil, and give your cast iron the start it deserves.


 浙公网安备
33010002000092号
浙公网安备
33010002000092号 浙B2-20120091-4
Comments
No comments yet. Why don't you start the discussion?