
Creating a Google Form is simple. But creating one that captures accurate, useful data requires more than just clicking fields into place. Whether you're collecting feedback, organizing event sign-ups, or conducting research, the way you design and complete your own form directly affects the quality of responses you receive. Filling out your own form before publishing isn’t just a test—it’s a critical quality assurance step. When done correctly, it helps identify gaps in logic, unclear questions, and technical issues that could derail your data collection.
This guide walks through how to methodically fill out your own Google Form to ensure clarity, accuracy, and optimal results from your audience.
Why You Should Fill Out Your Own Google Form First
It's tempting to publish a form immediately after building it. However, skipping the self-completion step risks poor data quality. Users may misinterpret questions, skip required sections, or abandon the form due to confusing navigation. By completing your own form as if you were a respondent, you simulate real-world behavior and catch usability problems early.
Google Forms doesn’t offer advanced preview features like conditional branching previews or mobile responsiveness checks unless you actually submit the form. Only by going through the entire flow can you verify timing, question sequence, and whether all settings behave as intended.
“Testing your form from the user’s perspective reveals blind spots no designer anticipates.” — Dr. Lena Patel, UX Researcher at Digital Insights Lab
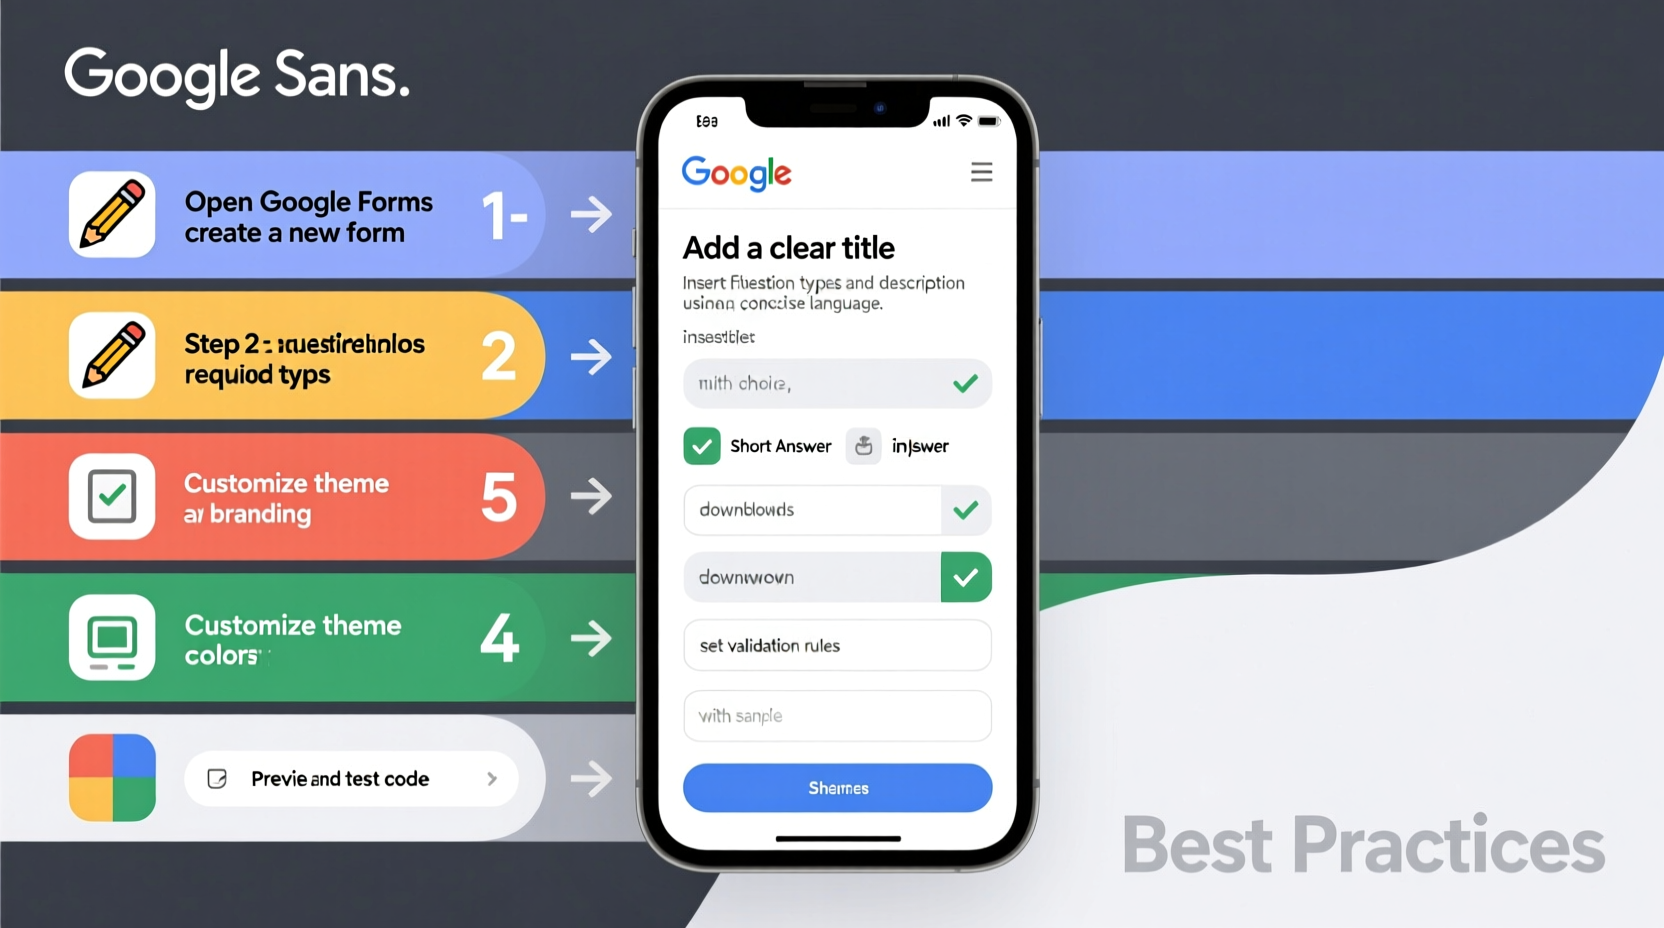
Step-by-Step: How to Accurately Complete Your Own Google Form
To get the most value from this process, follow these steps in order. Each phase ensures different aspects of your form function correctly.
- Switch to Incognito or Logout Mode
Sign out of your Google account or use an incognito browser window. This prevents your responses from being attributed to you and gives a true anonymous user experience. - Navigate to the Live Form Link
Use the “Send” button to copy the direct link (not the edit link). Open this URL in your clean browser session to view the form exactly as respondents will see it. - Answer Every Question Honestly and Critically
Respond as a typical participant would. If a question is vague, note it. If multiple-choice options don’t cover likely answers, flag it for revision. - Test All Conditional Logic (Sections & Skip Logic)
If you’ve set up section-based navigation based on answers (e.g., \"If Yes → Go to Section 2\"), test every possible path. Submit variations to confirm logic routes work correctly. - Simulate Errors Intentionally
Leave required fields blank, upload incorrect file types, or enter invalid formats (like text in number fields). Check if error messages are clear and helpful. - Submit the Form
Complete submission to verify confirmation messages, redirect URLs, and email notifications (if enabled). - Review Responses in Google Sheets
Open the linked spreadsheet to ensure data appears cleanly, with proper column alignment and formatting. Look for merged cells or missing entries.
Common Pitfalls and How to Avoid Them
Even experienced creators make mistakes when rushing form deployment. Below are frequent errors uncovered during self-testing—and how to fix them.
| Pitfall | Impact | Solution |
|---|---|---|
| Vague question wording | Confusion, inconsistent answers | Reword using specific, neutral language. Example: Change “How good was the service?” to “On a scale of 1–5, how satisfied were you with the response time?” |
| Missing answer options | Forced inaccurate selections | Add “Other (please specify)” or review common responses from pilot tests. |
| Overly long forms | High drop-off rate | Limit to 10–15 key questions; use progress bars if longer. |
| Unclear instructions for file uploads | Wrong formats submitted | Specify allowed types (e.g., “PDF only, under 5MB”) in description text. |
| Broken section logic | Respondents skip critical pages | Recheck branching rules and retest each pathway thoroughly. |
Mini Case Study: Fixing a Flawed Event Registration Form
A university department created a Google Form for a guest lecture series. After launching, they noticed many registrants didn’t receive confirmation emails. Upon reviewing submissions, they found duplicate entries and incomplete dietary preference data.
The team decided to fill out their own form and discovered two issues: first, the “Submit” button lacked visual feedback, leading users to click multiple times. Second, the “Dietary Restrictions” checkbox grid had no “None” option, so some skipped it entirely—even when applicable.
After adding a “None of the above” choice and shortening the form by removing non-essential demographics, completion rates improved by 47%, and duplicate submissions dropped to zero.
Checklist: Final Review Before Going Live
Before sharing your form publicly, run through this checklist while reviewing your test submission:
- ✅ All required fields are clearly marked and necessary
- ✅ Question wording is neutral, unambiguous, and concise
- ✅ Answer choices are mutually exclusive and comprehensive
- ✅ Section logic works across all device types
- ✅ Mobile layout displays properly (labels aligned, buttons tappable)
- ✅ Confirmation message includes next steps or contact info
- ✅ Response destination (Google Sheet) logs data correctly
- ✅ File upload limits and type restrictions are communicated
- ✅ Branding (logo, colors) aligns with organizational standards
- ✅ Privacy notice included if collecting sensitive data
Frequently Asked Questions
Can I delete my test response after submitting?
Yes. Open the connected Google Sheet, locate the row with your test data, and delete it. Alternatively, go to the “Responses” tab in your form and remove individual entries there.
How do I prevent my test submission from affecting summary statistics?
Delete test responses before analysis begins. Also, consider disabling summary charts until the form has genuine data to avoid skewed visuals.
Should I ask someone else to test the form too?
Definitely. While self-testing catches technical flaws, external testers reveal cognitive friction—places where real users hesitate or misunderstand. Pair self-completion with peer testing for best results.
Optimize for Clarity, Not Just Completion
Filling out your own Google Form isn't about ticking a box before launch. It's an essential diagnostic tool that separates functional forms from truly effective ones. The goal isn't merely to finish the form—it's to evaluate whether every element supports accurate, stress-free data entry.
Each field should have a purpose. Each instruction should eliminate doubt. And every interaction should feel intuitive, even on a small screen. When you take the time to walk through your form as a respondent, you build empathy for your audience and improve the integrity of your results.


 浙公网安备
33010002000092号
浙公网安备
33010002000092号 浙B2-20120091-4
Comments
No comments yet. Why don't you start the discussion?