
Selecting the right custom floor mats enhances both the comfort and longevity of your vehicle’s interior. Unlike generic mats that shift, bunch, or leave edges exposed, custom-fit mats are tailored to your car’s exact dimensions. But to get that flawless fit, accurate measurement is essential. Many people assume their car model alone is enough information—but variations in trim levels, optional packages, and manufacturing years can subtly alter floor pan shapes. This guide walks you through a reliable, detailed process to measure your car floor correctly, ensuring your custom mats perform exactly as intended.
Why Accurate Measurement Matters
Even minor discrepancies in floor mat dimensions can lead to serious functional issues. A mat that's too short leaves carpet exposed to spills and dirt. One that's too large may interfere with pedals, compromise driving safety, or obstruct gear shifts. Poorly fitted mats also tend to slide around, creating distractions and wear on the flooring beneath.
Automakers design interiors with precision, and modern vehicles often include contours, raised ridges, seat tracks, and storage compartments that affect how a mat should sit. Custom mat manufacturers rely on either OEM templates or customer-submitted measurements. When you provide accurate data, you help ensure the final product mirrors your floor’s unique geometry.
“Many returns we see stem from incorrect measurements—not poor manufacturing. Taking 20 extra minutes to measure properly saves weeks of back-and-forth.” — Derek Lin, Product Manager at AutoFit Mats Co.
Tools You’ll Need Before Starting
Before stepping into the measurement phase, gather the following tools. Having them ready ensures a smooth, efficient process:
- A flexible measuring tape (preferably 25 feet/7.6 meters)
- A rigid ruler or straightedge (for tracing flat edges)
- Paper or cardboard sheets (at least 3 ft x 3 ft per section)
- Pencil or fine marker
- Scissors or utility knife
- Painter’s tape (to secure paper while tracing)
- Digital camera or smartphone (to document each step)
Step-by-Step Guide to Measuring Your Car Floor
Follow this sequence carefully. Work slowly and double-check critical areas like pedal clearance and seat positions.
- Clear the Interior: Remove existing mats and any loose items. Fold down rear seats if needed to access the full cargo area.
- Document Seat Positions: Adjust front seats to their most common driving position. Take photos from multiple angles—side, overhead, and footwell—to reference later.
- Start with the Driver’s Side: Lay paper across the driver’s floor area, extending from the firewall to the front edge of the seat base. Use painter’s tape to temporarily anchor corners without damaging surfaces.
- Trace Contours Carefully: Slide a pencil along edges, ridges, and obstructions. Pay close attention to:
- The shape around the parking brake lever
- The contour near the transmission tunnel
- The curve around the accelerator and brake pedals
- Any raised ridges or mounting brackets
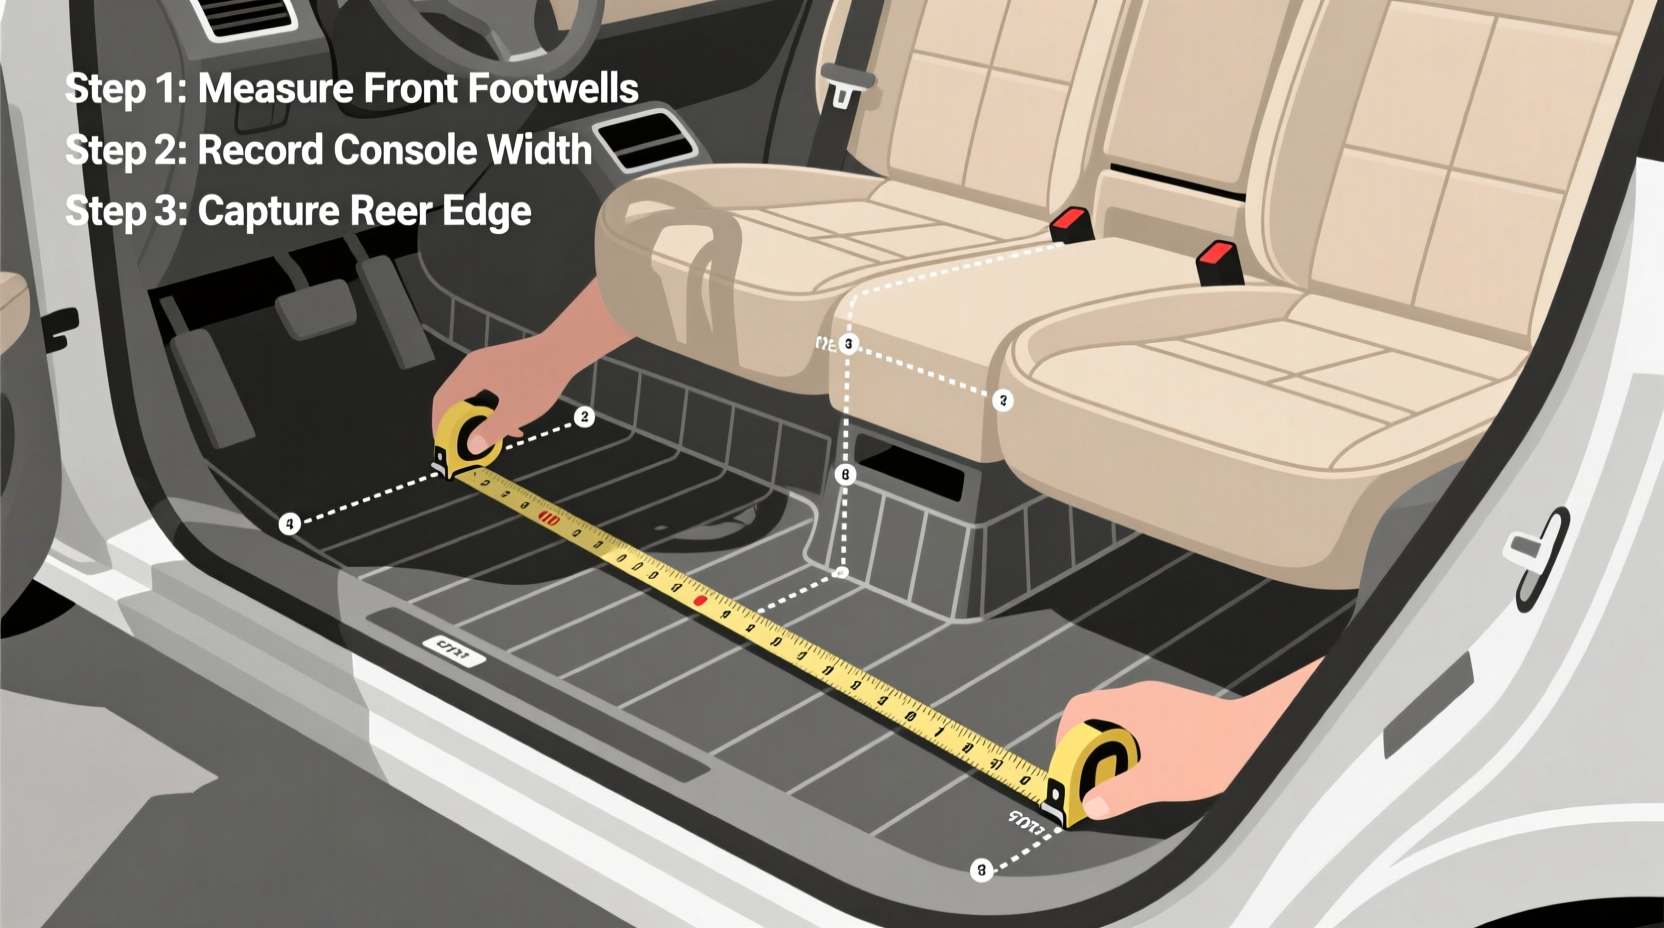
- Measure Critical Distances: Use the tape to record:
- From firewall to front edge of seat track
- Width at widest point behind pedals
- Distance from center console to door sill
- Height clearance under pedals (ensure no interference)
- Repeat for Passenger and Rear Sections: Treat each area as a separate panel. Overlap paper where necessary and mark alignment points with tape.
- Cut and Label Templates: Once traced, cut out each section and label clearly: “Driver Front,” “Passenger Rear,” etc. Include car make, model, year, and trim level on each.
- Photograph and Verify: Take clear overhead shots of each template next to a ruler for scale. Compare against your earlier cabin photos to confirm accuracy.
Common Mistakes to Avoid
Even experienced DIYers make errors that compromise fit. Review this checklist before submitting your measurements.
| Mistake | Consequence | Solution |
|---|---|---|
| Measuring over an existing mat | Skews dimensions due to compression or misalignment | Always remove old mats and measure bare floor |
| Ignoring seat track adjustments | Mat cuts off when seat slides forward | Measure with seat in rearmost position |
| Using stiff cardboard for curves | Fails to capture rounded contours accurately | Use flexible paper and trace freehand |
| Forgetting pedal clearance | Mat blocks brake or accelerator movement | Leave 1–1.5 inches minimum clearance |
| Not labeling sections | Confusion during production leads to wrong layout | Label every piece with location and vehicle info |
Real-World Example: Sarah’s SUV Measurement Success
Sarah ordered custom mats for her 2022 Toyota RAV4 Limited. The first set arrived slightly misaligned near the passenger side hump. After contacting support, she learned that factory options like panoramic sunroofs can subtly change floor bracing. She remeasured using the paper-tracing method, paying special attention to the central tunnel contour. Her second submission included labeled templates and three reference photos. The replacement mats arrived within ten days—perfectly contoured, with clean edging around the cupholder base and seamless pedal clearance. By investing time upfront, she avoided further delays and now has mats that look factory-installed.
Checklist: Final Verification Before Submission
Use this checklist to ensure your measurement package is complete and accurate:
- ✅ All mats removed and floor cleaned
- ✅ Front seats adjusted to standard driving position
- ✅ Paper templates taped securely and fully traced
- ✅ Critical distances measured and recorded
- ✅ Pedal clearance verified (no obstruction)
- ✅ Each section clearly labeled with vehicle details
- ✅ High-resolution photos taken with scale reference
- ✅ Templates flattened and ready to ship or scan
Frequently Asked Questions
Can I just use my VIN instead of measuring?
While some premium suppliers use VIN lookup systems based on manufacturer specs, these databases aren’t always updated for aftermarket modifications or regional variations. For absolute precision—especially if you’ve modified seating or flooring—physical measurement is still the gold standard.
What if my car has unusual features like a built-in cooler or rear console?
These add-ons significantly alter floor layout. Always trace around such features and note their presence on your template. Include a brief description (e.g., “factory rear armrest cooler base”) so the designer can adjust accordingly.
How long does it take to measure a full set?
Most users complete the process in 45 to 75 minutes. First-time attempts may take longer, but careful work pays off in fit quality. Rushing increases error risk and potential need for remakes.
Conclusion: Precision Today, Perfection Tomorrow
Custom floor mats represent a small investment with outsized returns in protection, comfort, and resale value. But their effectiveness hinges on one crucial step: accurate measurement. By following this guide, avoiding common pitfalls, and taking the time to create precise templates, you ensure your mats fit like they were made in the factory—because, technically, they will be.


 浙公网安备
33010002000092号
浙公网安备
33010002000092号 浙B2-20120091-4
Comments
No comments yet. Why don't you start the discussion?