
Adding music to a PowerPoint presentation can transform a standard slideshow into an emotionally resonant, memorable experience. Whether you're presenting at a conference, delivering a classroom lecture, or sharing a personal photo montage, background music enhances mood, maintains audience attention, and reinforces your message. However, many users struggle with how to properly insert, time, and customize audio without disrupting the flow of their slides.
This guide walks through every stage of integrating music into PowerPoint—starting from file selection to advanced customization like looping, fading, and syncing with animations. By following these steps, you’ll ensure smooth playback across devices and deliver polished, professional results every time.
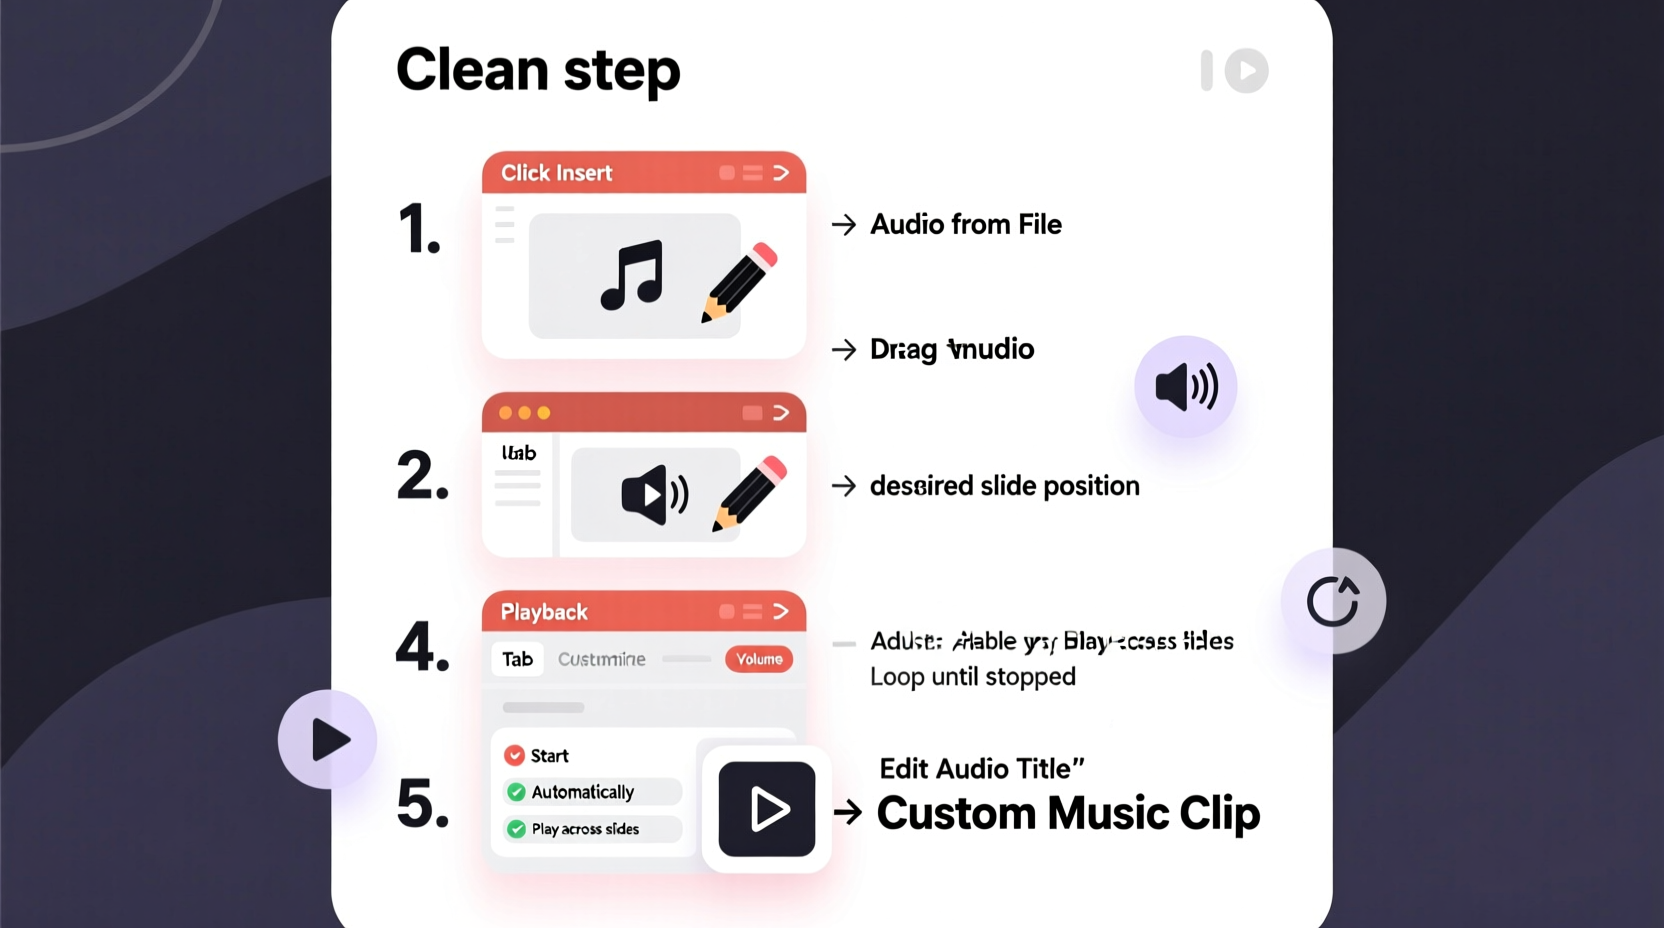
1. Inserting Music into Your Presentation
The first step is adding an audio file to your slide. PowerPoint supports common formats such as MP3, WAV, M4A, and WMA. Ensure your audio file is saved on your computer before beginning.
- Open your PowerPoint presentation and navigate to the slide where you want the music to begin.
- Click the Insert tab on the ribbon.
- Select Audio > Audio on My PC.
- Browse your files, select the music file, and click Insert.
- An audio icon will appear on the slide. You can resize or reposition it as needed—or hide it off the slide canvas to keep it invisible during playback.
2. Configuring Playback Settings
Once inserted, the audio plays only when clicked by default. For seamless integration, adjust playback settings using the Playback tab that appears when the audio icon is selected.
- Start: Automatically – Ensures music begins as soon as the slide appears.
- Hide During Show – Keeps the audio icon invisible while allowing sound to play.
- Play Across Slides – Lets music continue uninterrupted over multiple slides.
- Loop Until Stopped – Ideal for ambient tracks; repeats the music until manually stopped or the presentation ends.
If you're creating a narrated presentation or video-style output, consider selecting “Play in Background” under the dropdown menu. This option automatically applies optimal settings for continuous playback with minimal interference.
3. Timing and Synchronization with Slide Transitions
To maximize impact, align music cues with key moments in your presentation. Use the Animation Pane to fine-tune timing.
- Select the audio icon and go to the Animations tab.
- Click Animation Pane to open the timeline view.
- In the pane, right-click the audio entry and choose Timing.
- Set a delay if you want the music to start after a few seconds.
- Under Stop Playing, specify after how many slides the music should end (e.g., after 5 slides).
For precise synchronization—such as matching a crescendo with a title reveal—use rehearsal tools:
4. Customizing Audio for Professional Output
PowerPoint offers built-in editing tools to refine your audio without external software.
| Feature | Purpose | How to Access |
|---|---|---|
| Fade In / Fade Out | Softens start and end of music to prevent abrupt sounds | Playback tab > Fade Duration (set in seconds) |
| Volume Adjustment | Lower volume to avoid overpowering voiceovers | Playback > Volume (Low, Medium, High, or Mute) |
| Trim Audio | Cut unwanted intro/outro sections | Playback > Trim Audio |
| Compress Media | Reduce file size for easier sharing | File > Info > Compress Media |
When trimming audio, drag the green (start) and red (end) markers to define the segment you wish to keep. Preview the clip directly within PowerPoint to confirm accuracy.
“Music sets the emotional tone of a presentation just as much as visuals do. A well-timed soundtrack can elevate clarity, engagement, and retention.” — Dr. Laura Simmons, Cognitive Communication Researcher
5. Real-World Example: Wedding Photo Montage
Sarah was tasked with creating a tribute slideshow for her sister’s wedding. She wanted soft piano music to play throughout a 4-minute sequence of childhood and recent photos.
She imported an instrumental track into the first slide and enabled “Play Across Slides” and “Loop Until Stopped.” Using “Trim Audio,” she removed a 10-second intro to ensure the melody began immediately. She set a 2-second fade-in to create a gentle start and tested playback on her laptop and a borrowed projector to verify compatibility.
During the event, the music played flawlessly, enhancing the emotional impact without distracting guests. Attendees later commented on how the subtle score made the memories feel more vivid.
Common Pitfalls and Best Practices
Even experienced users make mistakes when embedding audio. Avoid these common errors:
- Using large audio files – Can slow down performance or cause crashes. Stick to compressed formats and compress media before sharing.
- Ignoring cross-device testing – Always test on the device and speaker system you’ll use for presentation.
- Overpowering narration – Keep background music at 30–50% volume if speaking over it.
- Assuming embedded audio works offline – Only linked files (not embedded) may fail if moved. Choose “Embed” when inserting to ensure portability.
“Always embed your audio. Linking creates dependency on file paths, which break when transferring the presentation.” — James Reed, IT Support Specialist
FAQ
Can I add multiple songs to one presentation?
Yes. Insert different audio files on separate slides. Set each to play automatically and use “Play Across Slides” or stop conditions to manage transitions between tracks.
Will the music play when I export to PDF or video?
No—PDFs don’t support audio. However, when exporting to video (File > Export > Create a Video), audio will be included if you’ve set timings or used recorded narration.
Why isn’t my music playing on another computer?
This usually happens when the audio file wasn’t embedded. To fix this, ensure the file is stored in the same folder as the presentation, or reinsert it using the embed option. Also, check that the other computer has audio codecs installed for your file type.
Final Checklist Before Presenting
- ✅ Confirm audio is embedded, not linked
- Check under File > Info > Media Size and Performance.
- ✅ Test playback on target equipment
- Use the actual laptop, projector, and speakers planned for delivery.
- ✅ Adjust volume levels
- Ensure music doesn’t drown out speech or room ambiance.
- ✅ Hide audio icons
- Select “Hide During Show” to maintain clean visuals.
- ✅ Backup with external copy
- Carry the music file separately in case of playback failure.
Conclusion
Integrating music into your PowerPoint slideshow isn’t just about pressing play—it’s about crafting an immersive experience. With thoughtful selection, precise timing, and smart customization, your presentations can become more dynamic, persuasive, and emotionally compelling.
Take the time to rehearse, test, and refine your audio setup. Whether you’re educating, entertaining, or inspiring, the right soundtrack makes all the difference.


 浙公网安备
33010002000092号
浙公网安备
33010002000092号 浙B2-20120091-4
Comments
No comments yet. Why don't you start the discussion?