
Obtaining official identification is a critical step in accessing government services, opening bank accounts, traveling, and proving your identity securely. With many jurisdictions now offering online ID application systems, the process has become more convenient—but only if you know how to navigate it correctly. Mistakes in document submission, photo specifications, or personal details can lead to rejection or long processing delays. This comprehensive guide walks you through each phase of applying for your ID online, equipping you with practical strategies to ensure success on the first try.
1. Verify Eligibility and Requirements
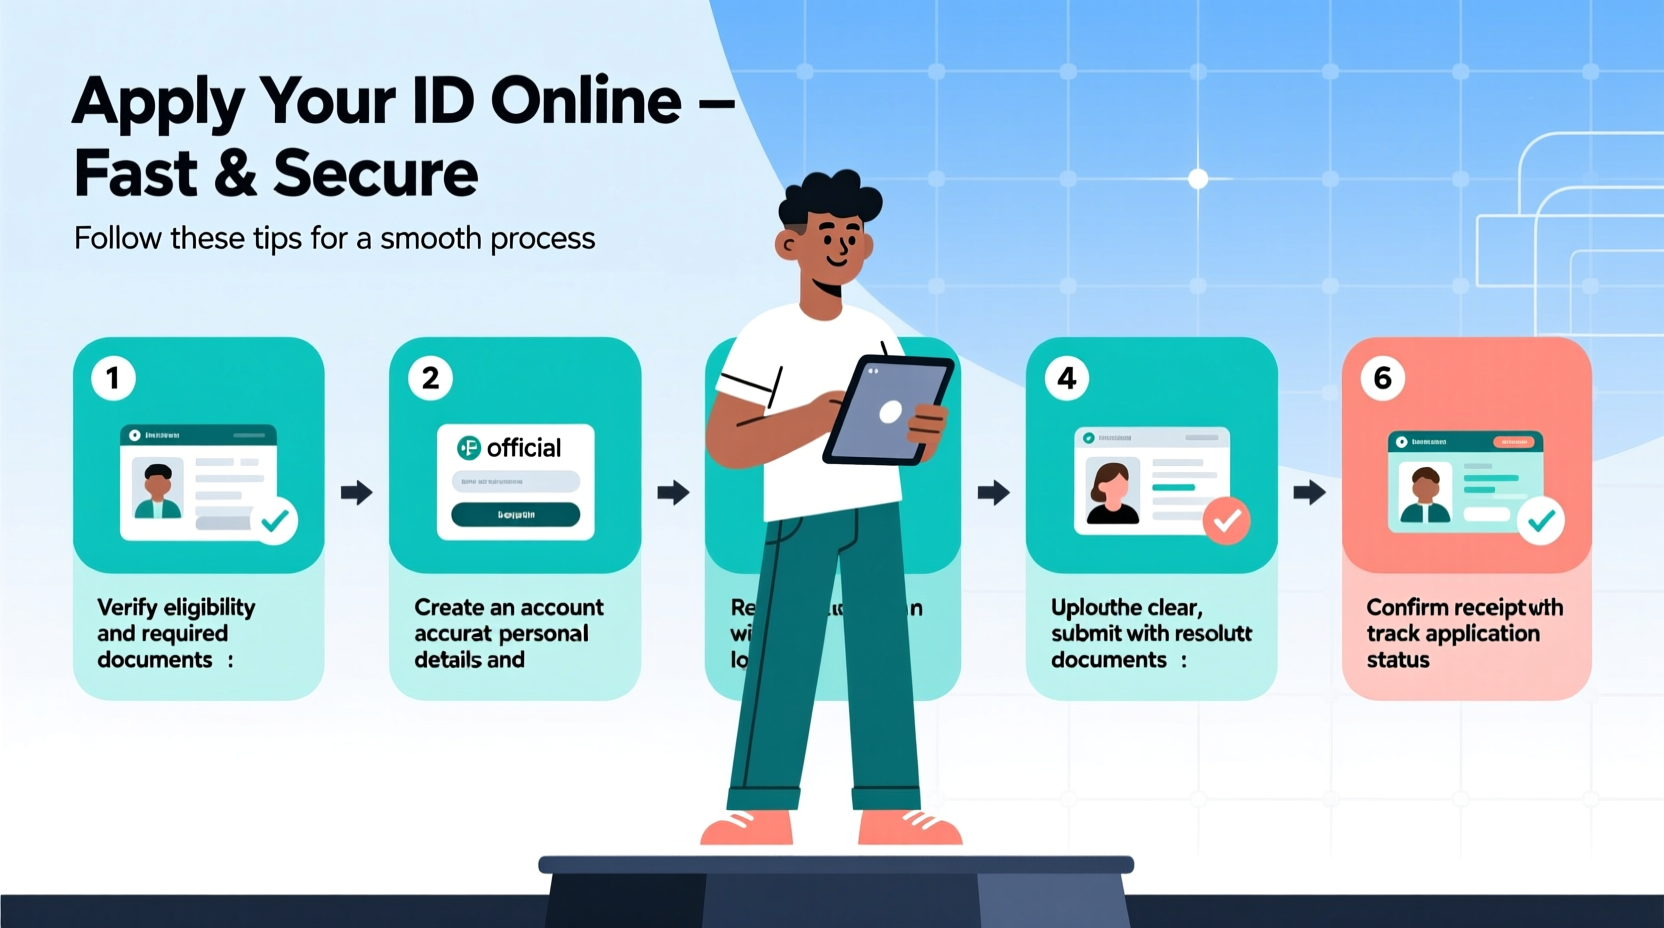
Not all individuals qualify for an online ID application. Eligibility depends on factors such as citizenship status, age, previous ID history, and whether you’re renewing or applying for the first time. Before beginning, confirm that you meet the criteria set by your local issuing authority—typically the Department of Motor Vehicles (DMV), Bureau of Identification, or national identity service.
Common eligibility requirements include:
- Being a legal resident or citizen of the issuing jurisdiction
- Having no outstanding warrants or suspensions
- Applying within a renewal window (for renewals)
- Not having changed your name or gender marker recently (some systems require in-person updates)
2. Gather Required Documents
The success of your online ID application hinges on submitting accurate, legible, and acceptable documents. Most systems require proof of identity, residency, and legal presence. Prepare digital copies of the following:
| Document Type | Acceptable Examples | Submission Tips |
|---|---|---|
| Proof of Identity | Birth certificate, U.S. passport, naturalization certificate | Must be unaltered; scanned in full with no cropped edges |
| Proof of Residency | Utility bill, lease agreement, bank statement (issued within last 60 days) | Name and address must match your application exactly |
| Social Security Number | SSN card or W-2 form | Do not submit if SSN is not required in your state |
| Previous ID (if renewing) | Expired driver’s license or state ID | Front and back images required; must be readable |
Ensure all files are in accepted formats (usually PDF, JPG, or PNG) and under the size limit (often 5–10 MB). Use a scanner or high-quality smartphone camera to avoid blurry or pixelated uploads.
3. Capture a Compliant ID Photo
Your photo is one of the most scrutinized elements of the application. Many rejections occur due to non-compliant images. While some states allow you to upload a photo, others use existing DMV records or require a live capture via webcam.
To meet standard photo requirements:
- Use a plain white or light-colored background
- Maintain neutral facial expression with eyes open and mouth closed
- Avoid hats, headwear (unless religious), and heavy makeup or filters
- Ensure proper lighting—no shadows or glare on glasses
- Face the camera directly, centered and fully visible
“We reject nearly 15% of online applications due to photo issues—most commonly poor lighting or obscured faces.” — Sarah Lin, Senior ID Processing Officer, California DMV
4. Complete the Online Application Step by Step
Navigate to your state or country’s official ID services portal. Avoid third-party websites that charge convenience fees or mimic government domains. The actual site will typically end in .gov or .mil.
Step-by-Step Process:
- Create an account using your email and a secure password. Some systems link to existing profiles from prior transactions.
- Select application type—new ID, renewal, replacement, or upgrade (e.g., Real ID).
- Enter personal information exactly as it appears on your supporting documents: full legal name, date of birth, Social Security Number, and address.
- Upload required documents one by one, verifying clarity and completeness before submission.
- Capture or upload your photo according to system instructions.
- Review all entries carefully. Even a single typo in your ZIP code can delay processing.
- Pay the fee using a credit/debit card or electronic check. Save the transaction ID for reference.
- Submit the application and note your confirmation number.
You’ll typically receive an email confirming receipt within 24 hours. Processing times vary from 7 to 21 business days depending on the jurisdiction.
5. Track Your Application and Handle Issues
After submission, monitor your application status through your online account. Most portals offer real-time updates such as “Under Review,” “Documents Approved,” or “Ready to Print.”
If your application is incomplete or rejected, you’ll usually receive a notification detailing the issue—common reasons include:
- Blurry or improperly formatted document scans
- Inconsistent name across documents
- Expired proof of residency
- Photo does not meet specifications
Mini Case Study: Maria’s Successful Real ID Renewal
Maria, a resident of Oregon, decided to renew her Real ID online six weeks before expiration. She gathered her current ID, recent utility bill, and passport-quality photo taken at home using her phone and a white bedsheet backdrop. After double-checking file sizes and formats, she uploaded everything through the DMV’s official portal. Within two days, she received an approval notice. Her new ID arrived by mail in 12 business days—well ahead of her travel plans. By preparing early and following guidelines precisely, Maria avoided the common pitfalls that delay hundreds of applicants each month.
Checklist for a Smooth Online ID Application
- ✅ Confirm eligibility for online application
- ✅ Collect original documents and scan them clearly
- ✅ Take a compliant photo with proper lighting and background
- ✅ Visit the official government website (.gov)
- ✅ Enter personal data exactly as shown on documents
- ✅ Review all entries before final submission
- ✅ Pay the fee and save your confirmation number
- ✅ Monitor application status and respond promptly to requests
Frequently Asked Questions
Can I apply for a Real ID online?
It depends on your state. Some states allow online Real ID renewals if you’ve previously held one and have updated photos on file. First-time Real ID applicants often need to visit an office in person to verify original documents. Check your state’s DMV policy before starting.
What should I do if my application is denied?
Read the rejection notice carefully. It will specify which document or detail failed verification. Correct the issue—such as retaking a photo or resubmitting a clearer bill—and resubmit through the same portal. You usually won’t need to pay again unless starting a new application.
How long does it take to receive my ID by mail?
Processing and mailing typically take 7–21 business days after approval. Expedited options may be available for an additional fee. If you haven’t received your ID within 25 days, contact customer support with your confirmation number.
Final Steps and Moving Forward
Applying for your ID online can save hours of waiting in line—if done correctly. The key lies in preparation: knowing your eligibility, gathering clean digital documents, capturing a valid photo, and entering information with precision. Technology has streamlined access to essential identification, but human attention to detail remains irreplaceable.
Now that you understand the full process, take action today. Whether you're renewing ahead of expiration or applying for the first time, a smooth experience starts with careful planning. Don’t wait until the last minute—start gathering your documents and reviewing your state’s specific rules. A valid ID opens doors; make sure yours arrives on time and without hassle.


 浙公网安备
33010002000092号
浙公网安备
33010002000092号 浙B2-20120091-4
Comments
No comments yet. Why don't you start the discussion?