
Building a 3D metal model kit like the Fondjoy Iron Spider-Man is more than a craft—it’s an immersive experience that blends engineering precision with creative satisfaction. Unlike traditional puzzles, these models require careful handling, attention to detail, and patience. When completed, they transform into striking display pieces that showcase both skill and fandom. This comprehensive guide walks you through every stage of assembly, from unboxing to final polishing, while incorporating professional insights and real-world-tested strategies to ensure your build is smooth, accurate, and rewarding.
What You’ll Need: Tools & Preparation
Before touching any metal pieces, gather the right tools. The kit comes with pre-cut steel sheets, but no tools. Having the correct equipment prevents damage to parts and reduces frustration during assembly.
Essential Tools Checklist
- Needle-nose pliers (preferably curved tip)
- Flat-nose pliers
- Small flathead screwdriver or hobby pick
- Soft cloth or microfiber towel
- Good lighting (natural or LED desk lamp)
- Magnifying glass (optional but helpful for small tabs)
- Tray or sorting container (to organize removed pieces)
Work on a clean, well-lit surface with ample space. Avoid carpeted areas—small parts can easily roll away or get lost. Lay down a soft cloth to protect both the table and the model pieces.
Step-by-Step Assembly Process
The Fondjoy Iron Spider-Man consists of multiple layers of laser-cut steel plates that interlock via tiny tabs and slots. Follow this sequence for optimal results.
- Inspect the Package: Open the box carefully. Check for all components: two steel sheets, instruction manual, and foam padding. Ensure nothing is bent or missing.
- Review the Manual: Study the diagram thoroughly. Identify part numbers and their corresponding locations in the build sequence. Note directional arrows and alignment markers.
- Punch Out Parts: Gently press each piece out using your fingers or a hobby pick. Do not force it. If resistance occurs, wiggle slightly side-to-side. Save excess frame material until the end—you may need it for leverage.
- Deburr Edges: Some edges may have minor burrs. Smooth them lightly with a nail file or fine sandpaper to prevent cuts and ensure clean fitting.
- Sort by Section: Group pieces by body part—head, torso, arms, legs, web shooters. This minimizes confusion during later stages.
- Begin with the Core Frame: Start with the central torso plate. This acts as the backbone. Attach inner support beams first before adding outer armor layers.
- Insert Tabs Carefully: Align tabs precisely into slots at a slight angle, then press flush. Never hammer or use excessive force. Misalignment now leads to structural instability later.
- Build Symmetrical Sides Together: For arms and legs, assemble both sides simultaneously to maintain balance and detect errors early.
- Attach Moving Joints Last: Elbows and knees should be secured only after full limb sub-assemblies are complete. Test range of motion before final insertion.
- Final Pose Adjustment: Once fully assembled, gently adjust limb angles for dynamic posing. The metal allows limited flexibility without breaking.
Common Challenges and How to Overcome Them
Even experienced builders encounter hurdles. Here’s how to handle frequent issues:
| Issue | Solution | Prevention |
|---|---|---|
| Tab won’t fit into slot | Check orientation; rotate piece 180°. Use pliers to slightly bend tab inward if needed. | Double-check diagrams before removal. |
| Part breaks during extraction | Contact Fondjoy customer service—they often provide replacement sheets. | Punch slowly; apply even pressure around the piece. |
| Model leans or wobbles | Recheck leg alignment and baseplate connection. Reinforce loose joints. | Ensure symmetrical weight distribution during build. |
| Missing small piece | Search under workspace padding or nearby floors. Request replacements via email. | Sort parts immediately after punching out. |
“Precision matters more than speed when building metal models. Rushing leads to irreversible mistakes.” — Daniel Reyes, Mechanical Model Designer & Educator
Real Build Example: Sarah’s Weekend Project
Sarah, a high school teacher and Marvel enthusiast, decided to tackle the Fondjoy Iron Spider-Man over a quiet weekend. She started Saturday morning with excitement but quickly became overwhelmed by the number of small pieces. After struggling to connect the shoulder joint correctly, she paused, re-read the manual, and realized she had flipped one of the chest panels.
Instead of forcing it, she disassembled the section and rebuilt it correctly. By Sunday evening, she had completed the model in a dynamic pose, standing proudly on its included base. Her key takeaway? “Taking photos after each major step helped me backtrack when something looked off. And keeping snacks nearby kept my focus sharp.”
She now displays the model on her bookshelf, where students often compliment its intricate design—a testament to patience and methodical work.
Expert Tips for a Flawless Finish
To elevate your build beyond basic completion, consider these advanced practices used by seasoned collectors:
- Dry-fit before locking: Assemble sections loosely first to verify alignment before pressing tabs fully into place.
- Use a magnifier: Small engravings and tab positions are easier to see under magnification, reducing errors.
- Polish post-build: Wipe the finished model with a jewelry polishing cloth to enhance shine and remove fingerprints.
- Display smartly: Place under a dust cover or glass dome if kept in high-traffic areas to preserve finish.
- Label spare parts: If you have leftover pieces, note which section they belong to—some are optional accessories or backups.
Frequently Asked Questions
How long does it take to assemble the Fondjoy Iron Spider-Man?
Most users report 4 to 7 hours depending on experience. Beginners should allow two sessions to avoid fatigue-related mistakes. Complex joints like the hands may require extra time.
Can children build this model safely?
Recommended for ages 14 and up due to small parts and sharp edges. Adult supervision is strongly advised. Younger fans can assist with sorting or dry-fitting non-sharp components.
Is glue necessary for stability?
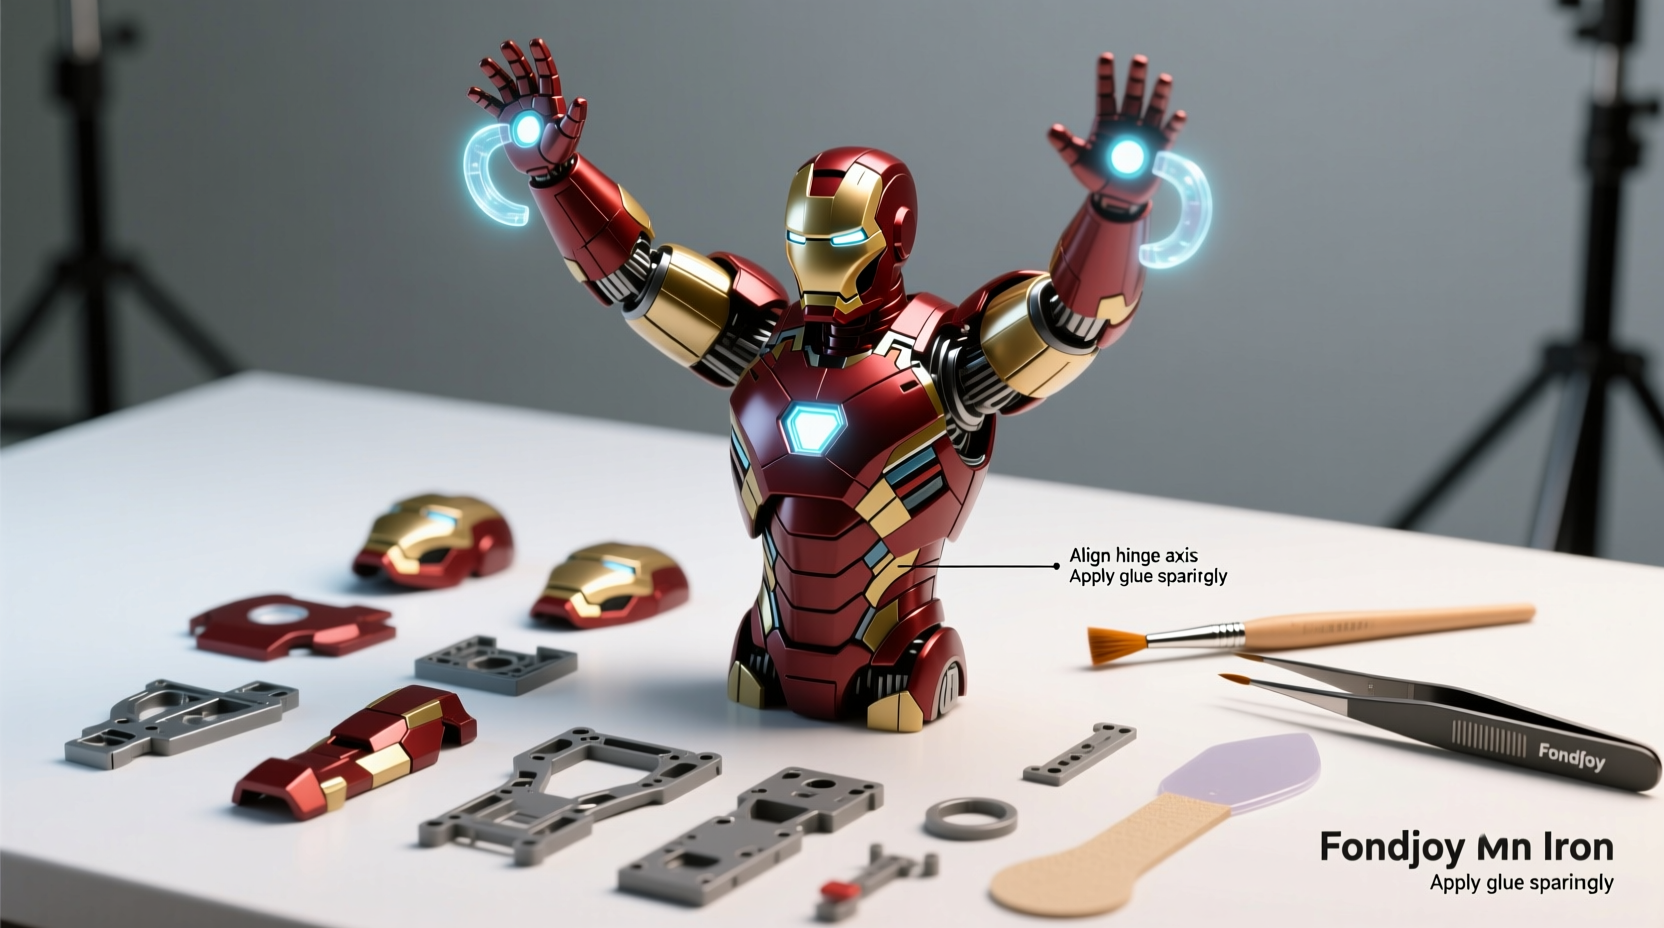
No, the design relies entirely on mechanical tab-and-slot connections. Glue is not required and may hinder future disassembly or adjustments.
Conclusion: Bring Your Hero to Life
Assembling the Fondjoy Iron Spider-Man isn’t just about following instructions—it’s about engaging with a piece of art that merges pop culture with engineering elegance. Each snap of a tab into place brings you closer to owning a detailed, three-dimensional tribute to one of Marvel’s most iconic heroes. With the right tools, mindset, and attention to detail, anyone can achieve a clean, stable, and visually impressive result.
Whether you’re building for display, relaxation, or as a gift, remember that precision and patience yield the best outcomes. Don’t rush. Celebrate small victories. And once your Spider-Man stands tall, take pride in knowing you built it yourself—one precise step at a time.


 浙公网安备
33010002000092号
浙公网安备
33010002000092号 浙B2-20120091-4
Comments
No comments yet. Why don't you start the discussion?