
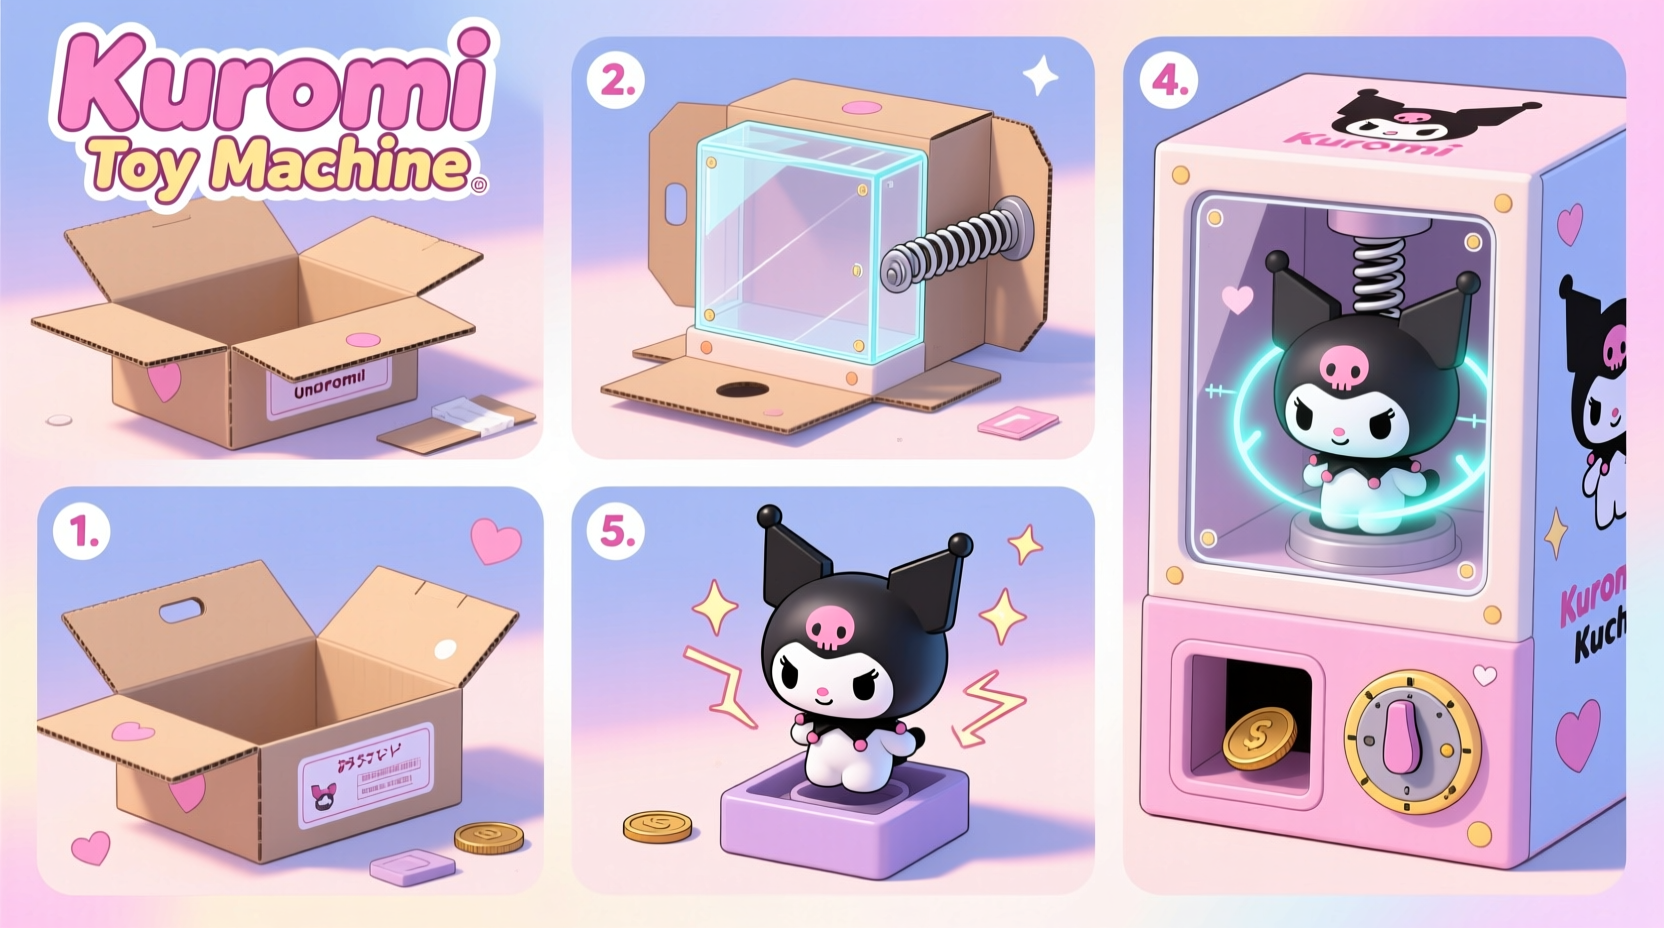
Blind box toys have taken the collectible world by storm, with characters like Kuromi from Sanrio capturing hearts across generations. While commercial vending machines can cost hundreds of dollars, a DIY version offers an affordable, creative alternative. Building your own Kuromi blind box toy machine is not only budget-friendly but also a rewarding project that blends engineering, design, and fandom. This guide walks you through every stage—from sourcing materials to final assembly—with practical tips and expert-backed techniques to ensure success.
Gather Your Materials and Tools
The foundation of any successful build lies in preparation. Before cutting or assembling anything, compile all necessary components. A functional blind box dispenser requires structural support, a dispensing mechanism, and aesthetic elements that reflect Kuromi’s playful charm.
Here’s what you’ll need:
- 1/4-inch plywood or sturdy acrylic sheet (for frame)
- Clear plastic tube or plexiglass cylinder (for visible toy chamber)
- Wood screws, glue, and brackets
- Small rotating drum or wheel (3D-printed or repurposed from old electronics)
- Servo motor or manual crank system
- Arduino microcontroller (optional, for automated models)
- 9V battery pack or USB power source
- Kuromi-themed stickers, paint, or vinyl wraps
- Assorted Kuromi blind boxes (standard 5–6 cm size)
- Drill, saw, screwdriver, measuring tape, sandpaper
Design the Frame and Dispensing Mechanism
The core function of your machine is reliable toy delivery. Most DIY builds use a gravity-fed carousel system: blind boxes sit in a circular drum, and one rotates into position when triggered, dropping the toy down a chute.
Begin by sketching your design on graph paper or using free CAD software like Tinkercad. Standard dimensions include:
| Component | Recommended Size | Notes |
|---|---|---|
| Base Plate | 12” x 8” | Provides stability; attach rubber feet |
| Toy Chamber Height | 10–12 inches | Hold 8–10 blind boxes vertically |
| Dispenser Drum Diameter | 6 inches | Must fit one box per slot |
| Drop Chute Width | 2.5 inches | Slightly wider than box to prevent jams |
Cut the side panels from plywood or acrylic, ensuring smooth edges. Drill mounting holes for the drum axle—use a brass rod or wooden dowel as the central shaft. Attach the drum so it rotates freely. If using a servo motor, wire it to stop at precise intervals (e.g., 45° per turn for an 8-slot drum).
“Reliability starts with alignment. Even a 2-degree tilt in the drum can cause misfeeds.” — Lin Zhao, DIY Electronics Instructor at MakerWorks Institute
Step-by-Step Assembly Process
Follow this sequence to assemble your machine efficiently and avoid rework:
- Construct the outer frame: Assemble two identical side panels with a base and top support. Reinforce corners with L-brackets.
- Install the drum axle: Insert the dowel through pre-drilled holes. Ensure it spins smoothly before adding weight.
- Build the carousel: Create 8 evenly spaced slots in a circular disc to hold each blind box. Test-fit a box to confirm snugness.
- Add the clear viewing tube: Secure a transparent cylinder around the drum to showcase the toys. Use silicone sealant to fix it in place.
- Wire the mechanism: For automated models, connect the servo to an Arduino programmed to rotate one slot per button press. Include a push-button switch on the front panel.
- Attach the drop chute: Position a sloped channel beneath the exit slot leading to the collection tray.
- Power setup: Mount the battery pack inside the base. Use zip ties to manage wires neatly.
- Final testing: Load five blind boxes and run 20 cycles. Adjust drum tension or chute angle if jams occur.
Customize with Kuromi Aesthetics
A machine this unique deserves personality. Kuromi’s black-and-pink color scheme, skull motif, and rebellious cuteness should shine through your design.
Paint the frame matte black and add pink stenciled accents. Use vinyl decals of Kuromi’s face or speech bubbles like “Gotcha!” near the dispensing slot. Consider backlighting the chamber with LED strips for a retail-style glow.
For sound effects, integrate a small MP3 module that plays a giggle or chime when a toy drops. Pre-recorded Sanrio sounds are available royalty-free for personal use.
If you’re skilled with sewing, fabric-wrap the front panel in black gingham or add a tiny plush Kuromi sitting atop the machine.
Mini Case Study: Emma’s Dorm Room Dispenser
Emma, a college student and Sanrio collector in Portland, built her Kuromi machine using scrap wood and a repurposed DVD tray motor. She designed a hand-crank model to avoid wiring complexity. After three test iterations, she added rubber lining inside the drum slots to reduce toy bounce. Her final version dispenses flawlessly and sits on her desk, delighting roommates and visitors. She estimates total cost at $38—less than half the price of a mini vending unit.
Common Pitfalls and How to Avoid Them
Even experienced makers encounter issues. Anticipate these common problems:
- Jammed boxes: Caused by misaligned chutes or static cling. Solution: Widen the chute slightly and wipe boxes with anti-static cloth.
- Motor stalling: Overloading the servo. Solution: Reduce drum weight or switch to a stepper motor.
- Unreliable dispensing: Poor drum slot design. Solution: Add spring-loaded flaps to release one box at a time.
- Instability: Top-heavy structure. Solution: Add a weighted base or wall-mount bracket.
Checklist: Final Quality Assurance
Before declaring your machine complete, verify the following:
- ✅ All moving parts operate smoothly without friction
- ✅ Each blind box dispenses individually without double-drops
- ✅ Power connections are secure and insulated
- ✅ Decorative elements are firmly attached
- ✅ Machine stands level on flat surfaces
- ✅ Emergency stop (if automated) is accessible
Frequently Asked Questions
Can I use other Sanrio blind boxes in this machine?
Yes. Most Sanrio blind boxes (My Melody, Cinnamoroll, Pompompurin) are similar in size. Minor adjustments to the drum slots may be needed, but the core design remains compatible.
Do I need coding skills for automation?
Basic Arduino knowledge helps, but many plug-and-play servo controllers require no programming. Pre-written code snippets are widely available on maker forums like Instructables or GitHub.
How many blind boxes can the machine hold?
A standard 8-slot drum holds eight boxes. You can increase capacity by stacking dual drums or adding a refill hatch on the side for continuous loading.
Conclusion: Start Crafting Your Own Kuromi Experience
Building a DIY Kuromi blind box toy machine merges creativity with functionality, offering a personalized touch to your collection display. Whether you opt for a simple hand-crank model or a fully automated unit, the process deepens your appreciation for both engineering and fandom. With careful planning, attention to detail, and a love for Kuromi’s edgy charm, your machine will become a centerpiece of joy and surprise.


 浙公网安备
33010002000092号
浙公网安备
33010002000092号 浙B2-20120091-4
Comments
No comments yet. Why don't you start the discussion?