
Smartphones have become our primary cameras, capturing life’s most important moments—from first steps to family vacations. But without a reliable backup system, a lost phone, hardware failure, or accidental deletion can erase years of memories in seconds. The good news? With today’s cloud technology, automatic photo backups are simple, secure, and often free. This guide walks you through the process across both iOS and Android devices, helping you set up a seamless, hands-off backup routine that keeps your photos safe—forever.
Why Automatic Photo Backup Matters
In 2024, the average smartphone user takes over 700 photos per year. Many of these images never make it to a computer or external drive. They live solely on a fragile device that could be dropped, stolen, or corrupted. According to a 2023 survey by the Consumer Technology Association, nearly 68% of people have lost personal photos due to device failure—and only 35% had any form of backup.
Automatic photo backup eliminates this risk. Once configured, your phone uploads every new photo and video as soon as it’s taken—or when connected to Wi-Fi—requiring no daily effort from you. It’s not just about convenience; it’s digital preservation.
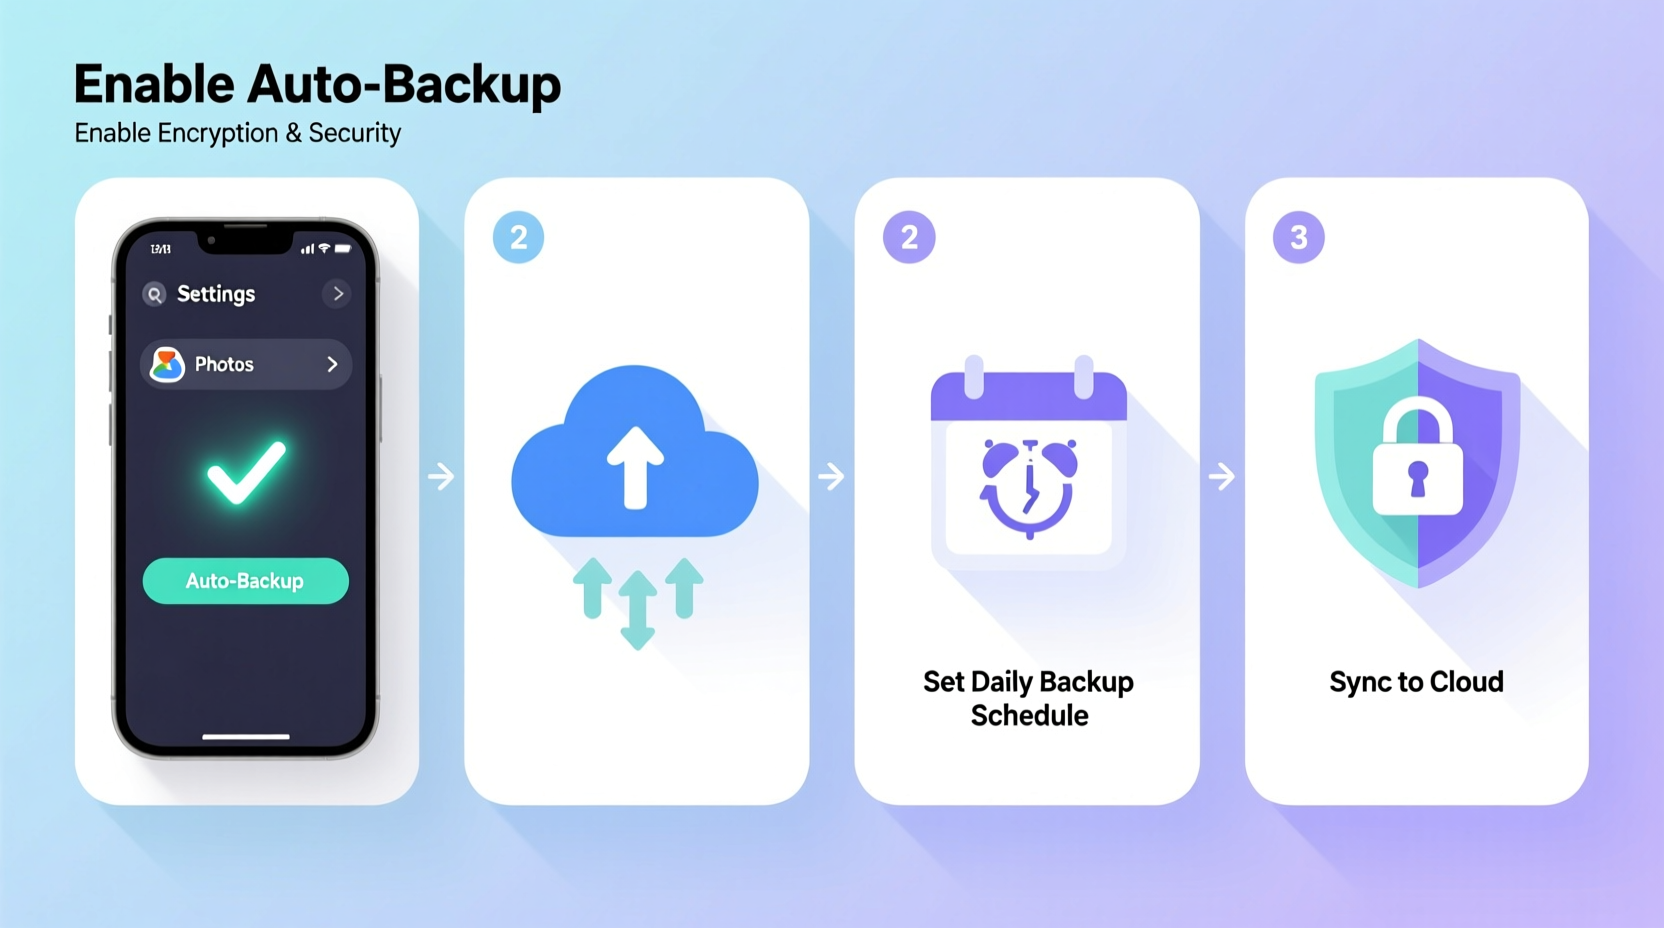
Step-by-Step Setup for iPhone (iOS)
Apple makes photo backup straightforward with iCloud Photos, but proper configuration is essential to ensure everything works seamlessly.
- Open Settings and tap your name at the top to access Apple ID settings.
- Select iCloud, then tap Photos.
- Toggle on Sync This iPhone. This enables iCloud Photos.
- Choose Optimize iPhone Storage to keep low-resolution versions on-device and full-quality originals in the cloud—ideal for phones with limited space.
- Ensure My Photo Stream is off if you’re using iCloud Photos, as they serve similar purposes and can cause redundancy.
- Wait for the initial upload. This may take hours depending on your photo library size and internet speed. Keep your phone charged and connected to Wi-Fi.
Your iPhone will now automatically back up all new photos and videos. You can verify progress by checking the status bar in the Photos app—it will show “Up to Date” once complete.
Managing iCloud Storage
Every Apple ID comes with 5GB of free iCloud storage—often insufficient for large photo libraries. If you exceed this limit, iCloud Photos will stop syncing.
To expand storage:
- Go to Settings > [Your Name] > iCloud > Manage Storage > Change Storage Plan.
- Choose a paid tier: 50GB ($0.99/month), 200GB ($2.99/month), or 2TB ($9.99/month).
- Families can share a 200GB or 2TB plan with up to five members via Family Sharing.
“iCloud Photos is one of the most reliable consumer backup systems available—if you configure it correctly and maintain enough storage.” — Mark Rivera, Senior Editor at TechInsider Weekly
Step-by-Step Setup for Android Devices
Android offers more flexibility with multiple cloud providers. Google Photos is the default choice for most users, but alternatives like Dropbox and Microsoft OneDrive also support automatic backup.
Using Google Photos (Recommended)
- Install or open the Google Photos app (pre-installed on most Android phones).
- Sign in with your Google account. Use a dedicated account for photos if privacy is a concern.
- Tap your profile icon in the top right, then go to Photos settings > Backup.
- Toggle on Backup.
- Set Upload quality: Choose “Storage saver” (compressed) for free unlimited backup or “Original quality” (full resolution) which counts against your 15GB free Google Drive quota.
- Enable Backup over Wi-Fi only to prevent data usage.
- Optional: Turn on Back up device folders to include screenshots, downloads, and other media outside your main gallery.
Once enabled, Google Photos runs silently in the background. A small cloud icon appears beneath recently backed-up photos in the app.
Alternative Apps for Android Backup
If you prefer not to use Google services, consider:
- Microsoft OneDrive: Integrates well with Samsung devices and offers 5GB free storage.
- Dropbox: Offers smart sync and camera upload features with 2GB free space.
- Flickr: Best for photographers; free tier allows 1,000 photo uploads.
Each app has its own setup flow, but all include a “camera upload” toggle in settings.
Best Practices for Reliable, Ongoing Backups
Setting up automatic backup is only half the battle. Ensuring long-term reliability requires ongoing maintenance and awareness.
Regularly Verify Your Backups
Don’t assume everything is working. Every few months, log into your cloud service from a computer or secondary device and confirm recent photos appear. Check timestamps and album organization.
Monitor Storage Limits
Run out of space, and backups stop—silently. Set calendar reminders to review storage every three months. On iOS, enable notifications for low iCloud storage. On Android, Google Photos will warn you before hitting limits.
Secure Your Account
Your photo library is only as safe as your account. Enable two-factor authentication (2FA) on your Apple ID, Google account, or other cloud platforms.
| Platform | Free Storage | Paid Upgrade Option | Auto-Backup Reliability |
|---|---|---|---|
| iCloud Photos | 5GB | 50GB–2TB plans | ★★★★★ |
| Google Photos (Storage Saver) | Unlimited (compressed) | Original quality: part of Google One | ★★★★☆ |
| OneDrive | 5GB | 100GB–6TB options | ★★★★☆ |
| Dropbox | 2GB | 2TB plan at $9.99/month | ★★★☆☆ |
Avoid Duplicate Uploads
Running multiple backup apps simultaneously (e.g., Google Photos and Dropbox) can waste bandwidth and storage. Stick to one primary service unless you need redundancy for critical data.
“The biggest mistake people make is setting up backup once and forgetting about it. Technology changes, accounts expire, and storage fills. Active monitoring is key.” — Lena Park, Digital Archivist at PreserveNow.org
Real-World Example: Recovering From a Lost Phone
Sarah, a freelance photographer in Portland, left her phone in a rideshare after a wedding shoot. She panicked—her entire weekend’s work was on the device. But because she’d set up Google Photos with automatic backup over Wi-Fi, she logged into the app from a friend’s tablet within an hour. All 412 photos, including high-res edits, were safely stored in the cloud. She accessed them instantly and delivered the client gallery on time.
Sarah’s story isn’t unique. What made the difference wasn’t luck—it was preparation. Her backup had been running quietly for eight months, uploading every image moments after it was captured.
Checklist: Ensure Your Photo Backup Is Truly Automatic
Use this checklist to audit your current setup or configure a new one:
- ✅ Cloud backup feature is enabled in your phone’s photo app
- ✅ Backup triggers over Wi-Fi (to avoid data charges)
- ✅ Initial upload has completed (check status indicator)
- ✅ Enough cloud storage is available (or upgrade is planned)
- ✅ Two-factor authentication is active on the cloud account
- ✅ Device name is labeled clearly in backup settings
- ✅ You’ve tested recovery by viewing photos from another device
- ✅ A quarterly reminder is set to check backup health
Frequently Asked Questions
What happens if I lose my phone? Can I still access my photos?
Yes. As long as your photos were backed up, you can view and download them from any device by signing into your cloud account (iCloud, Google Photos, etc.). On a new phone, restoring from backup during setup will bring back your entire library.
Are my backed-up photos private?
By default, yes. Cloud providers store your photos securely and do not scan them for advertising (especially Google since 2022). However, enabling 2FA and using strong passwords is essential. Avoid public links or shared albums for sensitive content.
Can I back up photos without using the cloud?
Yes, but automation is harder. You can use local solutions like connecting your phone to a NAS (Network Attached Storage) device or using apps like Syncthing for peer-to-peer transfer. These methods require technical setup and consistent network access, making them less beginner-friendly than cloud options.
Conclusion: Never Risk Losing Memories Again
Automatically backing up your smartphone photos isn’t a luxury—it’s a necessity in the digital age. Whether you use an iPhone or Android, the tools exist to protect your memories with minimal effort. The few minutes it takes to configure automatic backup can save you from irreversible loss down the road.
Start today. Open your photo settings, enable backup, and let technology work for you. In six months, you won’t remember doing it—but you’ll be profoundly grateful it was there when you needed it.


 浙公网安备
33010002000092号
浙公网安备
33010002000092号 浙B2-20120091-4
Comments
No comments yet. Why don't you start the discussion?