
Custom base cabinets offer unmatched functionality and aesthetic control in any kitchen or bathroom renovation. Unlike off-the-shelf models, a handmade cabinet can be tailored to fit odd spaces, support heavy countertops, and reflect your personal style. Building one requires precision, the right materials, and a methodical approach—but with careful planning, even DIYers with intermediate skills can create a professional-grade result. This guide walks you through every phase, from initial measurements to final finishing.
Design and Planning: Laying the Foundation
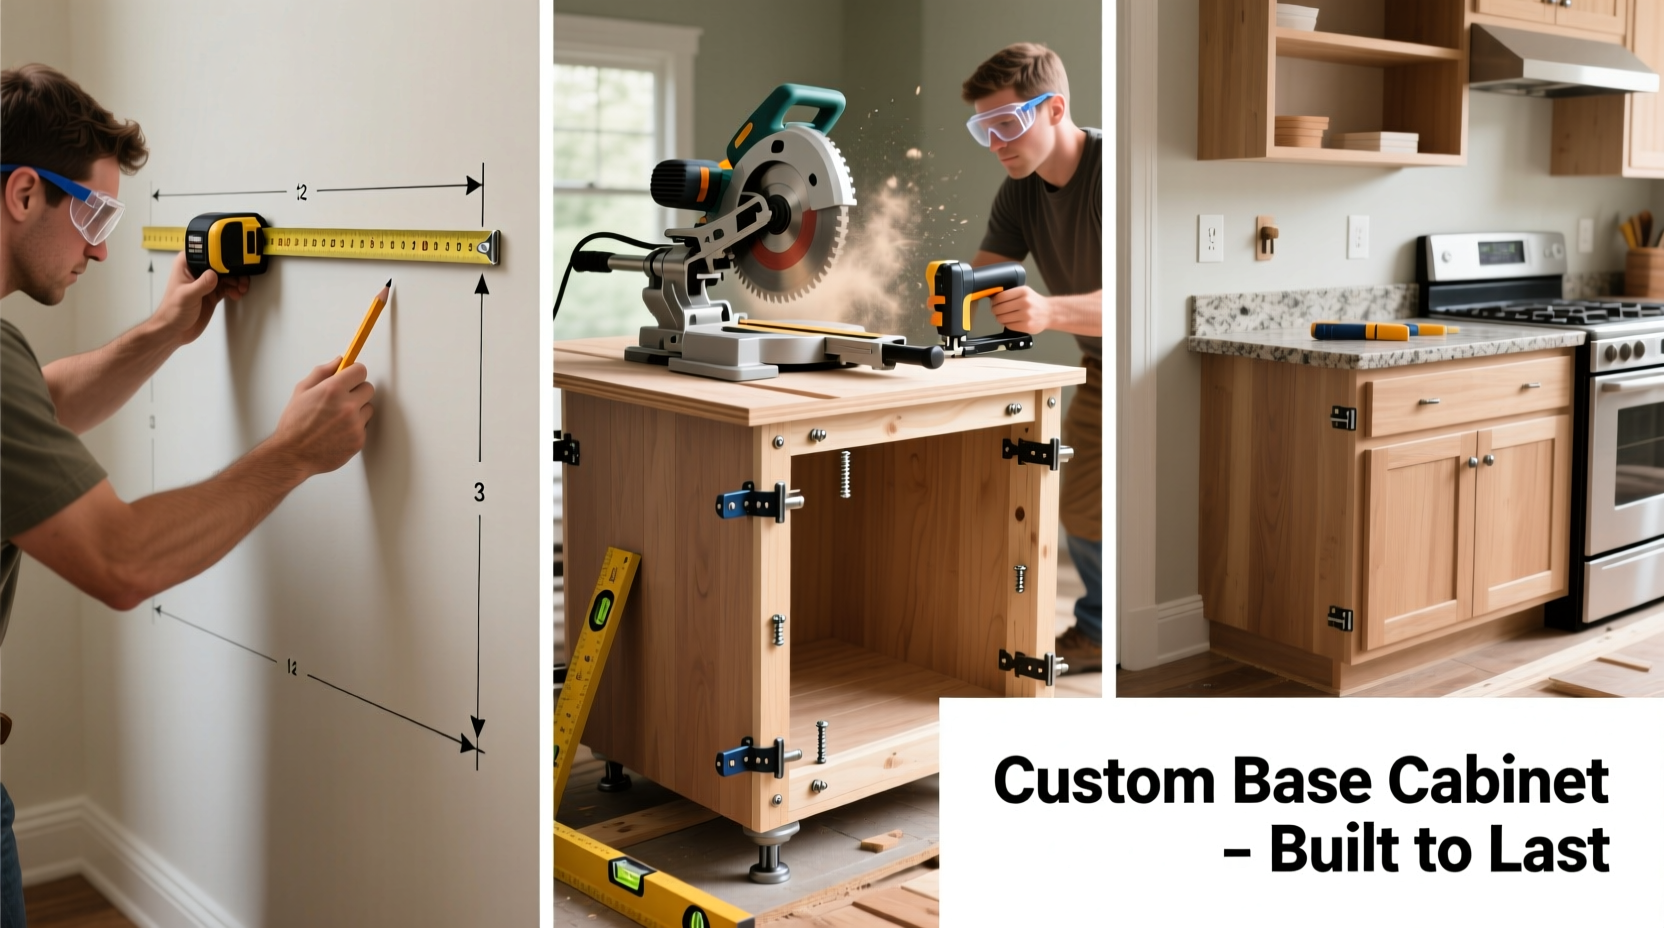
Before picking up a saw or drill, invest time in thoughtful design. A well-planned cabinet ensures structural integrity, proper fit, and seamless integration with surrounding cabinetry or countertops. Begin by measuring the installation space precisely, noting floor irregularities, wall angles, and nearby obstacles like plumbing or electrical outlets.
Standard base cabinets are typically 24 inches deep, 34.5 inches high (to allow for a 1.5-inch countertop), and vary in width from 12 to 36 inches. However, custom builds allow flexibility. Sketch your design on graph paper or use free CAD tools like SketchUp Free to visualize proportions and joint placements.
Decide on the door configuration—full overlay, inset, or traditional—based on your hardware and desired look. Plan for internal components such as shelves, toe kicks, and mounting rails early to avoid rework later.
Selecting Materials for Longevity
Durability starts with material choice. For base cabinets, which bear significant weight and moisture exposure, particleboard or MDF from big-box stores may warp over time. Opt instead for higher-grade materials:
- Plywood: Use exterior-grade or Baltic birch plywood (minimum ¾ inch thick) for sides, tops, bottoms, and shelves. Its cross-laminated layers resist warping and provide strong screw-holding power.
- Solid Wood: Ideal for face frames and doors. Poplar, maple, or oak offer stability and take finishes well.
- Hardwood Edge Banding: If using plywood, apply iron-on edge banding to exposed edges for a clean, finished look.
“Cabinets are only as strong as their weakest joint. Invest in quality plywood and reinforce critical connections.” — Daniel Reeves, Master Cabinetmaker
Avoid standard drywall screws. Instead, use #8 or #10 cabinet screws, confirmat bolts for shelf pins, and wood glue rated for interior use (e.g., Titebond III).
Step-by-Step Construction Process
With materials cut to size (or have them pre-cut at a supplier for accuracy), follow this sequence for reliable assembly:
- Build the Box: Assemble the cabinet carcass using the ¾-inch plywood. Join the sides, top, and bottom with pocket holes (Kreg Jig) or dado joints for maximum strength. Apply wood glue before fastening.
- Add the Face Frame: Attach a 1½ x 1½-inch solid wood frame to the front using glue and brad nails. This reinforces the structure and provides a mounting surface for doors.
- Install the Bottom Panel: If not already part of the box, secure the bottom panel with cleats or dados. Ensure it’s perfectly level.
- Mount the Toe Kick: Cut a U-shaped piece from ½-inch plywood or solid stock. Attach it 3.5 inches above the floor using screws from inside the cabinet.
- Add Back Panel: Use ¼-inch plywood nailed or screwed into the rear edges. This stabilizes the cabinet and closes the back.
- Insert Shelves: Install adjustable shelf standards or fixed supports. Double-check alignment with a level.
Finishing and Installation
Sanding is essential for a smooth finish. Start with 120-grit paper and progress to 220-grit, especially on solid wood components. Round sharp edges slightly to prevent chipping.
Choose a finish based on environment:
- Oil-Based Polyurethane: Highly durable, ideal for kitchens. Requires longer drying time.
- Water-Based Poly: Low odor, faster drying, but less abrasion-resistant.
- Paint: Use semi-gloss or satin enamel for easy cleaning. Prime first with a bonding primer.
Once finished, let cure for at least 72 hours before installing hardware. Mount hinges according to manufacturer specs, then hang doors and adjust alignment. Use a spacer block (1/16 inch) to ensure consistent gaps around doors and drawers.
Secure the cabinet to wall studs with 3-inch lag screws through the top mounting rail. Check plumb with a level before tightening fully. If installing multiple units, align fronts and tops before securing adjacent cabinets together with connector screws.
Common Pitfalls and How to Avoid Them
Even experienced builders make mistakes. The following table outlines frequent errors and practical solutions:
| Issue | Why It Happens | How to Prevent |
|---|---|---|
| Cabinet wobbles on uneven floor | No adjustable feet or shimming | Install leveling feet or shim base until stable |
| Doors misalign after hanging | Frame not square or poor hinge placement | Check squareness with diagonal measurement; use template for hinge boring |
| Finish chips near handles | Soft wood or thin coating | Apply 2–3 finish coats; consider metal corner guards |
| Shelves sag under load | Under-supported span or thin material | Use ¾-inch plywood; add center supports for spans over 24 inches |
Real Example: Custom Cabinet in a Renovated Kitchen Nook
In Portland, homeowner Maria Thompson needed a base cabinet to fit a 22-inch gap beside her refrigerator—a size not available retail. She designed a single-door unit with a pull-out trash bin inside. Using ¾-inch Baltic birch and a poplar face frame, she assembled the cabinet in her garage over a weekend. After applying two coats of water-based polyurethane, she installed it with threaded inserts for the hinge. The result? A seamless fit that matched her other cabinets and solved a persistent storage issue.
Essential Tools and Materials Checklist
Before starting, gather these items:
- ¾-inch exterior-grade plywood (Baltic birch preferred)
- 1x2 or 1½x1½-inch solid wood (for face frame)
- Wood glue (water-resistant)
- #8 x 2-inch pocket hole screws
- 1¼-inch brad nails
- Kreg Jig or dado set
- Clamps (minimum four)
- Orbital sander and sandpaper (120–220 grit)
- Level, tape measure, combination square
- Hinges, knobs, and mounting hardware
- Finish of choice (paint, stain, or polyurethane)
Frequently Asked Questions
Can I build a base cabinet without power tools?
It’s possible but extremely time-consuming. A circular saw or table saw ensures straight cuts, while a drill/driver and Kreg Jig simplify joinery. Hand tools require exceptional precision and patience.
How do I ensure my cabinet is square?
Measure diagonally from corner to corner. Both measurements must be equal. If not, gently twist the box until they match, then clamp and fasten.
Should I anchor base cabinets to the wall?
Yes. Even freestanding-looking cabinets should be secured to wall studs. This prevents tipping, maintains alignment, and improves seismic safety.
Final Steps and Long-Term Care
After installation, test all moving parts and check for gaps. Touch up finish where needed. To maintain durability, avoid prolonged exposure to standing water, wipe spills promptly, and tighten hardware annually.
A custom base cabinet isn’t just functional—it’s a mark of craftsmanship. Whether replacing an outdated unit or filling a tricky corner, building your own gives full creative control and lasting value.


 浙公网安备
33010002000092号
浙公网安备
33010002000092号 浙B2-20120091-4
Comments
No comments yet. Why don't you start the discussion?