
Laundry is a constant in every household, but that doesn’t mean the tools we use have to be an eyesore. A well-built laundry hamper stand elevates both function and form—keeping dirty clothes off the floor, organizing multiple loads, and adding a touch of craftsmanship to your space. Whether tucked into a closet, placed beside a washer, or displayed in a bedroom, a custom stand offers long-term durability and personal style. This guide walks through the entire process of designing and constructing a sturdy, attractive hamper stand using accessible materials and basic tools.
Design Principles for a Functional Hamper Stand
Before picking up a saw or drill, consider the purpose and placement of your stand. It should support at least two hampers (light and dark, delicates and regular, etc.) while maintaining balance and accessibility. The ideal height allows easy insertion of clothes without bending too far. Most users find 30 to 36 inches optimal—just below waist level.
Choose a footprint that fits your space. A typical base measures 24” x 16”, accommodating two standard hampers side by side. Open shelving improves airflow and prevents moisture buildup, while closed designs offer a cleaner look but may trap odors if not ventilated.
Material selection plays a major role in longevity. Hardwoods like oak or maple provide strength and beauty but require more effort to cut and finish. Pine is affordable and workable but less resistant to dings. For a modern twist, consider pairing wood with powder-coated steel legs or hairpin supports.
Materials and Tools Checklist
Building a hamper stand doesn’t require a full workshop, but having the right supplies ensures precision and safety. Below is a comprehensive list for a basic two-tier wooden design.
Materials
- Two 1x10 boards, 6 feet long (pine, poplar, or hardwood)
- Four 2x2 posts, 3 feet long (for legs)
- Wood screws (2.5-inch and 1.25-inch)
- Wood glue
- Sandpaper (120 and 220 grit)
- Finish (stain, paint, or clear sealant)
- Optional: corner braces or L-brackets for added stability
Tools
- Circular saw or miter saw
- Drill/driver with bits
- Tape measure and square
- Clamps
- Sander (orbital or hand block)
- Safety glasses and ear protection
“Good joinery matters more than expensive wood. A well-fastened joint will outlast the material it holds.” — Daniel Reeves, Cabinetmaker & Workshop Instructor
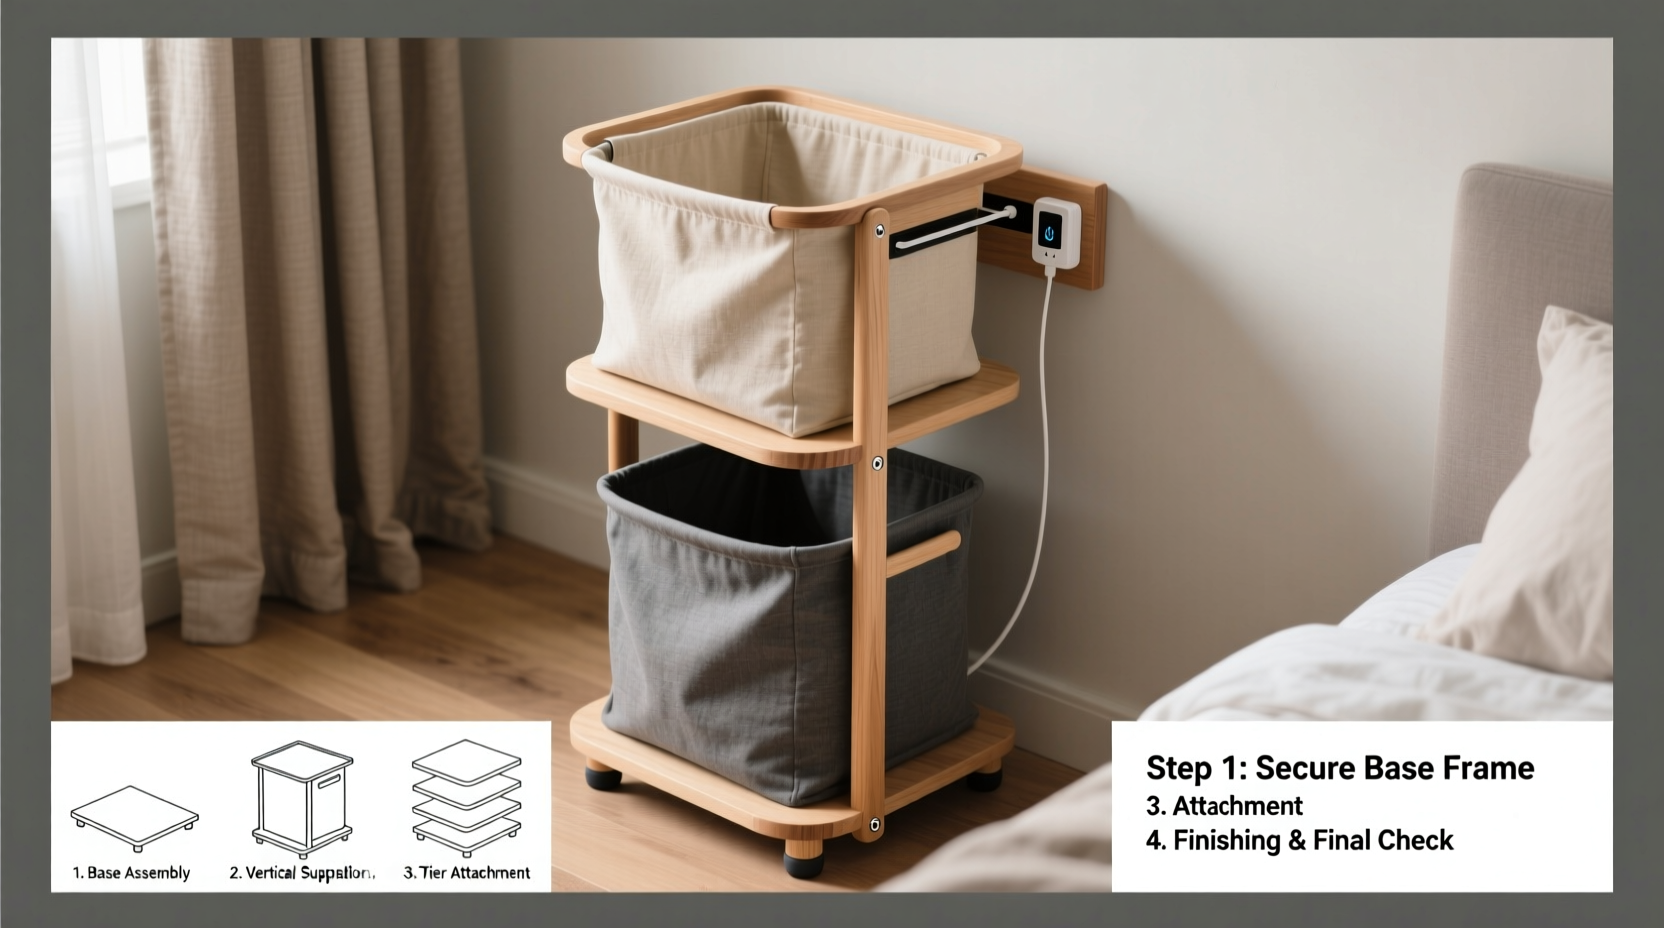
Step-by-Step Construction Guide
Follow these steps carefully to assemble a stable, professional-looking hamper stand. Allow 4–6 hours total, including drying time for glue and finish.
Step 1: Cut the Wood
Using precise measurements, cut the following pieces from your boards:
- Top and bottom shelves: 24” x 16” (cut two)
- Side rails: 22” long (cut four)
- Front/back rails: 16” long (cut four)
- Legs: 30” long (cut four from 2x2s)
Double-check all cuts for squareness. Use a speed square to verify 90-degree angles.
Step 2: Assemble the Frames
Build two rectangular frames—one for the top shelf, one for the bottom—using the rails and corner joints. Apply wood glue to each end, then secure with 2.5-inch screws driven through pilot holes. This prevents splitting. Clamp the frame until the glue sets (about 30 minutes).
Step 3: Attach the Legs
Position a leg in each corner, aligned with the inside edge of the frame. Attach using two 2.5-inch screws per leg, driven through the frame into the end grain of the post. Reinforce with wood glue. Repeat for both frames.
Step 4: Connect Top and Bottom
Stand the two assemblies upright and align them vertically. Measure diagonally from corner to corner to ensure the structure is square. Once aligned, attach cross-bracing or intermediate supports if desired. Then fix the top shelf frame to the tops of the legs using 1.25-inch screws from above.
Step 5: Sand and Finish
Sand all surfaces starting with 120-grit, then finish with 220-grit for smoothness. Wipe away dust with a tack cloth. Apply your chosen finish—oil-based stain followed by polyurethane offers rich color and water resistance. Allow 24 hours to cure before use.
Customization and Style Options
A homemade hamper stand isn’t just functional—it’s a chance to reflect your taste. Consider these enhancements:
- Open-back design: Improves access and reduces visual bulk.
- Integrated hooks: Add towel or robe hooks to the sides.
- Wheels: Install locking casters for mobility, especially useful in shared laundry rooms.
- Back panel: Use reclaimed wood or metal mesh for a decorative rear screen.
| Style | Best For | Pros | Cons |
|---|---|---|---|
| Rustic Farmhouse | Bathroom or mudroom | Warm, inviting look | Requires sealing against moisture |
| Modern Minimalist | Laundry room or closet | Clean lines, compact | Less storage flexibility |
| Industrial Chic | Basement or utility area | Durable, trendy | Metal components may rust if uncoated |
Real-World Example: Sarah’s Closet Conversion
Sarah, a mother of three in Portland, struggled with overflowing laundry baskets in her small hallway closet. After building a custom hamper stand using poplar and black iron pipe legs, she gained vertical organization and visual calm. “I painted the shelves white and added labels—whites, colors, delicates. Now my kids actually use the right bins,” she said. The stand took her one weekend to build and has lasted over three years with only minor touch-ups.
Frequently Asked Questions
Can I build this without power tools?
Yes, though it will take longer. A hand saw, screwdriver, and sanding block can complete the job. Pre-cut lumber from hardware stores can also reduce on-site cutting.
How do I keep the hampers from sliding?
Use rubber shelf liner between the hamper and wood surface. Alternatively, cut shallow grooves or install small lips on the shelf edges to contain movement.
Is this suitable for outdoor or damp areas?
If used in a humid environment like a basement or covered porch, choose moisture-resistant wood like cedar or apply a marine-grade varnish. Avoid MDF or particleboard, which swell when wet.
Final Thoughts and Next Steps
A durable and stylish laundry hamper stand is more than furniture—it’s a solution that simplifies daily routines and enhances your home’s functionality. With careful planning, quality materials, and attention to detail, you can create a piece that lasts for years and stands apart from mass-produced alternatives.
Start small: gather your tools, sketch your design, and make your first cut. Each step builds confidence and skill. Once completed, you’ll not only enjoy the benefits of organized laundry but also the pride of having built something useful with your own hands.


 浙公网安备
33010002000092号
浙公网安备
33010002000092号 浙B2-20120091-4
Comments
No comments yet. Why don't you start the discussion?