
Creating a Roblox tycoon game is one of the most accessible entry points into game development on the platform. With over 200 million monthly active users, Roblox offers an unparalleled opportunity for aspiring developers to build, publish, and even earn from their creations. Tycoon games—where players generate income, upgrade systems, and automate processes—are consistently popular due to their addictive progression mechanics. This guide walks through every phase of building a functional and engaging tycoon game, tailored specifically for beginners with little to no prior experience.
1. Understand the Core Mechanics of a Tycoon Game
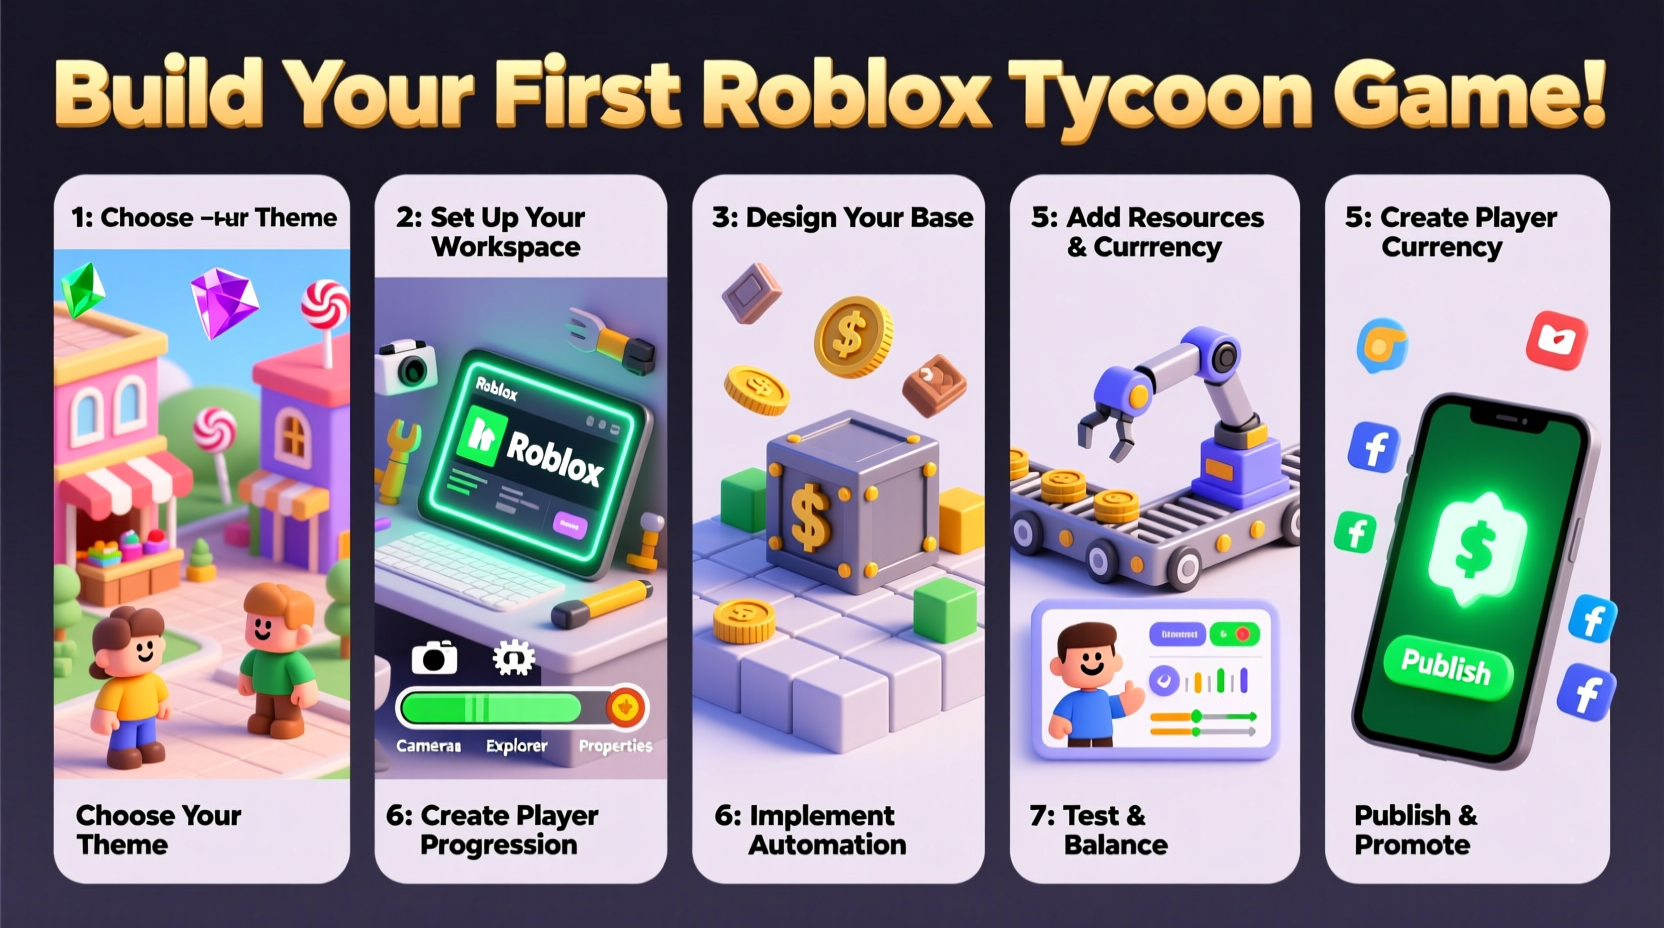
Before opening Roblox Studio, it's essential to understand what defines a tycoon game. At its core, a tycoon revolves around incremental progression: players start small, earn currency through actions or automation, and reinvest that currency to grow their operation. Common elements include generators (e.g., coin machines), upgrades, and unlockable levels.
The key gameplay loop follows this pattern:
- Earn currency (coins, gems, etc.)
- Spend currency on upgrades or new features
- Increase earning speed or efficiency
- Repeat to progress toward endgame goals
Understanding this loop helps you design a balanced and satisfying experience. Avoid overwhelming new players with too many options early on. Instead, introduce mechanics gradually using a \"progressive disclosure\" model.
2. Set Up Your Development Environment
Download and install Roblox Studio, the official development tool. Once installed, create a new place using the “Baseplate” template. Rename your game something memorable and relevant, like “Cookie Factory Tycoon” or “MineMaster.”
Next, organize your workspace:
- Navigate to the Explorer panel to manage parts, scripts, and folders.
- Open the Properties panel to adjust object settings.
- Use the Toolbox to import free models (e.g., buttons, signs) to save time.
Create three main folders in Workspace: Players, TycoonParts, and Scripts. This keeps your project organized as it grows.
Essential Tools You’ll Use
| Tool | Purpose | Access Location |
|---|---|---|
| Explorer | Manage objects and hierarchy | View tab → Explorer |
| Properties | Edit object attributes | View tab → Properties |
| Script Editor | Write Lua code | Double-click any Script object |
| Toolbox | Import assets | View tab → Toolbox |
3. Build the Core Systems Using Lua Scripting
Roblox uses Lua, a lightweight scripting language, to control game behavior. You don’t need advanced coding skills—just a grasp of basic logic and syntax.
Step-by-Step: Create a Coin Generator
- Insert a
Partinto the workspace and name it “CoinGenerator”. - Change its color and size to make it visually distinct.
- Right-click the part and select Insert Object → Script.
- Replace the default script with the following:
local generator = script.Parent
local coinsPerSecond = 5

while true do
    wait(1)
    -- Add coins to player's data
    -- This will be linked later to player leaderstats
end
To track player currency, use leaderstats. Insert a Folder named “leaderstats” inside each player when they join. Inside it, add an IntValue called “Coins”.
Add this script to ServerScriptService:
game.Players.PlayerAdded:Connect(function(player)
    local leaderstats = Instance.new(\"Folder\")
    leaderstats.Name = \"leaderstats\"
    leaderstats.Parent = player

    local coins = Instance.new(\"IntValue\")
    coins.Name = \"Coins\"
    coins.Value = 0
    coins.Parent = leaderstats
end)
Now modify the generator script to increase coins:
local coinsPerSecond = 5

while true do
    wait(1)
    for _, player in pairs(game.Players:GetPlayers()) do
        local leaderstats = player:FindFirstChild(\"leaderstats\")
        if leaderstats then
            local coins = leaderstats:FindFirstChild(\"Coins\")
            if coins then
                coins.Value = coins.Value + coinsPerSecond
            end
        end
    end
end
4. Design Engaging Gameplay and Monetization
A well-designed tycoon keeps players engaged through visual feedback, meaningful choices, and reward pacing. Consider these principles:
- Visual Feedback: Use particle effects or sounds when coins are earned.
- Upgrade Paths: Let players spend coins to double output or unlock new generators.
- Milestones: Reward players at set intervals (e.g., 100 coins = new zone unlocked).
Monetization is possible once your game gains traction. Roblox allows developers to sell:
- Game Passes: One-time purchases (e.g., “2x Earnings Forever”)
- Developer Products: In-game currency bundles
- Private Servers: Players pay for exclusive access
“Start simple, iterate fast, and let player feedback shape your updates.” — David Baszucki, CEO of Roblox
Mini Case Study: From Idea to 10K Plays
Jamie, a 16-year-old developer, created “Pizza Tycoon Simulator” with just two weeks of Lua practice. She started with a single oven that produced coins every 5 seconds. After publishing, she monitored player retention and noticed most quit before unlocking the second floor. In response, she reduced early costs by 40% and added a tutorial pop-up. Within a month, daily visits increased from 200 to over 1,200. Her game now earns passive revenue through a $0.99 game pass that unlocks golden toppings.
5. Launch, Test, and Improve
Before publishing, conduct internal testing. Invite friends or use alternate accounts to simulate real gameplay. Look for:
- Bugs in currency tracking
- Unbalanced upgrade prices
- Confusing user interface
Pre-Launch Checklist
- ✅ Test all scripts in multiple sessions
-
Ensure money saves between visits using
DataStoreService. - ✅ Optimize performance
- Remove unused parts and limit frequent loops (e.g., avoid wait(0.1) unless necessary).
- ✅ Add clear UI
-
Use
ScreenGuito display current coins and available upgrades. - ✅ Set up saving
- Implement DataStore to preserve player progress across sessions.
- ✅ Publish with a compelling thumbnail and description
- Use action-oriented text: “Build your empire! Earn, upgrade, dominate!”
Frequently Asked Questions
Can I make a tycoon game without coding?
Basic tycoons can be prototyped using free models and pre-made scripts from the Toolbox, but customization and scalability require Lua knowledge. Learning scripting gives you full control and is essential for long-term success.
How do I prevent exploiters from stealing coins?
Always validate critical actions on the server side. Never trust client input. For example, don’t let a player’s click script directly add coins—instead, fire a server event that verifies the action before updating currency.
How long does it take to build a tycoon game?
A minimal playable version can be built in 4–8 hours. Polishing, balancing, and adding features may take several days or weeks, depending on complexity and iteration pace.
Final Steps and Moving Forward
Your first tycoon doesn’t need to go viral to be a success. The goal is to learn, finish a project, and put something live. Once published, monitor analytics in the Roblox Creator Dashboard. Pay attention to metrics like “Average Session Length” and “Retention Rate” to identify areas for improvement.
Consider releasing weekly updates: new upgrades, limited-time events, or cosmetic items. Engaged communities grow faster. Join developer forums, watch tutorials, and study top tycoon games to refine your craft.


 浙公网安备
33010002000092号
浙公网安备
33010002000092号 浙B2-20120091-4
Comments
No comments yet. Why don't you start the discussion?