
Building a custom mechanical keyboard doesn’t have to be intimidating or expensive. With the right parts and guidance, you can create a personalized typing experience for under $100. Unlike mass-produced keyboards, custom builds offer superior tactile feedback, customization, and long-term satisfaction. This guide walks through each stage—from choosing components to final assembly—using affordable, widely available options perfect for beginners.
Why Build Your Own Keyboard?
Off-the-shelf keyboards often compromise on switch quality, case design, and layout flexibility. A custom build allows full control over every aspect: size, key switches, keycaps, lighting, and even sound dampening. Enthusiasts report increased typing comfort, reduced fatigue, and greater satisfaction from using a device they’ve personally assembled.
Budget-friendly doesn’t mean low quality. Many entry-level components now rival premium offerings in performance. The growing popularity of mechanical keyboards has driven prices down while improving accessibility. Whether you're a writer, coder, or casual typist, a well-built custom keyboard enhances both productivity and enjoyment.
“Starting with a budget build teaches fundamental skills that scale to more advanced projects.” — Jordan Lee, DIY Keyboard Community Moderator
Essential Components and Budget Picks
A mechanical keyboard consists of five core components: a PCB (printed circuit board), plate, case, switches, and keycaps. Each plays a critical role in feel, sound, and durability. Below are recommended models under tight price constraints, all verified for compatibility and reliability.
| Component | Recommended Pick | Price Range | Where to Buy |
|---|---|---|---|
| PCB & Plate Combo | Drop ALT (QMK/VIA compatible) | $35–$40 | drop.com |
| Case | KBDfans Sofle RGB (plastic version) | $30 | kbdfans.com |
| Switches | Gateron Yellow V2 (linear) | $4–$5 per switch | mechanicalkeyboards.com |
| Keycaps | GMK-inspired ABS set (e.g., “Ducky” profile) | $40–$60 | aliexpress.com / kbdfans.com |
| Screws & Tools | M2 screws + 1.5mm hex key | $5–$10 | Amazon / included with case |
The total cost lands between $90 and $130 depending on keycap choice. For maximum savings, consider non-backlit PCBs and skip RGB unless lighting is essential. All listed parts support hot-swappable switches, eliminating soldering and reducing risk during installation.
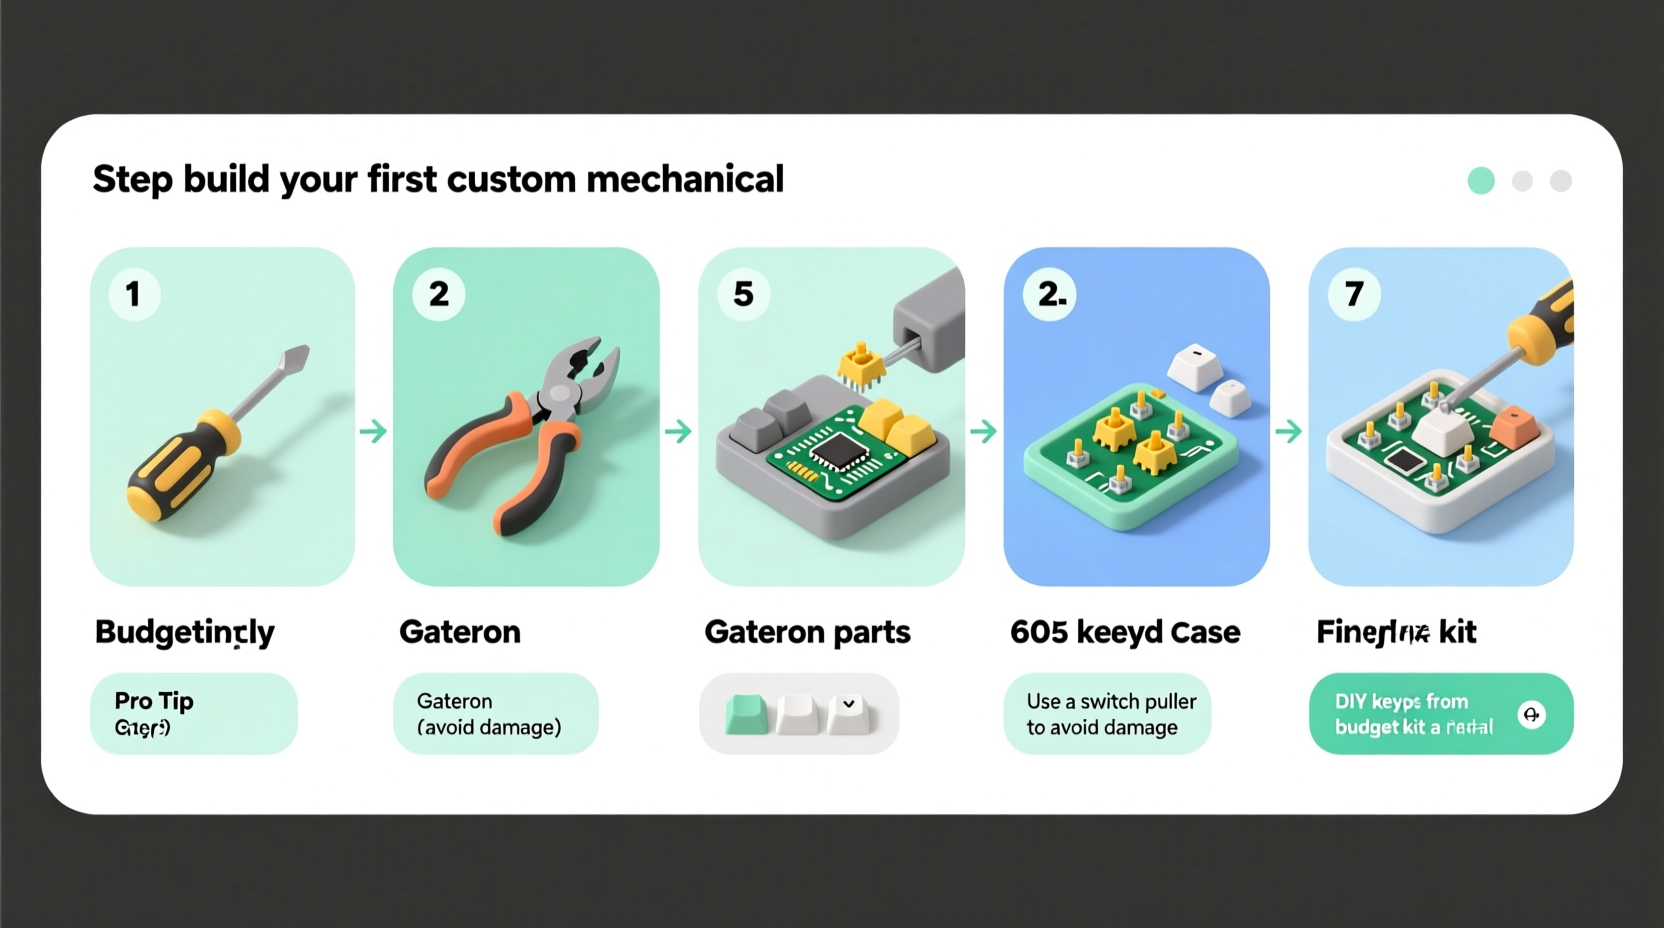
Step-by-Step Assembly Process
With all components gathered, follow this sequence carefully. Rushing any step risks misalignment, broken switches, or electrical issues.
- Prepare your workspace: Use a clean, static-free surface with good lighting. Gather tweezers, a small screwdriver, and your hex key.
- Install the plate into the case: Align the mounting holes. Most cases use M2 screws; hand-tighten four corners first before securing the rest.
- Insert switches: Press each switch firmly into the plate until it clicks. If using hot-swap sockets, ensure no pins bend during insertion.
- Mount the PCB: Place the PCB over switch stems, aligning screw holes. Secure gently—over-tightening cracks plastic cases.
- Add foam layers (optional): Insert sandwich foam between PCB and case bottom to reduce ping and echo.
- Attach stabilizers: Install stabs on larger keys (spacebar, enter) following manufacturer guides. Clip-in types require less tuning.
- Test before closing: Connect USB cable and test every key using an online tool like keyboardtester.com.
- Close the case: Once confirmed working, fasten the bottom half and plug in your keyboard.
If keys don’t register, check switch seating or try reseating the USB connection. Hot-swap boards allow easy replacement without desoldering.
Flashing Firmware and Customization
Most modern PCBs come pre-flashed with QMK or VIA firmware, enabling full remapping and macro support without coding. However, personalizing layout requires flashing new firmware.
To begin, download QMK Toolbox (for advanced changes) or VIA (user-friendly interface). VIA works directly in-browser and supports plug-and-play configuration for compatible boards like the Drop ALT.
- Open VIA.app in Chrome or Edge.
- Plug in your keyboard and press the reset button (usually near USB port).
- VIA detects the board automatically. Drag-and-drop keys to remap functions.
- Save layout to EEPROM so settings persist across devices.
For deeper customization—like adding tap-dance functions or layers—QMK offers greater control but requires compiling code. Beginners should start with VIA to explore possibilities safely.
Real Example: Alex’s First 60% Build
Alex, a college student majoring in computer science, wanted a compact keyboard for dorm use but disliked the plasticky feel of his laptop. He researched builds under $100 and settled on a 60% layout for desk space efficiency.
He purchased the Drop Borealis kit (PCB, case, plate), Gateron Yellows, and a used PBT keycap set from r/MechanicalKeyboards marketplace. Total cost: $92. Over a weekend, he followed YouTube tutorials and completed assembly in three hours, including multiple test runs.
Using VIA, he remapped the right Ctrl to act as Escape when tapped—a crucial improvement for Vim users. Within a week, he reported faster typing speeds and fewer typos. “It feels alive compared to my old keyboard,” he said. “Now I notice every mushy key on shared lab machines.”
Alex later upgraded to silicone dampeners after noticing slight case ping, proving that even budget builds evolve with user feedback.
Common Mistakes to Avoid
New builders often encounter preventable errors. Awareness reduces frustration and component damage.
- Skipping switch testing: Always test each key before finalizing the build.
- Over-tightening screws: Causes stress fractures in plastic cases.
- Ignoring orientation: Some PCBs only fit one way—match cutouts precisely.
- Buying incompatible parts: Verify PCB layout (e.g., ANSI vs ISO) matches your desired keycap set.
- Assuming all switches are equal: Tactile bump strength varies widely—even within the same brand.
“Take notes during assembly. It helps troubleshoot later and builds confidence for future kits.” — Lena Torres, Keyboard Builder & Streamer
Budget Build Checklist
Before starting, confirm availability of these items:
- ✅ PCB and plate (matching form factor, e.g., 60%, TKL)
- ✅ Case (top and bottom halves, screws included?)
- ✅ Full set of switches (typically 61 for 60%, 87 for TKL)
- ✅ Keycaps (100+ piece set covers most layouts)
- ✅ Stabilizers (if not included with PCB/case)
- ✅ Foam or silicone padding (sandwich mod materials)
- ✅ Tools: Hex key, tweezers, USB-C/A cable
- ✅ Flashing software: VIA or QMK Toolbox installed
Cross off each item as acquired. Missing one component halts progress entirely.
Frequently Asked Questions
Do I need to solder for my first build?
No. Many PCBs now feature hot-swap sockets, allowing switch changes via simple insertion. These are ideal for beginners avoiding soldering irons and potential heat damage.
How long does the entire process take?
Allow 3–5 hours for your first build. Time includes reading instructions, inserting switches, testing, and troubleshooting. Speed increases significantly with experience—second builds often finish in under two hours.
Are budget keycaps worth it?
Affordable ABS sets perform adequately but may shine over time and lack durability. For longevity, seek out PBT keycaps—even budget ones from NovelKeys or JTK offer better texture and resistance to wear.
Final Thoughts and Next Steps
Building your first mechanical keyboard demystifies technology often seen as complex. What begins as curiosity transforms into tangible skill. You gain insight into ergonomics, electronics, and personal preference—all while crafting a daily-use tool tailored exactly to your needs.
This foundation opens doors to advanced modifications: silent builds with PORON foam, wireless conversion kits, or even designing your own layout. But mastery starts here—with careful planning, smart budgeting, and hands-on assembly.


 浙公网安备
33010002000092号
浙公网安备
33010002000092号 浙B2-20120091-4
Comments
No comments yet. Why don't you start the discussion?