
For competitive gamers and visual enthusiasts alike, a well-calibrated monitor is not just about aesthetics—it’s a performance tool. Poor color accuracy can distort enemy silhouettes in shadow-heavy scenes, while suboptimal response settings introduce ghosting or input lag that costs critical milliseconds. Factory presets are often skewed toward flashy retail displays, not real-world use. Calibrating your gaming monitor ensures you see what developers intended, with minimal motion artifacts and maximum clarity. This guide walks through the complete process—from hardware setup to software tuning—so you can achieve precise colors and razor-sharp response.
Why Monitor Calibration Matters for Gamers
Many assume calibration is only for photographers or video editors. In reality, accurate display settings directly impact gaming performance. A monitor that oversaturates reds may make blood effects indistinguishable from dark textures, while an overly bright gamma setting washes out night-time environments. Similarly, response time settings that prioritize speed over stability can introduce inverse ghosting (overdrive artifacts), creating distracting trails behind fast-moving objects.
Proper calibration balances three core elements: color accuracy (how true hues appear), contrast and brightness (visibility across light and dark scenes), and pixel response (how quickly pixels change state). When these are optimized, you gain consistent visuals across games and improved reaction precision—especially in genres like first-person shooters or racing sims where split-second decisions hinge on visual clarity.
“Even high-end monitors ship with aggressive factory settings designed to stand out in stores. Real-world performance requires fine-tuning.” — David Lin, Display Engineer at Rtings.com
Preparation: Tools and Environment Setup
Before adjusting any settings, prepare your environment and gather necessary tools. Calibration is only as good as the conditions under which it's performed.
Optimize Your Viewing Environment
Ambient lighting plays a major role in perceived brightness and contrast. Avoid direct sunlight or strong overhead lights hitting the screen. Ideally, work in a dimly lit room with consistent, neutral-colored lighting. If possible, use bias lighting—a soft white LED strip behind the monitor—to reduce eye strain and improve perceived contrast.
Gather Essential Tools
- Calibration software: Use free tools like Windows Color Control, DisplayCAL, or manufacturer-specific apps (e.g., Dell Display Manager, ASUS Splendid).
- Hardware calibrator (optional but recommended): Devices like the X-Rite i1Display Pro or Datacolor SpyderX provide lab-grade accuracy.
- Test images: Download standardized test patterns for gamma, grayscale, and response time from sites like Lagom.nl or TFT Central.
- Timer or stopwatch: Useful when measuring warm-up time or testing input lag changes.
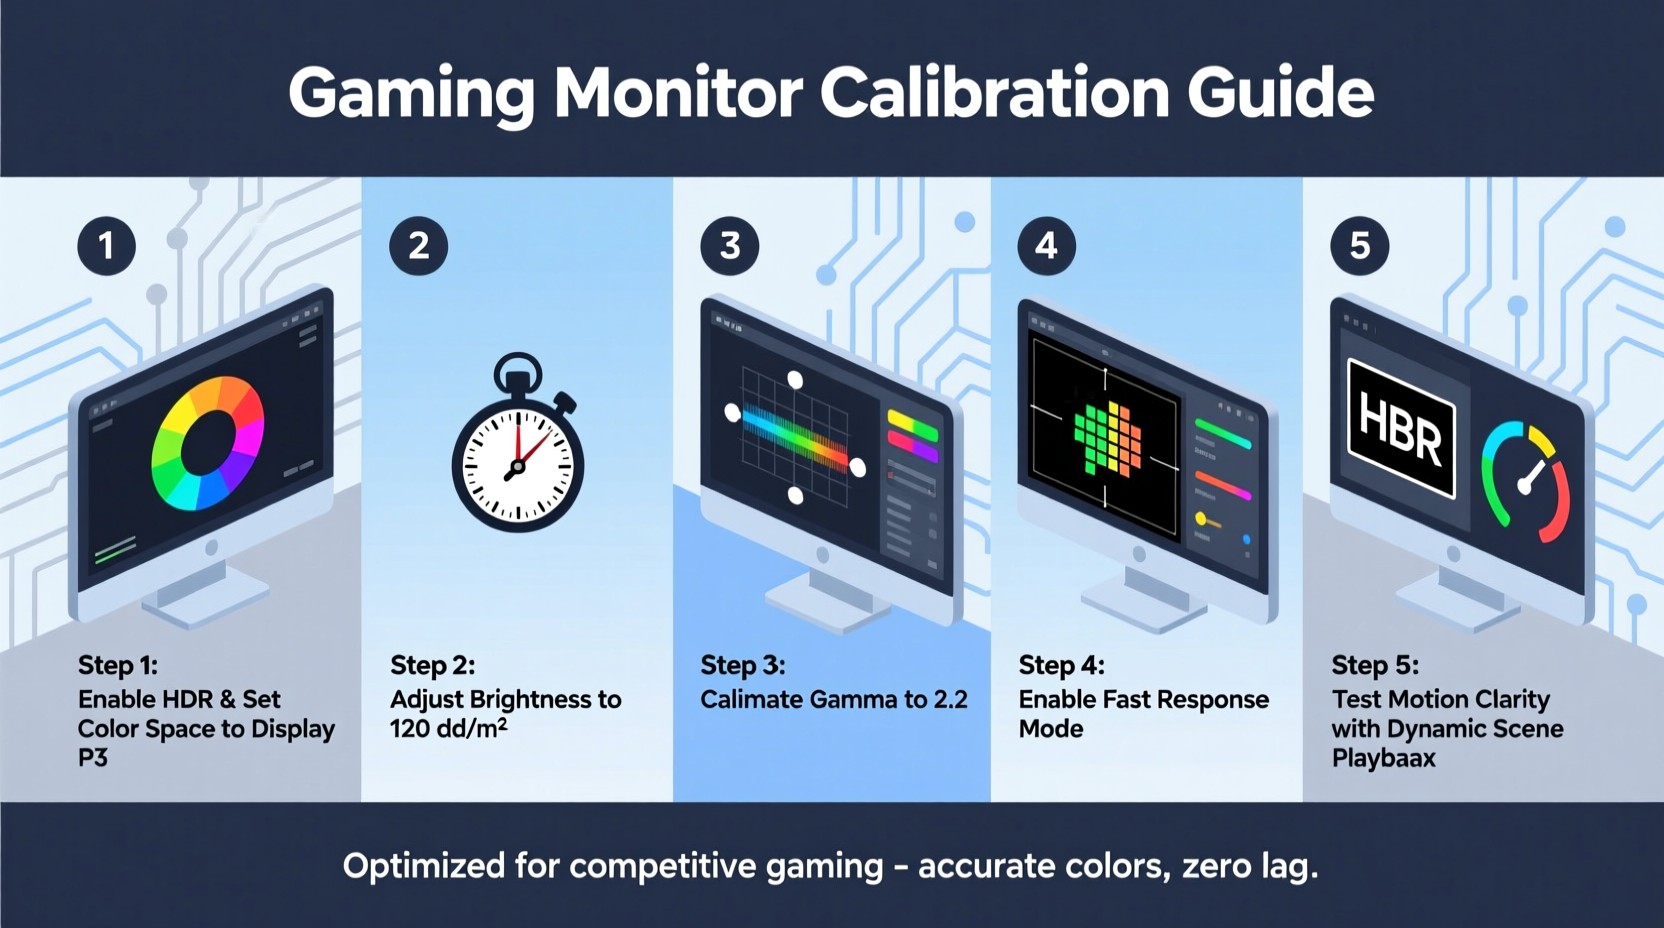
Step-by-Step Calibration Process
Follow this sequence to ensure each adjustment builds correctly on the last. Skipping steps or reversing order can lead to inaccurate results.
- Reset to factory defaults: Navigate to your monitor’s OSD (On-Screen Display) menu and select “Reset” or “Restore Default Settings.” This clears any prior customizations.
- Select the correct input source: Use DisplayPort if available, especially for 144Hz+ setups. HDMI may limit bandwidth depending on version.
- Choose the right color preset: In the monitor menu, switch to “sRGB” or “Standard” mode. Avoid “Vivid,” “Game,” or “Cinema” modes—they’re heavily stylized.
- Adjust brightness (backlight): Set backlight to 80–100% for daytime use, or 40–60% for dim rooms. The goal is comfortable luminance without glare.
- Set contrast: Aim for 80–90%. Too high, and highlights crush detail; too low, and the image feels flat.
- Configure color temperature: Choose 6500K (“D65”) for neutral whites. Avoid “Warm” or “Cool” presets unless correcting for specific ambient light.
- Verify gamma: Use a gamma test pattern. At gamma 2.2, gray squares should blend smoothly into the background without popping or disappearing.
- Adjust sharpness: Keep between 30–50%. High sharpness introduces artificial edge enhancement, causing halos around text and objects.
Tuning Response Time and Overdrive
Response time settings control how fast pixels transition between states. Most monitors offer multiple levels: Off, Normal, Fast, and Extreme (or similar labels).
Start with the default “Normal” setting. Load a fast-paced game or play a response test video. Look for black smears (slow response) or bright halos (over-correction). Gradually increase until motion looks clean, but stop immediately if inverse ghosting appears.
| Response Setting | Pros | Cons |
|---|---|---|
| Off / Slow | No artifacts | Visible motion blur |
| Normal | Balanced performance | Moderate ghosting in fast scenes |
| Fast | Reduced blur, minimal artifacts | Slight overdrive glow on edges |
| Extreme / Turbo | Fastest transitions | Pronounced inverse ghosting |
Using Software and Hardware Calibration Tools
While manual adjustments get you close, software and hardware tools deliver precision.
Software Calibration (Free & Accessible)
Windows includes a built-in calibration utility: search “Calibrate display color” in the Start menu. It guides you through gamma, brightness, contrast, and color balance using on-screen sliders. While limited compared to professional tools, it’s effective for basic improvements.
For advanced users, DisplayCAL paired with a hardware sensor offers near-professional results. It generates ICC profiles tailored to your monitor’s behavior, correcting non-uniformity and gamma deviations.
Hardware Calibration (Best Accuracy)
If you own a high-end IPS or OLED gaming monitor, consider investing in a colorimeter. These devices measure actual light output and create correction profiles far beyond what the human eye can judge.
Process:
- Attach the sensor to the screen, away from reflections.
- Run the calibration software and select target values (e.g., 6500K, 2.2 gamma, 120 cd/m² luminance).
- Let the tool cycle through hundreds of color patches.
- Save the generated ICC profile and set it as default.
Note: Not all monitors support hardware LUT (Look-Up Table) calibration. Check your model’s specifications—higher-end ASUS ProArt, LG UltraFine, or BenQ DesignVue series typically do.
Mini Case Study: Competitive FPS Player Improves Target Acquisition
Jamal, a semi-pro CS2 player, struggled with spotting enemies in the shadows of Dust II’s tunnels. His monitor was set to “Racing Mode” with max brightness and extreme overdrive. While motion looked crisp, blacks were crushed, and red health indicators bled into walls.
After recalibrating to sRGB mode, reducing backlight to 70%, and setting overdrive to “Fast” instead of “Turbo,” he noticed immediate improvements. Shadow details emerged without noise, and enemy outlines became clearer. Within a week, his kill-death ratio improved by 18%, which he attributes largely to better visual consistency. “I wasn’t faster,” he said, “I just saw more accurately.”
Do’s and Don’ts of Gaming Monitor Calibration
| Do | Don't |
|---|---|
| Warm up the monitor for 30+ minutes | Calibrate immediately after powering on |
| Use test patterns to verify settings | Rely solely on subjective judgment |
| Match color temp to ambient lighting | Use 9300K in a warm-lit room |
| Update GPU drivers and monitor firmware | Ignore firmware updates that fix color processing bugs |
| Re-calibrate every 3–6 months | Assume settings stay perfect forever |
Frequently Asked Questions
How often should I recalibrate my gaming monitor?
Every 3 to 6 months under regular use. LCD panels degrade slowly, and backlight intensity diminishes over time. If you notice colors looking dull or inconsistent, it’s time to recalibrate.
Does enabling HDR require different calibration?
Yes. HDR uses a wider color gamut (typically DCI-P3) and higher peak brightness. Use HDR-specific test patterns and aim for 100–300 nits for SDR-like comfort, or up to 1000 nits if your monitor supports full HDR. Note that prolonged high-brightness HDR use can accelerate panel aging.
Can I damage my monitor by calibrating it incorrectly?
No. Calibration adjusts signal processing and settings, not hardware. However, running extreme brightness and contrast for long periods may shorten backlight lifespan. Stick to moderate, sustainable levels.
Final Checklist: Calibration Quick Reference
- Preparation
- ✅ Warm up monitor for 30 minutes
- ✅ Dim ambient lighting, avoid glare
- ✅ Reset monitor to factory defaults
- Basic Settings
- ✅ Select sRGB or Standard picture mode
- ✅ Set brightness (backlight) to 60–100%
- ✅ Adjust contrast to 80–90%
- ✅ Set color temp to 6500K (D65)
- Advanced Tuning
- ✅ Verify gamma 2.2 with test pattern
- ✅ Tune sharpness to 30–50%
- ✅ Test response settings; avoid visible inverse ghosting
- Verification
- ✅ Use test images to check gradients and motion
- ✅ Play a familiar game to assess real-world performance
- ✅ Save settings and label profile (e.g., “Gaming-Calibrated”)
Conclusion: Precision Starts at the Pixel Level
Accurate colors and responsive pixels aren’t luxuries—they’re foundational to immersive, competitive gaming. A few hours spent calibrating your monitor pays dividends in visual clarity, reduced fatigue, and sharper in-game awareness. Whether you're chasing leaderboard rankings or simply want to experience games as their creators envisioned, proper calibration puts you in control. Don’t rely on default settings designed for showroom flash. Take the time to tune your display, validate the results, and revisit periodically. Your eyes—and your K/D ratio—will thank you.


 浙公网安备
33010002000092号
浙公网安备
33010002000092号 浙B2-20120091-4
Comments
No comments yet. Why don't you start the discussion?