
For competitive gamers, every millisecond counts. While hardware upgrades and in-game settings matter, one of the most overlooked advantages lies in proper monitor calibration. A poorly calibrated display can distort colors, introduce input lag, or blur fast motion—costing you critical reaction time. This guide walks through a precise, practical process to tune your gaming monitor for maximum clarity, responsiveness, and visual accuracy, giving you an edge when it matters most.
Why Monitor Calibration Matters in Competitive Gaming
In fast-paced games like CS:GO, Valorant, or Overwatch, visual precision directly impacts performance. A monitor that’s too dark may hide enemies in shadows; excessive contrast can wash out details; and incorrect gamma levels affect depth perception. Even slight color inaccuracies can mislead your brain during split-second decisions.
Unlike casual use, competitive play prioritizes speed and clarity over cinematic visuals. The goal isn’t to make the screen “look pretty”—it’s to deliver accurate, consistent image reproduction with minimal processing delay. Factory default settings often prioritize brightness and saturation for showroom appeal, which harms real-world gameplay.
“Proper monitor calibration is as crucial as mouse sensitivity tuning. It ensures what you see reflects reality, not marketing.” — Daniel Lin, Esports Performance Analyst at Apex Vision Labs
Essential Tools and Prerequisites
Before adjusting settings, gather the necessary tools and ensure optimal conditions:
- A stable viewing environment: Calibrate in the lighting conditions where you typically play. Avoid direct sunlight or overly bright overhead lights.
- Updated GPU drivers: Ensure your graphics card drivers (NVIDIA, AMD, or Intel) are current to access all display control features.
- Monitor firmware updates: Check the manufacturer’s website for updated firmware that may improve panel performance or add calibration options.
- Calibration software (optional but recommended): Tools like NVIDIA Control Panel, AMD Radeon Software, or third-party apps such as Lagom LCD tests or DisplayCAL can assist in fine-tuning.
- Patience and attention to detail: Rushing leads to suboptimal results. Dedicate 30–45 minutes for full calibration.
Step-by-Step Calibration Process
Follow this sequence to methodically adjust your monitor for competitive advantage. Each step builds on the previous one, so order matters.
- Reset to factory defaults
Begin by resetting your monitor’s OSD (On-Screen Display) settings to factory defaults. This clears any prior customizations that could interfere with calibration. - Select the correct input mode
Use DisplayPort if available—it supports higher bandwidth and better signal integrity than HDMI for high-refresh-rate monitors. Ensure your GPU output matches the monitor’s native resolution and refresh rate (e.g., 1920x1080 @ 240Hz). - Enable low-latency mode (G-Sync/FreeSync)
Navigate to your monitor’s menu and enable:
- NVIDIA G-Sync Compatible or AMD FreeSync
- Input Lag Reduction or Game Mode
Disable any \"eco\" or \"power-saving\" modes that throttle performance. - Adjust brightness and contrast
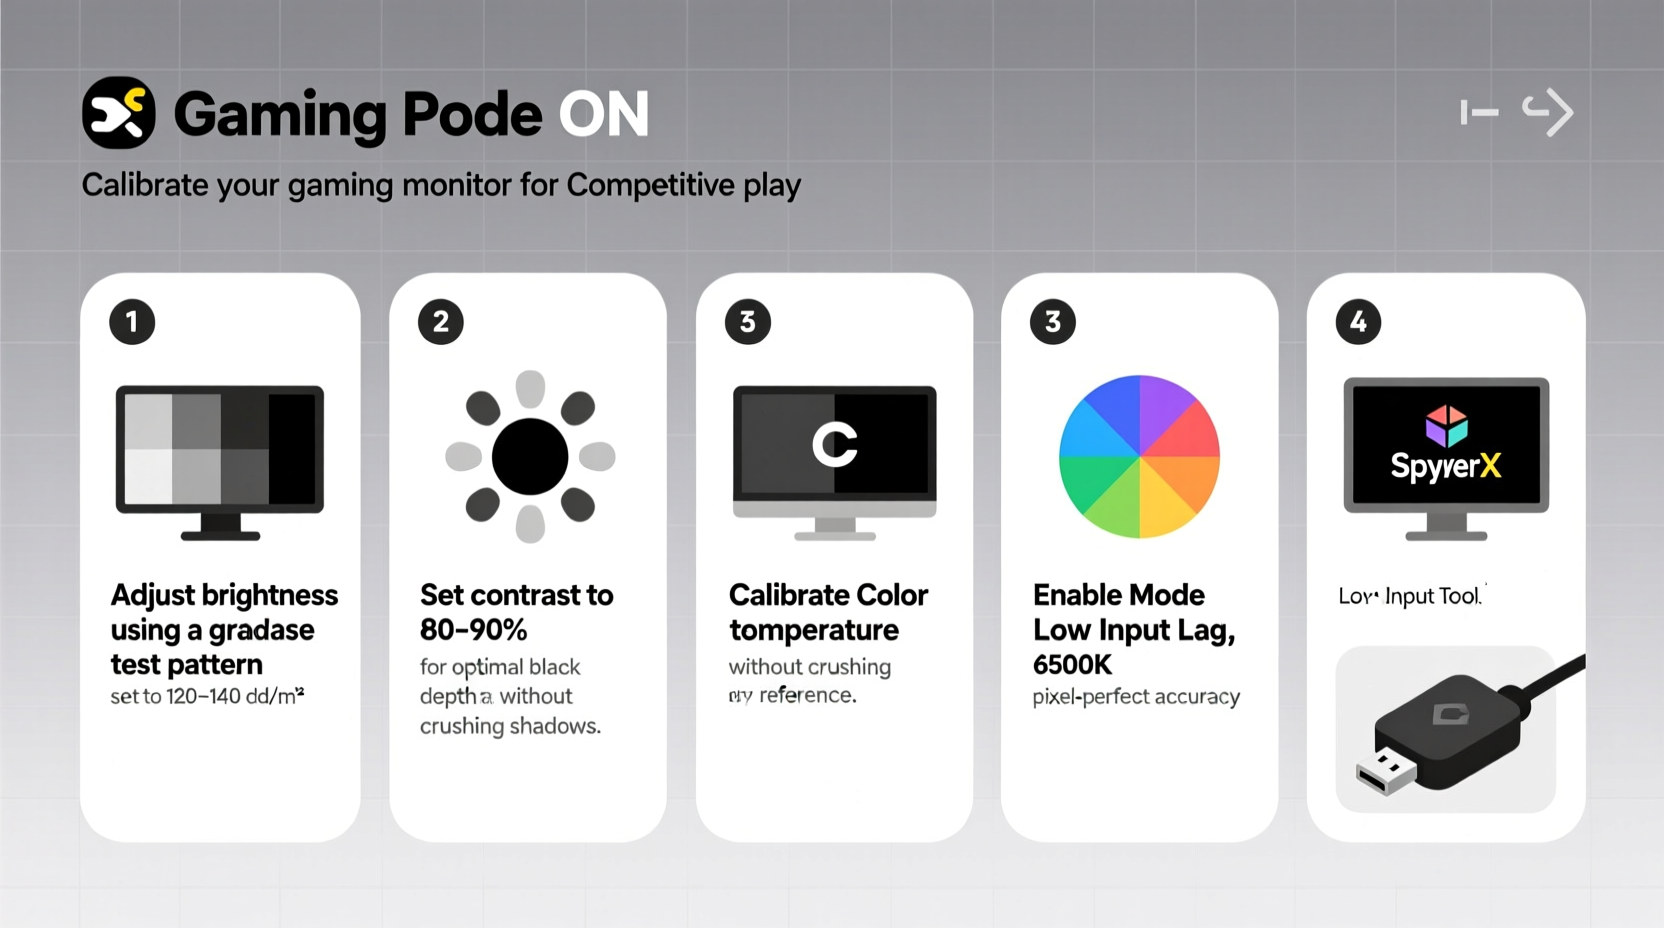
Set Brightness to 40–60 depending on room lighting. In darker rooms, start at 40; brighter environments may require up to 60.
Set Contrast to 80–90. Avoid maxing it out, as this crushes shadow detail.
Test using a black-and-white gradient image: You should distinguish between near-black and pure black without losing detail. - Set sharpness to zero or minimal
Sharpness filters artificially enhance edges, creating halos and false detail. For competitive clarity, set sharpness to 0–20%. Let the native panel resolution do the work. - Choose the right color temperature
Avoid \"Warm\" or \"Cool\" presets. Instead, select User Mode or RGB Sliders. Target a neutral white point (~6500K).
Adjust red, green, and blue gains so white appears truly neutral—no yellow or blue tint—on a gray background. - Optimize gamma
Gamma controls midtone brightness. For FPS games, a gamma setting between 2.2 and 2.4 is ideal.
Use an online gamma test pattern: Adjust until the faint circle in the center is just visible against the background. - Disable post-processing effects
Turn off:
- Dynamic Contrast
- Edge Enhancement
- Noise Reduction
- Overdrive (unless carefully tuned—see next section)
These add processing delay and visual artifacts detrimental to competitive play. - Configure overdrive (response time)
Response time settings reduce ghosting but can cause inverse ghosting (pixel overshoot) if overdone.
Test each level (Off, Weak, Normal, Strong) using a fast-moving cursor or online UFO motion test.
Choose the highest setting that doesn’t create trailing white lines behind moving objects. - Verify refresh rate and sync stability
Confirm your system reports the correct refresh rate in OS settings.
Run a simple fullscreen game and check for tearing (without sync) or stutter (with sync enabled).
If using G-Sync/FreeSync, ensure it’s active within the supported range (e.g., 48–240Hz).
Performance Tuning Table: Do’s and Don’ts
| Action | Do | Don't |
|---|---|---|
| Brightness | Set between 40–60 based on ambient light | Go above 70 in dim rooms |
| Contrast | Use 80–90 for balanced highlights | Set to 100 (crushes detail) |
| Sharpness | Keep at 0–20% | Boost to 50+ for \"crispness\" |
| Color Mode | Select \"sRGB\" or \"User\" for accuracy | Use \"Vivid\" or \"Cinema\" modes |
| Overdrive | Use \"Normal\" or \"Balanced\" after testing | Always pick \"Extreme\" for fastest response |
| Sync Technology | Enable G-Sync/FreeSync + V-Sync OFF in driver | Run without sync in high-motion scenes |
Real-World Example: Calibrating a 240Hz TN Panel for CS:GO
Jamal, a semi-pro CS:GO player, struggled with spotting AWPers hiding in corners. His monitor—a popular 240Hz TN model—was set to \"Vivid\" mode with brightness at 80 and overdrive on \"High.\" He noticed smearing during flick shots and difficulty distinguishing players from shadows.
After following this calibration process, he reset the monitor, switched to \"sRGB\" mode, lowered brightness to 50, contrast to 85, and adjusted overdrive to \"Normal\" after testing. He disabled all post-processing and confirmed G-Sync was active.
The result? Enemy silhouettes became clearer in low-light areas, motion clarity improved noticeably, and his K/D ratio increased by 18% over the next two weeks. “I didn’t realize how much my monitor was lying to me,” he said. “Now I see exactly where people are—no guessing.”
Frequently Asked Questions
How often should I recalibrate my gaming monitor?
Recalibrate every 3–6 months, or whenever you change your gaming environment (e.g., new desk setup, lighting). Panel aging can subtly shift color and brightness over time.
Does monitor calibration affect input lag?
Yes—indirectly. Disabling image processing (like dynamic contrast or noise reduction) reduces internal processing time, lowering input lag by up to 1–3ms. This is measurable with tools like the Blur Busters UFO Test.
Can I use built-in calibration tools instead of manual adjustment?
Some high-end monitors include hardware calibration via USB probes. While accurate, they’re overkill for gaming. Manual calibration using visual tests is sufficient and free. Save hardware calibration for professional photo/video work.
Final Checklist: Your Competitive Monitor Setup
- ✅ Reset monitor to factory defaults
- ✅ Use DisplayPort and confirm max refresh rate
- ✅ Enable G-Sync/FreeSync and disable V-Sync in drivers
- ✅ Set brightness: 40–60 | Contrast: 80–90
- ✅ Disable sharpness, dynamic contrast, and noise filters
- ✅ Tune overdrive to avoid inverse ghosting
- ✅ Set gamma to 2.2–2.4 and color temp to neutral
- ✅ Test with in-game motion and shadow scenes
- ✅ Save profile if available
Master Your Visual Edge
Monitor calibration isn’t about perfection—it’s about consistency and reliability. When your display accurately represents the game world, your reflexes respond faster, your aim improves, and your situational awareness sharpens. This isn’t just tweaking settings; it’s optimizing your primary interface with the virtual battlefield.
Take the time now to go through each step. Revisit your settings monthly. Share your calibrated profile with teammates. Small adjustments compound into meaningful gains. In competitive gaming, seeing clearly isn’t a luxury—it’s the foundation of victory.


 浙公网安备
33010002000092号
浙公网安备
33010002000092号 浙B2-20120091-4
Comments
No comments yet. Why don't you start the discussion?