
Flat tires are one of the most common roadside emergencies drivers face. Whether caused by a sharp object, worn tread, or sudden impact, a deflated tire can leave you stranded—especially if you're unprepared. Knowing how to change a tire correctly and safely is not just a useful skill; it’s a necessity for every driver. This comprehensive guide walks you through each stage of the process with precision, safety considerations, and real-world insights so you can handle a flat confidently, even under stressful conditions.
Why Tire Safety Matters on the Road
A compromised tire affects vehicle handling, braking, and fuel efficiency. More critically, driving on a flat increases the risk of losing control, damaging your wheel rim, or causing a blowout at high speed. According to the National Highway Traffic Safety Administration (NHTSA), improper tire maintenance contributes to over 11,000 crashes annually in the U.S. alone. Being able to respond quickly and correctly when a tire fails can prevent further mechanical damage and keep you and others safe.
Changing a tire isn’t complicated, but it requires focus, the right tools, and strict adherence to safety protocols—especially when working near traffic. Rushing or skipping steps can lead to injury or equipment failure.
Essential Tools and Preparation
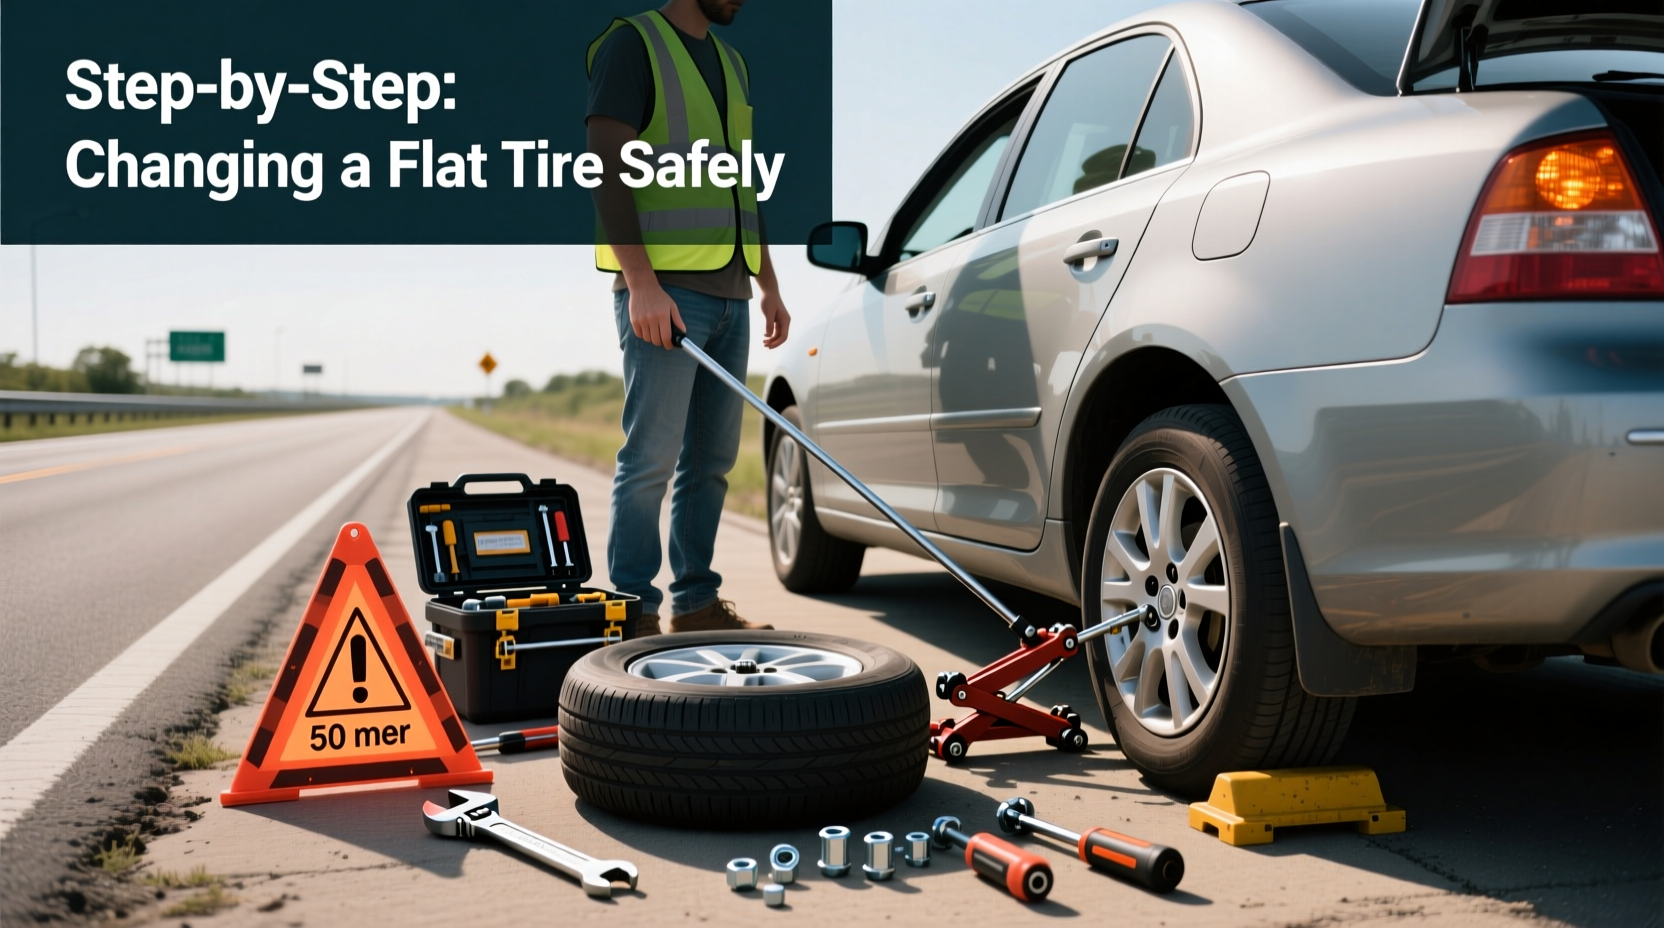
Before hitting the road, ensure your vehicle is equipped with the necessary tools. Most cars come with a basic emergency kit, but many drivers overlook checking its contents until it's too late.
What You’ll Need
- Spare tire – Make sure it’s properly inflated and in good condition.
- Jack – Typically a scissor or hydraulic jack stored in your trunk.
- Lug wrench – Used to loosen and tighten lug nuts.
- Wheel wedges or bricks – To prevent rolling.
- Gloves – For grip and protection from grease and sharp edges.
- Flashlight – Essential if changing a tire at night.
- Reflective warning triangles or flares – Critical for visibility.
- Owner’s manual – Contains specific instructions for your vehicle model.
“Many people don’t realize their spare tire is only meant for temporary use. It’s designed to get you to a repair shop, not for long-distance driving.” — Mark Reynolds, ASE-Certified Automotive Technician
Step-by-Step Guide to Changing a Flat Tire Safely
Follow this sequence carefully. Each step builds on the previous one to ensure both your safety and the integrity of the repair.
- Pull Over Safely
As soon as you notice a flat, grip the steering wheel firmly and gradually reduce speed. Avoid slamming brakes. Signal and move completely off the roadway—preferably onto a paved shoulder, gravel area, or parking lot. Choose a level, stable surface away from traffic flow. - Engage Parking Brake and Secure the Vehicle
Once stopped, shift into “Park” (automatic) or first gear (manual). Activate the parking brake. Place wheel wedges, bricks, or heavy objects behind the tires opposite the flat (e.g., behind rear wheels if changing a front tire) to prevent rolling. - Turn On Hazard Lights and Set Up Warnings
Switch on your hazard flashers immediately. If available, place reflective triangles or flares 50–100 feet behind your car to alert approaching vehicles. At night or in low visibility, use a flashlight to increase your presence. - Remove Hubcap and Loosen Lug Nuts Slightly
Use the flat end of the lug wrench to pry off the hubcap, if applicable. Before lifting the car, turn each lug nut counterclockwise about half a turn. Do not remove them yet—just break their resistance while the tire is still on the ground. This prevents the wheel from spinning when you try to unscrew them later. - Position the Jack Under the Vehicle’s Frame
Consult your owner’s manual to locate the proper jacking point near the flat tire—usually a reinforced pinch weld or lift point. Never place the jack under plastic, suspension parts, or axles. Position the jack securely and raise it slowly until the flat tire is about 6 inches off the ground. - Remove Lug Nuts and Take Off the Flat Tire
Now fully unscrew and set aside the lug nuts in a safe place (like a hubcap or pocket). Grip the tire by the tread and pull it straight off the studs. Lay it flat beside the vehicle—it can serve as a stabilizing platform or shield if traffic approaches. - Mount the Spare Tire
Align the spare tire with the wheel studs and slide it into place. Push gently until it sits flush against the hub. Avoid dropping it onto the bolts, which could damage threads. - Reinstall and Hand-Tighten Lug Nuts
Replace the lug nuts and screw them on by hand in a crisscross pattern (also called a star pattern). This ensures even pressure and alignment. Tighten them as much as possible without using force. - Lower the Vehicle and Fully Tighten Lug Nuts
Carefully lower the jack until the tire touches the ground and the vehicle’s weight begins to rest on it. Then, using the lug wrench, fully tighten the nuts in the same crisscross sequence. Apply strong, steady pressure—don’t jump on the wrench. - Replace Hubcap, Stow Equipment, and Check Spare Pressure
If your spare allows for a hubcap, reattach it. Put all tools, the flat tire, and warning devices back in the trunk. Double-check that the spare is secure and properly inflated. Most compact spares require 60 PSI—verify with a gauge if possible.
Common Mistakes and What to Avoid
Even experienced drivers make errors during roadside repairs. These missteps can compromise safety or damage your vehicle.
| Do’s | Don’ts |
|---|---|
| Use wheel chocks on a slope | Never work under a vehicle supported only by a jack |
| Tighten lug nuts in a star pattern | Don’t overtighten with excessive force or power tools |
| Check spare tire condition monthly | Don’t drive more than 50 miles or over 50 mph on a donut spare |
| Wear gloves and sturdy shoes | Don’t ignore warning signs like vibrations or thumping sounds |
| Call for help if unsafe to proceed | Don’t attempt changes on busy highways or soft ground |
“I once saw a driver try to change a tire on a grassy embankment. The jack sank, and the car fell. A few inches of uneven ground can be disastrous.” — Laura Simmons, Emergency Roadside Response Trainer
Real-World Scenario: Handling a Flat on a Rainy Highway
Jamal was driving home late one evening when his minivan began pulling sharply to the right. He heard a rhythmic thump-thump-thump beneath him. Recognizing the signs of a flat, he eased onto the shoulder of a busy interstate. Rain made the pavement slick, and visibility was poor.
He turned on his hazards, placed two reflective cones from his emergency kit 75 feet behind the van, and kept his flashlight visible as he worked. Because the road sloped slightly, he used a spare floor mat to wedge under the rear tire. Working efficiently, he changed the tire in under 20 minutes. His preparation—knowing where his tools were, practicing the steps mentally—made the difference between panic and control.
Jamal’s story highlights the importance of preparedness, visibility, and calm execution—even in adverse conditions.
When Not to Change the Tire Yourself
There are situations where attempting a DIY tire change is more dangerous than waiting for professional help.
- High-speed roads with no shoulder – Such as urban freeways with heavy traffic.
- Dark, isolated areas – Personal safety may be at risk.
- Multiple flats or damaged rims – Indicates deeper mechanical issues.
- No functional spare or tools missing – Attempting a fix without resources leads to frustration.
- Physical limitations – Lifting a tire or operating a jack requires strength and mobility.
In these cases, lock the doors, stay inside the vehicle with seatbelts fastened, and call roadside assistance or emergency services. Many auto insurance policies and membership programs (like AAA) offer free towing and tire replacement.
Frequently Asked Questions
How long does it take to change a flat tire?
An experienced person can typically change a tire in 15 to 30 minutes. Beginners may take longer, especially in poor lighting or weather. Practice and familiarity significantly reduce time.
Can I drive on a spare tire indefinitely?
No. Most spare tires (often called \"donuts\") are designed for temporary use only—typically up to 50 miles and speeds under 50 mph. They lack the tread depth and structural integrity of full-size tires and should be replaced as soon as possible.
What if the lug nuts are stuck?
If lug nuts are rusted or over-torqued, apply penetrating oil and let it sit for a few minutes. Use a breaker bar extension (like a metal pipe over the wrench) for added leverage. If they still won’t budge, do not force it—call a tow truck to avoid damaging the wheel or studs.
Final Checklist Before You Hit the Road
After completing the tire change, run through this quick verification list:
- ✅ Spare tire securely mounted and properly inflated
- ✅ All lug nuts tightened in a crisscross pattern
- ✅ Tools, flat tire, and warning devices stowed safely
- ✅ Vehicle drives smoothly without vibration or pulling
- ✅ Schedule full tire repair or replacement within 24 hours
Stay Prepared, Stay Safe
Changing a flat tire is a fundamental skill that empowers drivers to handle unexpected setbacks with confidence. While modern vehicles come with advanced warnings and safety systems, no technology eliminates the need for basic mechanical awareness. Taking ten minutes to familiarize yourself with your car’s jack location, spare tire type, and lug wrench operation could save you hours—or even your life—on a dark highway.
Practice changing a tire in your driveway. Show family members or teen drivers how it’s done. Keep an emergency kit stocked with gloves, lights, reflectors, and a tire pressure gauge. These small actions build resilience and reduce fear when trouble strikes.


 浙公网安备
33010002000092号
浙公网安备
33010002000092号 浙B2-20120091-4
Comments
No comments yet. Why don't you start the discussion?