
Many users discover that the birth date they entered when creating their Apple ID is incorrect—whether due to a typo, privacy concerns, or transitioning from a child to an adult account. While Apple treats personal information with high security, it is possible to update your birthday under the right conditions. This guide walks you through every detail: when you can change it, how to do so across devices, what to watch out for, and how to avoid common pitfalls.
Why Your Apple ID Birthday Matters
Your Apple ID birth date isn’t just a formality—it affects multiple aspects of your digital experience. Apple uses this information to determine:
- Age-based content restrictions (movies, apps, music)
- Family Sharing eligibility (especially for children’s accounts)
- Account recovery options and verification processes
- Marketing preferences and personalized recommendations
An incorrect birth date can lead to restricted app downloads, parental controls being applied unnecessarily, or even complications during identity verification. Correcting it ensures your account functions as intended and reflects accurate personal data.
Can You Actually Change Your Birthday on Apple ID?
Yes—but with important limitations. Apple allows birthday updates only under specific circumstances:
- You can correct minor errors (e.g., wrong day or month).
- You cannot frequently change your birth date; Apple logs modifications.
- If your account was created as a child’s (under 13), transitioning to an adult requires age verification.
- Changes may be restricted if your account has triggered fraud detection.
Apple prioritizes user safety and compliance with child protection laws (like COPPA in the U.S.), so any change suggesting an underage user is now claiming adulthood will prompt additional checks.
“Updating your birth date is permitted for accuracy, not circumvention. Apple’s systems are designed to prevent misuse while supporting legitimate corrections.” — Jordan Lee, Senior Account Security Analyst at Apple Support Partners
Step-by-Step Guide to Changing Your Birthday
Follow these steps carefully to update your birth date successfully. The process is consistent across devices but begins in the same central location: Apple’s official account management portal.
- Go to Apple’s Official Website
Open a browser and visit appleid.apple.com. Sign in using your Apple ID and password. - Verify Your Identity
Depending on your security settings, you may need to complete two-factor authentication via a trusted device or phone number. - Navigate to Personal Information
Once logged in, scroll down to the “Personal Information” section. Click “Edit” next to your details. - Locate the Birthday Field
Find the “Date of Birth” entry. If editing is allowed, you’ll see an option to modify it. If not, a message will explain why (e.g., “Verification required”). - Enter the Correct Date
Update the day, month, and year. Double-check for accuracy before saving. - Save Changes
Click “Done” or “Save,” then confirm the update. You may receive a confirmation email from Apple. - Restart Devices (Optional but Recommended)
To ensure all services reflect the change, restart your iPhone, iPad, or Mac after a few minutes.
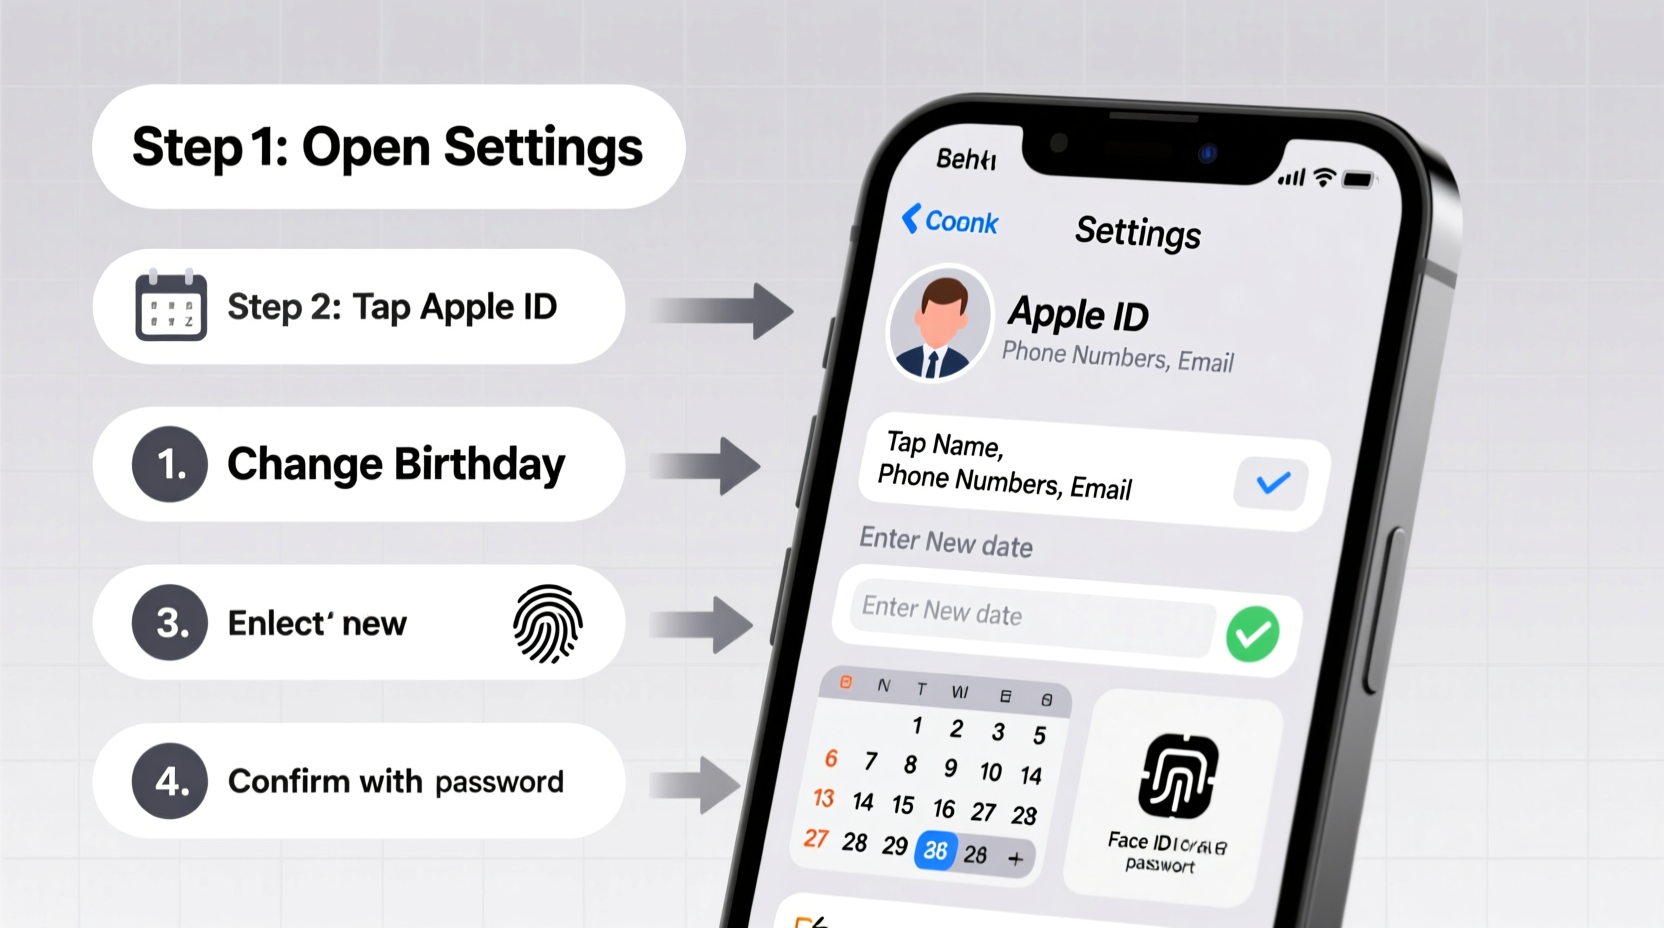
Note: On iOS, you cannot edit your birthday directly in Settings. All changes must go through the web portal.
Troubleshooting Common Issues
Sometimes, the option to edit your birthday is grayed out or unavailable. Here’s what to do:
| Issue | Possible Cause | Solution |
|---|---|---|
| Birthday field is locked | Account linked to Family Sharing as a child | Contact the family organizer to upgrade your status or remove restrictions |
| \"Verification needed\" message appears | Large age change or suspicious activity | Submit government-issued ID through Apple’s verification portal |
| No \"Edit\" option visible | Browser cache or session error | Clear cookies, try Safari or Chrome, and sign in again |
| Change not reflecting on device | Synchronization delay | Wait up to 24 hours or toggle iCloud sync off and on |
Real Example: How Mia Updated Her Apple ID Age
Mia, a 19-year-old college student, realized her Apple ID showed her birth year as 2008—making her appear 15. She couldn’t download certain apps rated for ages 17+, and her music recommendations felt juvenile. After checking, she found her dad had set up the account when she was young and entered the wrong year.
She visited appleid.apple.com, signed in, and clicked “Edit” under personal info. The birthday field was locked with a note: “Age verification required.” She followed the link to upload a scanned copy of her driver’s license. Within 12 hours, Apple approved the change. Her App Store restrictions lifted immediately, and she regained full access to age-appropriate content.
This case highlights both the importance of accurate data and Apple’s balanced approach: enabling corrections while protecting minors.
Do’s and Don’ts When Updating Your Birth Date
| Do’s | Don’ts |
|---|---|
| Use your legal date of birth | Falsify your age to bypass restrictions |
| Update via appleid.apple.com only | Attempt third-party tools or unofficial apps |
| Keep a record of the change confirmation | Make repeated changes in short intervals |
| Check all devices post-update | Ignore verification emails from Apple |
FAQ: Common Questions About Changing Your Apple ID Birthday
Can I change my birthday more than once?
Apple allows occasional updates for accuracy, but frequent changes trigger security reviews. One correction is typically acceptable; repeated edits may require manual verification or be denied.
What happens if I enter a birth date that makes me under 13?
Your account will be subject to child account rules: limited communication features, no direct purchases, and mandatory Family Sharing supervision. Reverting to an adult account later will require identity proof.
Do I need ID to change my birthday?
Not always. Small corrections (e.g., fixing a typo) usually go through automatically. However, changes that alter your legal age group (e.g., from minor to adult) often require submitting a government-issued ID for verification.
Final Checklist Before You Proceed
- ✅ Back up your devices before making account changes
- ✅ Confirm you’re using the correct Apple ID (check @icloud.com or @me.com email)
- ✅ Ensure two-factor authentication is active
- ✅ Gather identification documents if changing from child to adult status
- ✅ Review all connected services (iCloud, App Store, Find My) after updating
Take Control of Your Digital Identity
Your Apple ID is the key to your entire ecosystem—devices, data, purchases, and privacy settings. Ensuring your personal details are accurate isn’t just about convenience; it’s about maintaining control and trust in your digital life. Changing your birthday may seem like a small fix, but it can unlock better experiences across Apple’s platform. By following this guide, you’ve taken a proactive step toward a secure, properly configured account.


 浙公网安备
33010002000092号
浙公网安备
33010002000092号 浙B2-20120091-4
Comments
No comments yet. Why don't you start the discussion?