
Changing your own engine oil is one of the most accessible and rewarding forms of vehicle maintenance you can perform at home. Not only does it save you $30–$70 per service, but it also gives you a deeper understanding of your car’s condition. When done correctly, a DIY oil change takes less than an hour and ensures your engine runs smoothly for years. This comprehensive guide walks you through every stage—from gathering supplies to proper disposal—so you can complete the job confidently, affordably, and without risk to your safety or your vehicle.
Why Change Your Own Oil?
Modern vehicles still rely on clean motor oil to lubricate internal components, reduce friction, and prevent overheating. Most manufacturers recommend oil changes every 5,000 to 7,500 miles, though some synthetic oils extend that interval. While dealerships and quick-lube shops offer convenience, their services often come with inflated prices and upsells. By handling the task yourself, you eliminate labor fees, choose high-quality oil suited to your driving habits, and inspect other critical components like filters and undercarriage parts during the process.
“Performing routine maintenance like oil changes yourself builds mechanical awareness and helps catch small issues before they become expensive repairs.” — Mark Reynolds, ASE-Certified Master Technician
Tools and Supplies Checklist
Before starting, gather all necessary tools and materials. Having everything ready prevents mid-job delays and keeps you focused on safety. Here’s what you’ll need:
- Wrench or socket set (usually 14mm or 17mm for drain plug)
- Oil filter wrench (strap or metal cap type)
- Drain pan (minimum 6-quart capacity)
- Funnel (preferably spout-tipped)
- Jack and jack stands or ramps (if ground clearance is low)
- New oil filter (OEM or reputable brand)
- Correct amount and type of motor oil (typically 4–6 quarts)
- Rubber gloves and safety glasses
- Shop rags or paper towels
- Drip tray or cardboard (to protect garage floor)
- Container for used oil (milk jug or sealed bottle)
Optional but Helpful Tools
- Breaker bar (for stubborn drain plugs)
- Magnetic drain plug (helps capture metal debris)
- Oil filter crusher (for compacting old filters)
- LED work light (improves visibility under the car)
Step-by-Step Guide to Changing Your Oil
Follow this sequence carefully to ensure a safe, thorough, and mess-free oil change. Each step includes practical advice based on real-world experience.
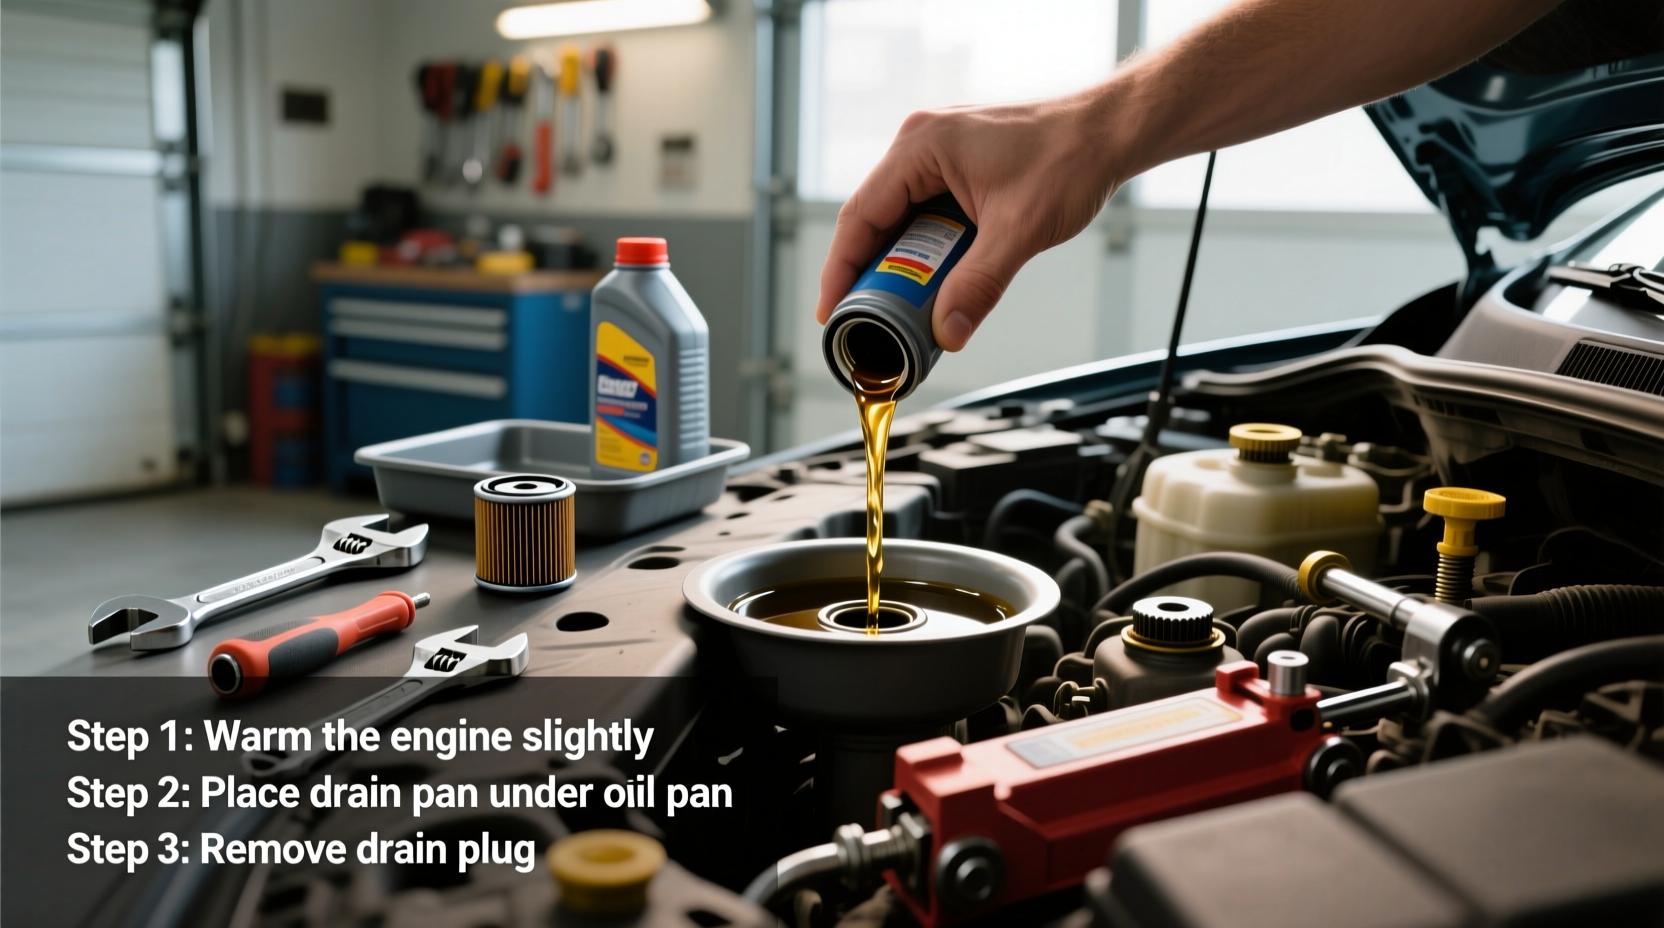
- Warm the Engine Slightly
Run the engine for 2–3 minutes to warm the oil. Warm oil flows faster and carries more contaminants out with it. Do not let it get hot—this increases burn risk. - Park on Level Ground and Secure the Vehicle
Engage the parking brake. If using jack stands, place wheel chocks behind rear tires. Never rely solely on a jack. - Lift the Car Safely
Use ramps for easier access or a floor jack with jack stands placed under reinforced frame points. Avoid lifting by suspension components. - Locate the Oil Drain Plug and Filter
The drain plug is typically on the bottom of the oil pan. The filter may be nearby or on the side of the engine. Refer to your manual if unsure. - Position the Drain Pan
Slide the pan directly beneath the drain plug. Center it generously—oil can splash unexpectedly. - Remove the Drain Plug
Firmly grip the wrench and turn counterclockwise. Once loose, unscrew by hand. Let oil drain completely—this takes 5–10 minutes. Inspect the plug’s washer; replace it if cracked or flattened. - Replace the Washer and Reinstall the Plug
Most drain plugs have a crush washer. Always install a new one to prevent leaks. Tighten snugly but do not over-torque—it’s aluminum on many modern engines. - Remove the Old Oil Filter
Place the drain pan underneath. Use the filter wrench to loosen it. Turn counterclockwise. Expect some oil to spill from inside the filter. - Prepare the New Filter
Slightly coat the rubber gasket on the new filter with fresh oil. This ensures a good seal and makes future removal easier. - Install the New Filter
Screw it on by hand until the gasket contacts the engine, then tighten ¾ to 1 full turn. Do not use a wrench—overtightening can damage the seal or housing. - Lower the Vehicle
Once both plug and filter are secure, carefully remove jack stands or back off ramps. - Add New Oil
Open the hood and locate the oil filler cap. Insert a funnel and pour in the recommended amount. Add about ¾ of the total first, then check the dipstick and top off as needed. - Start the Engine and Check for Leaks
Run the engine for 30 seconds. Watch under the car for drips near the drain plug and filter. Shut off and wait a minute for oil to settle. - Check Oil Level
Use the dipstick: pull, wipe, reinsert fully, then pull again. Level should be between “Min” and “Max.” Add more if low, but avoid overfilling. - Dispose of Used Oil Properly
Pour used oil and filter into sealed containers. Take them to an auto parts store (like AutoZone or O’Reilly), recycling center, or municipal hazardous waste facility. Never dump oil down drains or in trash.
Common Mistakes and How to Avoid Them
Even experienced DIYers make errors that compromise safety or performance. Below is a table summarizing frequent pitfalls and how to prevent them.
| Mistake | Consequence | Prevention |
|---|---|---|
| Over-tightening the drain plug | Stripped threads, oil pan damage, costly repair | Tighten snugly by hand with a wrench—no brute force |
| Forgetting to replace the crush washer | Oil leak, potential fire hazard near exhaust | Always install a new washer; keep spares in toolkit |
| Overtightening the oil filter | Crushed gasket, difficulty removing next time | Hand-tighten only—follow manufacturer torque specs |
| Not checking oil level after refill | Low oil causes engine wear; overfilling causes foaming | Double-check with dipstick after engine runs |
| Improper disposal of oil or filter | Environmental harm, legal penalties | Recycle at certified centers—most accept free of charge |
Real Example: Sarah’s First DIY Oil Change
Sarah, a 32-year-old teacher from Portland, had always relied on dealership services for her 2018 Honda Civic. After noticing a $65 invoice for a basic oil change, she decided to try it herself. She watched two tutorial videos, bought a kit online ($38 including oil and filter), and spent a Saturday morning in her driveway.
She followed each step methodically. Her only hiccup was struggling to remove the oil filter—it was tucked tightly against the chassis. She used a strap wrench instead of the cap-style one she’d brought, which worked perfectly. After cleanup, she checked her work: no leaks, correct oil level, and the satisfaction of saving nearly $30. Now, she changes her oil every 6,000 miles and inspects her brakes and tires while the car is lifted.
“It felt intimidating at first,” she said, “but once I did it once, I realized it’s just careful steps and attention to detail. I wish I’d started years ago.”
Frequently Asked Questions
How often should I change my oil?
Follow your vehicle manufacturer’s recommendation, found in the owner’s manual. For conventional oil, it’s typically every 3,000 to 5,000 miles. With full synthetic, intervals can extend to 7,500 or even 10,000 miles. Severe driving conditions (short trips, towing, extreme heat/cold) may require more frequent changes.
Can I reuse the oil filter?
No. Oil filters trap dirt, metal particles, and sludge. Reusing them reduces filtration efficiency and risks clogging. Always install a new filter with every oil change.
Is it okay to mix oil brands or types?
You can mix oils of the same viscosity and specification in a pinch, but it’s not ideal. Mixing conventional and synthetic oils dilutes performance benefits. Stick to one high-quality brand and type unless absolutely necessary.
Final Tips for Long-Term Success
Once you’ve completed your first oil change, consider these habits to maximize results:
- Keep a maintenance log: Note the date, mileage, oil type, and filter model. This helps track intervals and diagnose issues later.
- Inspect other fluids while under the hood: Check coolant, brake fluid, and windshield washer levels. Top off as needed.
- Upgrade gradually: Consider switching to a magnetic drain plug or high-performance oil filter for better engine protection.
- Recycle consistently: Build a habit of storing used oil in a labeled container and dropping it off monthly, even if you change oil infrequently.
Conclusion: Take Control of Your Car’s Care
Changing your own oil isn’t just about saving money—it’s about empowerment. You gain firsthand knowledge of your vehicle’s health, reduce reliance on third parties, and develop skills that apply to other maintenance tasks. With the right preparation and attention to detail, anyone can do it safely and effectively. Whether you drive a compact sedan or a family SUV, this simple act of care extends engine life, improves fuel economy, and boosts confidence behind the wheel.


 浙公网安备
33010002000092号
浙公网安备
33010002000092号 浙B2-20120091-4
Comments
No comments yet. Why don't you start the discussion?