
Mechanical keyboards are built to last, but even the most durable models accumulate dust, grime, oils from fingers, and food particles over time. A dirty keyboard not only affects typing comfort but can also lead to inconsistent key actuation, ghosting, or even long-term damage to switches and PCBs. While regular surface cleaning helps, a deep clean is essential every 6–12 months—especially if you type daily, eat near your desk, or share workspace with others.
This comprehensive guide walks you through the entire process of deep-cleaning a mechanical keyboard, from safe disassembly to reassembly and calibration. Whether you're maintaining a prized custom build or reviving an old workhorse, this method ensures safety, effectiveness, and longevity for your device.
Why Deep Cleaning Matters
Unlike membrane keyboards, mechanical keyboards expose individual switches and often feature open plate designs that allow debris to fall beneath the keycaps. Over time, this buildup can:
- Reduce tactile feedback and responsiveness
- Trap moisture and promote bacterial growth
- Increase friction on switch stems, accelerating wear
- Interfere with electrical contacts in cheaper switch types
A study conducted by the University of Arizona found that the average keyboard carries more bacteria per square inch than a toilet seat. For health and performance alike, periodic deep cleaning isn't optional—it's essential.
“Most keyboard failures aren’t due to switch fatigue—they’re caused by neglect. Regular maintenance extends lifespan far more than any technical upgrade.” — Daniel Ruiz, Hardware Engineer at KeyLife Labs
What You’ll Need: Tools & Supplies Checklist
Before starting, gather all necessary tools. Having everything ready prevents mid-process interruptions and reduces the risk of losing small parts.
Essential Equipment
- Keycap puller (plastic or metal)
- Compressed air canister or electric duster
- Soft-bristled brush (e.g., clean toothbrush)
- Isopropyl alcohol (IPA), 70–90%)
- Lint-free microfiber cloths
- Small container for soaking (glass or plastic)
- Tweezers (non-magnetic preferred)
- Cotton swabs (optional for tight spaces)
- Drying rack or clean towel
- Ziplock bags or pill organizers (for organizing screws and stabilizers)
Optional But Helpful
- Ultrasonic cleaner (for keycaps only)
- Switch opener tool (if lubing or repairing switches)
- PCB-safe contact cleaner (for stubborn corrosion)
- Desk mat or soft cloth (to protect components during disassembly)
Step-by-Step Guide to Deep Cleaning Your Mechanical Keyboard
Follow this timeline-based procedure carefully. Allow at least 2–4 hours depending on drying times and complexity.
- Power Down & Unplug (5 minutes)
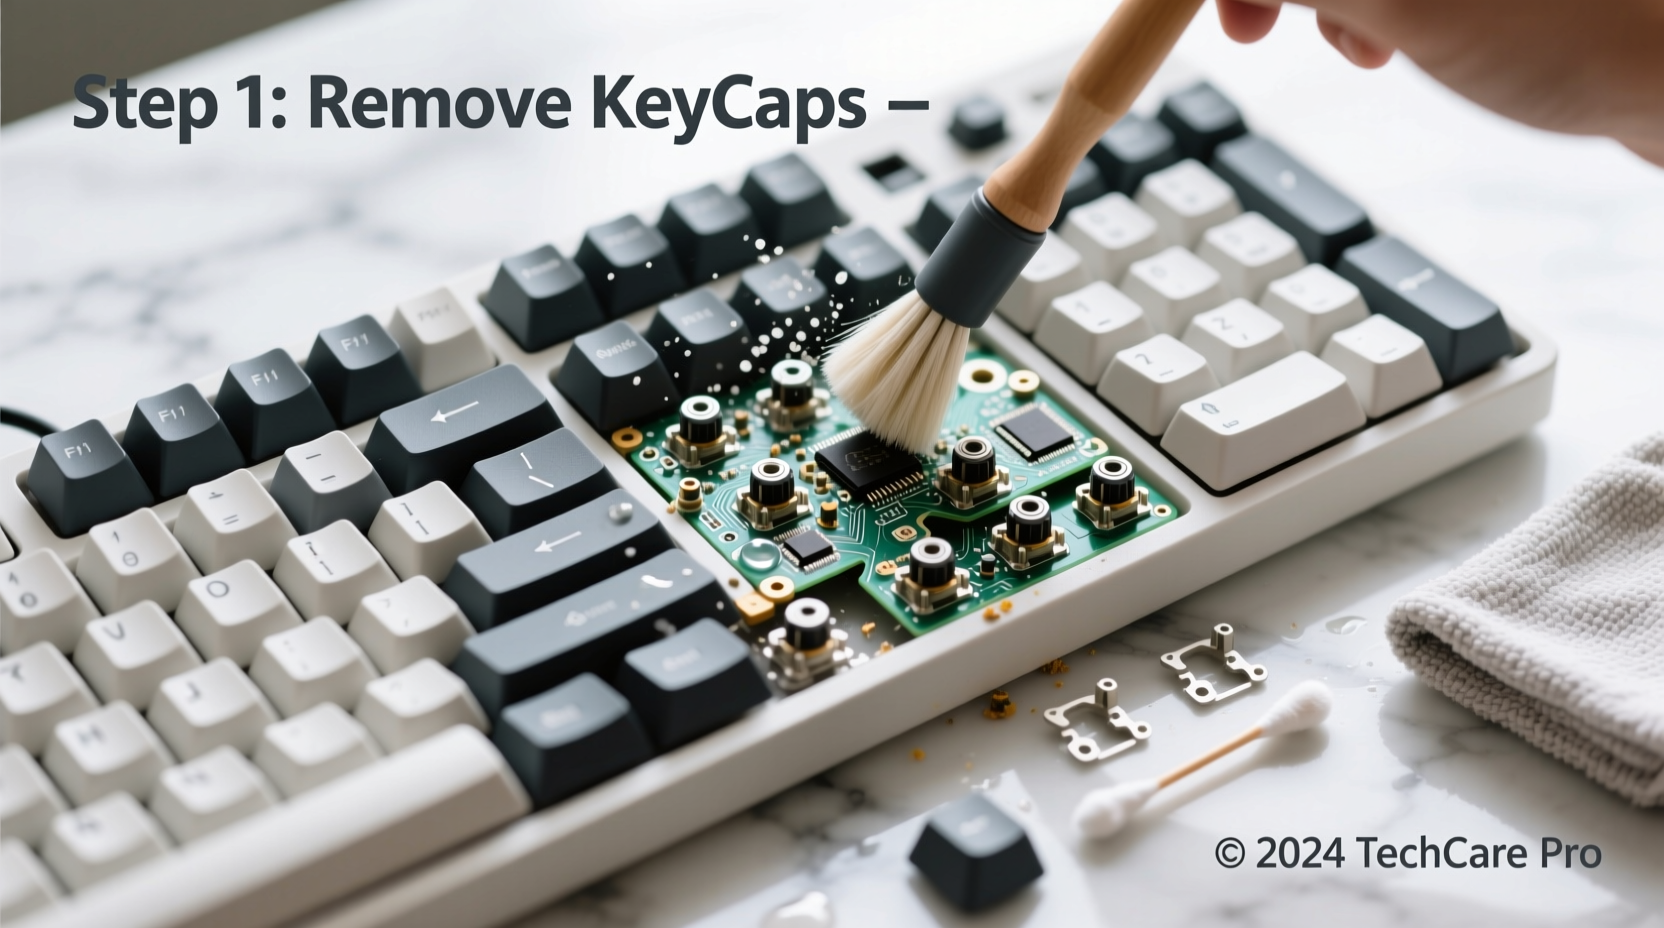
Disconnect the keyboard from your computer. If it’s wireless, remove batteries or turn off power. Never clean a powered device. - Remove Keycaps (15–30 minutes)
Using a keycap puller, gently lift each keycap straight up. Start from the top row and work downward. Place them in a labeled bag or container to avoid mix-ups, especially with non-standard layouts. - Clear Surface Debris (10 minutes)
Spray compressed air between switches at a 45-degree angle to dislodge crumbs and dust. Use short bursts to avoid forcing debris deeper. Follow with a soft brush to sweep loosened particles out. - Soak Keycaps (1–2 hours soak + drying)
Place keycaps in warm water mixed with a drop of mild dish soap or diluted isopropyl alcohol. Avoid boiling water—it can warp ABS plastic. Let soak for 1–2 hours. For faster results, use an ultrasonic cleaner (10–15 minutes). - Clean Keycaps (20 minutes)
After soaking, scrub each keycap gently with a soft brush, focusing on underside stems and edges where oil collects. Rinse thoroughly under cool water and lay flat on a lint-free towel to dry completely—preferably overnight. - Inspect & Clean Switches and PCB (15–30 minutes)
If your board has hot-swappable switches, consider removing them for deeper access. Otherwise, use cotton swabs lightly dampened with IPA to wipe around switch housings. Avoid pooling liquid on the PCB. For sticky residue, apply IPA sparingly with a swab and let evaporate fully. - Clean Stabilizers (Optional, 20 minutes)
Larger keys (spacebar, enter, shift) use stabilizers that collect grime and cause rattling. Remove these using tweezers or a stabilizer remover tool. Soak in IPA, then lubricate lightly with switch lube (e.g., Krytox GPL 205) before reinstalling. - Wipe Case and Plate (10 minutes)
Use a microfiber cloth dampened with IPA to clean the interior case and metal plate. Ensure no moisture remains before reassembly. - Dry Everything Completely (Minimum 4–6 hours)
All components must be bone-dry. Even minor moisture can short-circuit the PCB. Speed drying with a fan is acceptable, but never use heat sources like hairdryers. - Reassemble the Keyboard (30–45 minutes)
Begin by reinstalling stabilizers if removed. Then place switches back into sockets (if desoldered/hot-swapped). Finally, snap keycaps back on. Double-check alignment, especially for larger keys. - Test Functionality (10 minutes)
Reconnect the keyboard and test every key using an online tool like keyboardtester.com. Watch for missed inputs, double-taps, or unresponsive keys. Address issues immediately while the board is still accessible.
Do’s and Don’ts: Maintenance Table
| Action | Do | Don’t |
|---|---|---|
| Cleaning Solution | Use 70–90% isopropyl alcohol | Use bleach, ammonia, or window cleaners |
| Drying Method | Air dry overnight on clean towel | Use direct heat or microwave |
| Keycap Removal | Use proper puller; pull straight up | Pry with screwdrivers or uneven force |
| Switch Handling | Hold by housing, avoid stem contact | Touch spring pins or internal mechanisms |
| Storage During Clean | Use labeled containers or trays | Leave parts on dusty surfaces |
Real Example: Reviving a Neglected Work Keyboard
Mark, a freelance writer, used his mechanical keyboard daily for three years without cleaning. After noticing sluggish 'E' and 'R' keys, he decided to deep clean it. Upon removal of the keycaps, he found a thick layer of dust, skin flakes, and remnants of granola under the spacebar.
He followed the steps outlined here: soaked keycaps in soapy water, cleaned the PCB with IPA-dampened swabs, and gave extra attention to the stabilizers. After reassembly, his keyboard felt noticeably crisper. The previously sticky right shift now actuated smoothly, and overall sound became more consistent.
“I didn’t realize how much gunk had built up,” Mark said. “It’s like getting a new keyboard without spending a cent.”
Frequently Asked Questions
How often should I deep clean my mechanical keyboard?
Every 6 to 12 months is ideal for most users. Heavy typists, those who eat at their desks, or people in dusty environments may benefit from cleaning every 4–6 months.
Can I wash keycaps in the dishwasher?
No. Dishwashers expose plastics to high heat and harsh detergents, which can warp or crack keycaps, especially older or thinner ones. Hand washing or ultrasonic cleaning is safer and more reliable.
My keyboard doesn’t feel the same after reassembly—what went wrong?
The most common issue is misaligned keycaps or improperly seated stabilizers. Check that large keys sit flush and don’t wobble. Also verify that all switches are fully inserted into the PCB. Test each key individually and reseat any that feel mushy or inconsistent.
Expert Tips for Long-Term Care
Additionally, consider applying switch film or silicone o-rings to reduce noise and impact wear. These small upgrades, combined with regular cleaning, can extend your keyboard’s life well beyond a decade.
Conclusion: Make Cleaning Part of Your Routine
A mechanical keyboard is an investment in comfort, precision, and durability. But like any precision instrument, it requires care. By following this detailed deep-cleaning process, you restore both function and hygiene, ensuring every keystroke remains crisp and satisfying.
Don’t wait until performance degrades. Schedule your next cleaning session now—set a calendar reminder six months out. Your future self will thank you when your keyboard still feels fresh years down the line.


 浙公网安备
33010002000092号
浙公网安备
33010002000092号 浙B2-20120091-4
Comments
No comments yet. Why don't you start the discussion?