
In today’s digital world, every tap, swipe, and search leaves a trace. On iPhones, Google remains one of the most frequently used search engines—whether through Safari, Chrome, or the Google app. Over time, this activity accumulates into a detailed record of your interests, habits, and locations. While personalized results can be convenient, they come at a cost: reduced privacy and potential slowdowns in browsing performance.
Clearing your Google search history isn’t just about starting fresh—it’s a proactive move toward reclaiming control over your personal data and improving device efficiency. Unlike simply deleting Safari history, Google tracks searches across devices and apps when you're signed in. This guide walks you through exactly how to erase that data from your iPhone, why it matters, and what steps you should take afterward to maintain both speed and privacy.
Why Clear Your Google Search History?
Google collects vast amounts of data based on your searches, voice queries, location activity, and even YouTube interactions. This information is stored under your Google Account and used to personalize ads, autocomplete suggestions, and search results. While this may seem harmless—or even helpful—it raises real concerns:
- Privacy risks: Anyone with access to your device or account could see what you've searched for.
- Data profiling: Companies build detailed behavioral profiles based on your history, often without explicit consent.
- Browsing slowdowns: Accumulated cache and autofill data can make apps like Chrome sluggish over time.
- Unwanted recommendations: Old searches can trigger awkward or irrelevant suggestions long after they’re relevant.
Deleting your history helps mitigate these issues. It reduces tracking, minimizes targeted advertising, and can lead to snappier browser performance by freeing up cached resources.
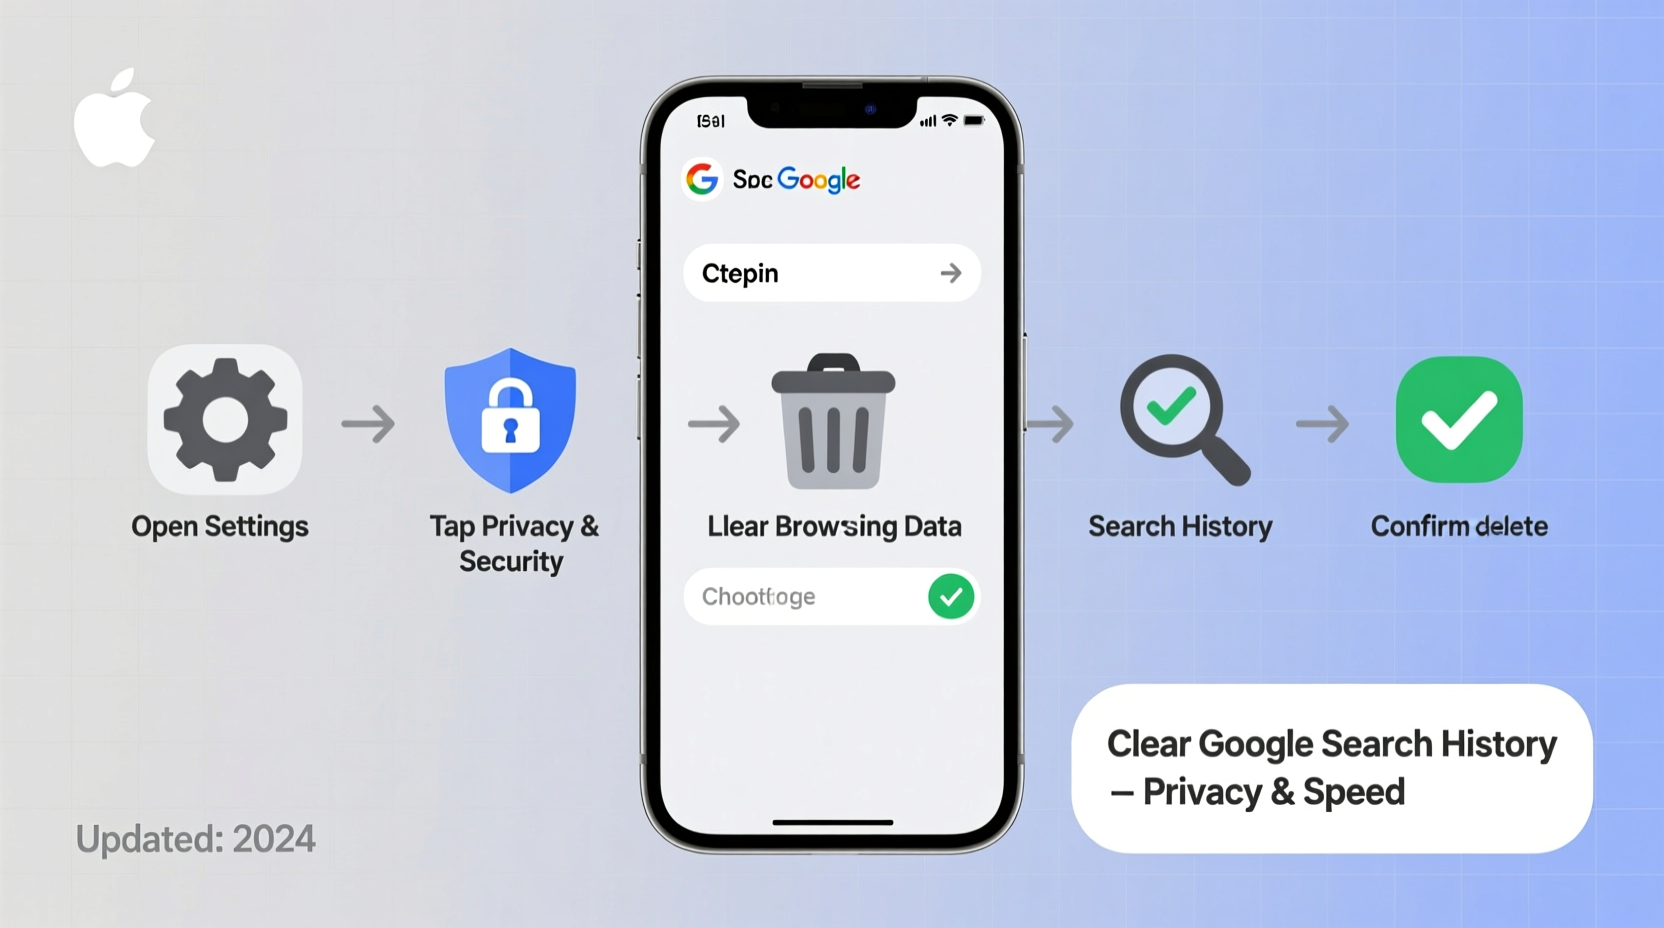
Step-by-Step Guide to Clear Google Search History on iPhone
The process varies slightly depending on whether you use the Google app, Chrome, or Safari with Google as your default engine. Below is a comprehensive walkthrough covering all major methods.
- Open the Google App or Chrome Browser
Launch either the Google app or Google Chrome from your iPhone home screen. Both sync with your Google Account and store search history. - Sign In (If Not Already)
Tap your profile icon in the top-right corner. If you’re not signed in, select “Add another account” or sign in with your existing Google credentials. - Access Your Google Account Settings
After tapping your profile picture, choose “Manage your Google Account.” This opens the full account dashboard within the app. - Navigate to Data & Privacy
Scroll down and tap “Data & Privacy” near the top of the screen. Here, you’ll find tools related to your activity controls and history settings. - Select “My Activity”
Under the “History settings” section, tap “My Activity.” This page displays a timeline of your Google interactions—searches, voice commands, maps usage, and more. - Delete Specific Items or Entire History
To delete individual entries, tap any item and select the three-dot menu → “Delete.”
For bulk removal:
- Tap “Delete activity by”
- Choose a time range (e.g., “Last hour,” “Last 7 days,” “All time”)
- Select “Google Search” as the service
- Confirm deletion - Clear Chrome Browsing Data (Optional but Recommended)
Open Chrome → Tap the tabs icon (bottom-right) → Tap the three-dot menu → “History” → “Clear browsing data.”
Check “Browsing history,” “Cookies,” and “Cached images and files,” then confirm.
This removes locally stored data from the app and syncs the change across your Google Account, provided syncing is active.
Do’s and Don’ts When Managing Google Search History
| Do | Don’t |
|---|---|
| Review your My Activity page monthly to monitor data collection. | Assume deleting iPhone app data automatically clears cloud-stored history. |
| Turn off Web & App Activity if you want long-term prevention. | Delete history without signing into the correct Google account. |
| Use Incognito mode in Chrome for sensitive searches. | Ignore linked services like YouTube or Maps that also track searches. |
| Enable auto-delete for future peace of mind (more below). | Expect immediate ad changes—behavioral targeting may persist briefly after deletion. |
Set Up Auto-Delete for Ongoing Privacy Protection
Manually clearing history works, but setting up automatic deletion ensures continuous protection. Google allows you to schedule automatic purges of your activity every 3 or 18 months.
“Automated data management is one of the most effective ways to maintain digital hygiene without constant manual effort.” — Dr. Lena Torres, Cybersecurity Researcher at Stanford University
To enable auto-delete:
- Go to myactivity.google.com in any browser on your iPhone.
- Tap “Manage activity controls” on the left.
- Under “Web & App Activity,” click “Manage auto-delete.”
- Select “Auto-delete activity older than 3 months” or “18 months.”
- Confirm your choice.
Once enabled, Google will automatically erase your historical data according to the selected interval. Note: This only applies going forward and won’t affect already-deleted or retained past data unless manually cleared first.
Real Example: How One User Regained Control of Their Digital Space
Sophie, a freelance writer in Portland, noticed her iPhone’s Chrome browser was becoming increasingly slow. Autocomplete kept suggesting outdated job-related searches she’d done months earlier, and targeted ads followed her across sites—even after switching devices.
She decided to investigate and discovered over two years of accumulated Google activity tied to her primary account. Using the steps outlined above, she deleted all search history, disabled Web & App Activity temporarily, and set up auto-delete for 3-month intervals. Within days, her browsing felt faster, irrelevant suggestions disappeared, and she reported fewer intrusive ads.
More importantly, Sophie felt a renewed sense of control over her online presence. “It’s like cleaning out a closet I didn’t know existed,” she said. “Now I check my activity every few weeks—it takes five minutes and makes a big difference.”
Frequently Asked Questions
Will clearing Google history log me out of my accounts?
No. Deleting your search history does not sign you out of Gmail, YouTube, or other Google services. However, it may reset some personalized settings and recommendations until new data is collected.
Can someone still see my searches after I delete them?
If you’ve successfully deleted the data from your Google Account via My Activity, it is removed from Google’s servers and no longer accessible—even by Google—for personalization purposes. However, third-party websites you visited may retain logs of your visit, and network administrators (like employers or schools) might have separate records if you used their Wi-Fi.
Does turning off Web & App Activity stop all tracking?
Disabling Web & App Activity prevents Google from saving most search and app interactions to your account. However, some anonymized data may still be collected for service improvement and security purposes. You can review additional controls under “Ad Personalization” and “Location History” for further restrictions.
Maintaining Speed and Privacy: A Simple Checklist
- ✅ Visit myactivity.google.com and review recent activity
- ✅ Delete unwanted search entries or clear all history
- ✅ Clear Chrome cache and cookies
- ✅ Verify Web & App Activity settings align with your privacy needs
- ✅ Enable auto-delete if not already active
- ✅ Restart Chrome and test browsing speed
Take Control Today
Your digital life shouldn’t be shaped by old decisions or invisible algorithms. Clearing your Google search history on iPhone is a simple yet powerful act of self-determination. It enhances privacy, improves device responsiveness, and breaks the cycle of passive data accumulation.
Start today—spend ten minutes walking through the steps, set up auto-delete, and establish a light monthly routine. The internet should serve you, not the other way around.


 浙公网安备
33010002000092号
浙公网安备
33010002000092号 浙B2-20120091-4
Comments
No comments yet. Why don't you start the discussion?