
Weak Wi-Fi in certain areas of your home or office can disrupt streaming, gaming, and remote work. A TP-Link range extender is a cost-effective solution to expand your network’s reach. However, simply plugging it in isn’t enough. Proper setup and optimization are essential to maximize performance. This guide walks you through the entire process—from initial connection to advanced tuning—so you can achieve consistent, high-speed coverage throughout your space.
Understanding How a Wi-Fi Extender Works
A Wi-Fi extender, like those from TP-Link, receives your existing router’s wireless signal, amplifies it, and rebroadcasts it to areas with poor reception. It acts as a bridge between your router and dead zones. Unlike mesh systems, extenders typically create a secondary network (or mirror the primary one), which means seamless roaming may require manual configuration.
The effectiveness of an extender depends on its placement, compatibility with your router, and correct configuration. Poor positioning—even just a few feet away from the ideal spot—can drastically reduce performance. That’s why understanding signal propagation and interference sources is crucial before installation.
“Extenders don’t create new bandwidth—they extend what you already have. If your internet is slow at the source, boosting the signal won’t fix that.” — David Lin, Network Infrastructure Consultant
Step-by-Step Guide to Connect Your TP-Link Extender
Follow this sequence to ensure a reliable setup. Whether you’re using a model like the RE220, RE350, or newer Archer series, the process remains largely consistent.
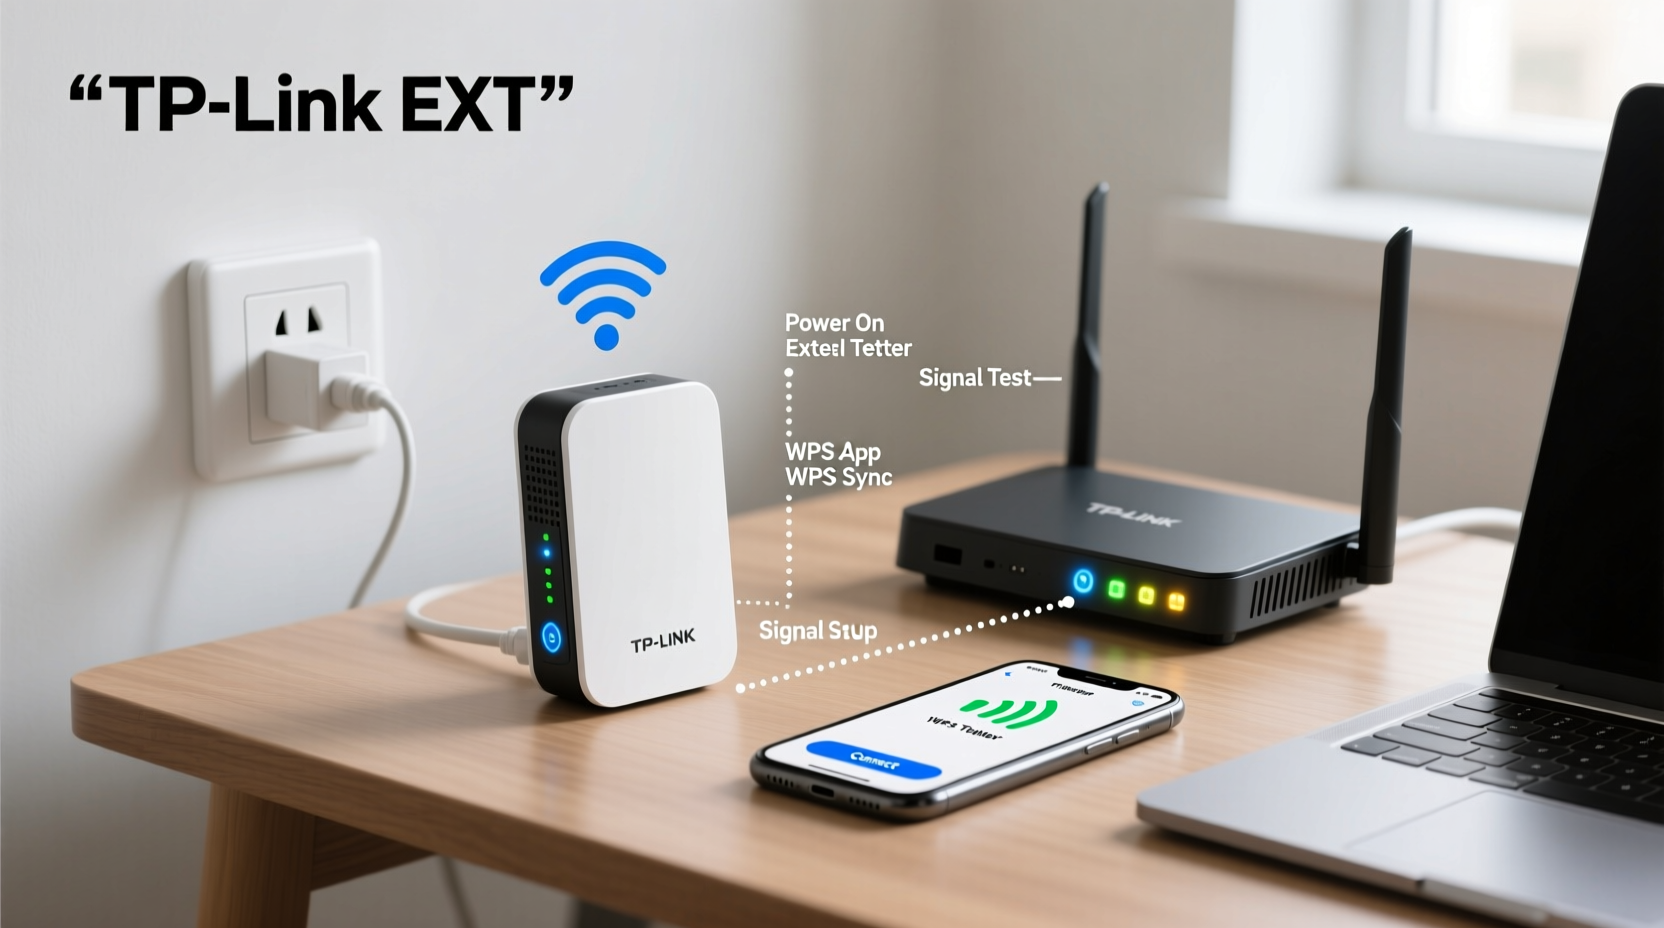
- Power on the extender: Plug it into a wall outlet near your main router (within strong signal range).
- Wait for initialization: The power LED will turn solid, and the Wi-Fi or signal light will blink.
- Connect via device: On your smartphone or laptop, search for available Wi-Fi networks. Look for a network starting with “TP-Link_Ext” followed by a unique ID.
- Access the web interface: Open a browser and go to
tplinklogin.netor192.168.0.254. Avoid third-party links; use only official addresses. - Log in: Enter the default credentials (usually admin/admin unless changed). You’ll be prompted to set a new password.
- Select your home Wi-Fi network: The setup wizard scans for nearby networks. Choose your router’s SSID (network name).
- Enter Wi-Fi password: Type your current Wi-Fi password accurately. Incorrect entries are a common cause of failed connections. <8> Confirm settings: The extender restarts and attempts to connect. Wait 1–2 minutes for lights to stabilize.
- Move to final location: Once connected, unplug the extender and relocate it midway between your router and the dead zone.
Optimizing Placement for Maximum Coverage
Placement is the single most impactful factor in extender performance. Even the best hardware underperforms when placed incorrectly.
The ideal location is within strong Wi-Fi range of your router but close enough to the target area needing coverage. Use this rule of thumb: if your phone shows fewer than three bars when standing next to the extender, it’s too far from the router.
- Avoid placing behind thick walls, metal objects, or large appliances (e.g., refrigerators, microwaves).
- Elevate the extender—place it on a shelf rather than the floor.
- Keep it away from cordless phones, baby monitors, and Bluetooth devices that operate on the 2.4 GHz band.
- If possible, orient adjustable antennas vertically for optimal omnidirectional spread.
Real Example: Fixing a Basement Dead Zone
Sarah had spotty Wi-Fi in her basement home office. Her router was upstairs near the front door. She initially placed the TP-Link RE650 in the basement, but speeds were worse than before. After reading about placement, she moved it halfway—on a hallway table between floors. Signal strength improved from 2 Mbps to 65 Mbps, enabling smooth Zoom calls and file backups. The key wasn’t more power—it was smarter positioning.
Advanced Optimization Techniques
Once connected, further enhancements can improve stability and speed.
Use Dual-Band Separately
If your extender supports dual-band (2.4 GHz and 5 GHz), consider broadcasting them as separate networks. Rename them clearly—e.g., “Home_Ext_2.4G” and “Home_Ext_5G”. This allows you to manually connect devices based on needs: 2.4 GHz for range, 5 GHz for speed.
Enable Roaming Assistance (BSS Transition)
Modern TP-Link extenders support 802.11k/v standards for smoother roaming. Enable these in the extender’s settings under “Wireless” > “Advanced.” Devices will switch networks more intelligently instead of clinging to weak signals.
Update Firmware Regularly
TP-Link releases firmware updates that improve compatibility, security, and performance. Check for updates monthly under “System Tools” > “Firmware Upgrade.” Never interrupt a firmware update—ensure stable power and connectivity.
| Setting | Recommended Value | Why It Matters |
|---|---|---|
| Channel Width (2.4 GHz) | 20 MHz | Reduces interference in crowded environments |
| Channel Width (5 GHz) | 80 MHz | Maximizes throughput for high-speed tasks |
| Transmit Power | High | Ensures full coverage without unnecessary radiation |
| LED Indicator | Off (optional) | Reduces light pollution at night |
Checklist: Optimizing Your TP-Link Extender
- ✅ Place the extender within strong router signal (3+ bars)
- ✅ Use
tplinklogin.netfor secure login - ✅ Set a strong admin password after initial setup
- ✅ Update firmware to the latest version
- ✅ Separate 2.4 GHz and 5 GHz networks for better control
- ✅ Enable 802.11k/v for seamless roaming (if supported)
- ✅ Test speeds before and after relocation using tools like Speedtest.net
- ✅ Reboot the extender monthly to clear memory and refresh connections
Frequently Asked Questions
Can I connect my TP-Link extender with an Ethernet cable?
Yes—some models (like the RE505X or Deco units) support AP mode via Ethernet. In this mode, the extender functions like a wireless access point, offering lower latency and higher reliability. Check your model’s specifications and enable “Ethernet Backhaul” in settings if available.
Why is my extended network slower than the original?
This is normal to some extent. Every time data hops from router to extender to device, throughput is halved due to wireless backhaul limitations. For example, if your router delivers 100 Mbps, the extender might provide 40–50 Mbps after overhead. To minimize loss, place the extender where the incoming signal is strongest.
Should I use the same SSID for my extender as my router?
Using the same name enables automatic switching, but many devices resist switching until the signal is nearly gone. Using different names gives you control over which network each device uses. Advanced users can employ band steering or mesh-like behavior with newer TP-Link OneMesh-compatible routers.
Final Steps and Long-Term Maintenance
After setup and optimization, monitor performance weekly. Run speed tests from multiple locations and note any inconsistencies. Keep a log of reboots, firmware updates, and changes in layout or interference sources (e.g., new smart devices).
Consider upgrading to a mesh system if you consistently experience lag or disconnections across multiple extenders. But for most homes, a properly configured TP-Link extender delivers excellent value and performance.
“Wi-Fi optimization isn’t a one-time task. Environments change—new neighbors, devices, and structural modifications all affect signal quality.” — Maria Chen, Wireless Network Engineer
Take Control of Your Home Network Today
You don’t need expensive upgrades to eliminate Wi-Fi dead zones. With careful placement, correct configuration, and regular maintenance, your TP-Link extender can deliver fast, reliable coverage where you need it most. Apply these steps today, test the results, and enjoy uninterrupted browsing, streaming, and working throughout your space.


 浙公网安备
33010002000092号
浙公网安备
33010002000092号 浙B2-20120091-4
Comments
No comments yet. Why don't you start the discussion?