
Accurate employee attendance tracking is essential for payroll efficiency, compliance, and workforce management. The Orbis time clock system offers a reliable, user-friendly solution for modern businesses. However, its full potential can only be realized with proper setup and integration. This comprehensive guide walks you through the complete process of connecting your Orbis time clock to ensure seamless data flow, minimize errors, and enhance operational accuracy.
Understanding the Orbis Time Clock System
The Orbis time clock is a biometric or card-based attendance device designed to capture employee check-in and check-out times with precision. It supports various connectivity options, including Ethernet, Wi-Fi, and cloud-based synchronization. Depending on your model—such as the Orbis ProSeries or CloudLink—the setup may vary slightly, but the core principles remain consistent.
Before beginning the connection process, it's important to understand how the device communicates with your central database or HR software. Most Orbis systems use TCP/IP protocols over a local network or HTTPS for cloud access. This ensures secure, real-time data transfer that integrates smoothly with payroll platforms like QuickBooks, ADP, or custom HRIS solutions.
Step-by-Step Guide to Connecting Your Orbis Time Clock
- Unbox and Inspect the Device
Carefully unpack the Orbis time clock and accessories. Confirm all components are present: power adapter, mounting kit, Ethernet cable (if applicable), and user manual. Check for physical damage before proceeding. - Mount the Device in an Accessible Location
Install the time clock at entry points where employees regularly pass. Ideal height is between 4.5 and 5.5 feet from the ground. Avoid direct sunlight, moisture, or high-traffic congestion zones that could interfere with scanning. - Connect Power and Network
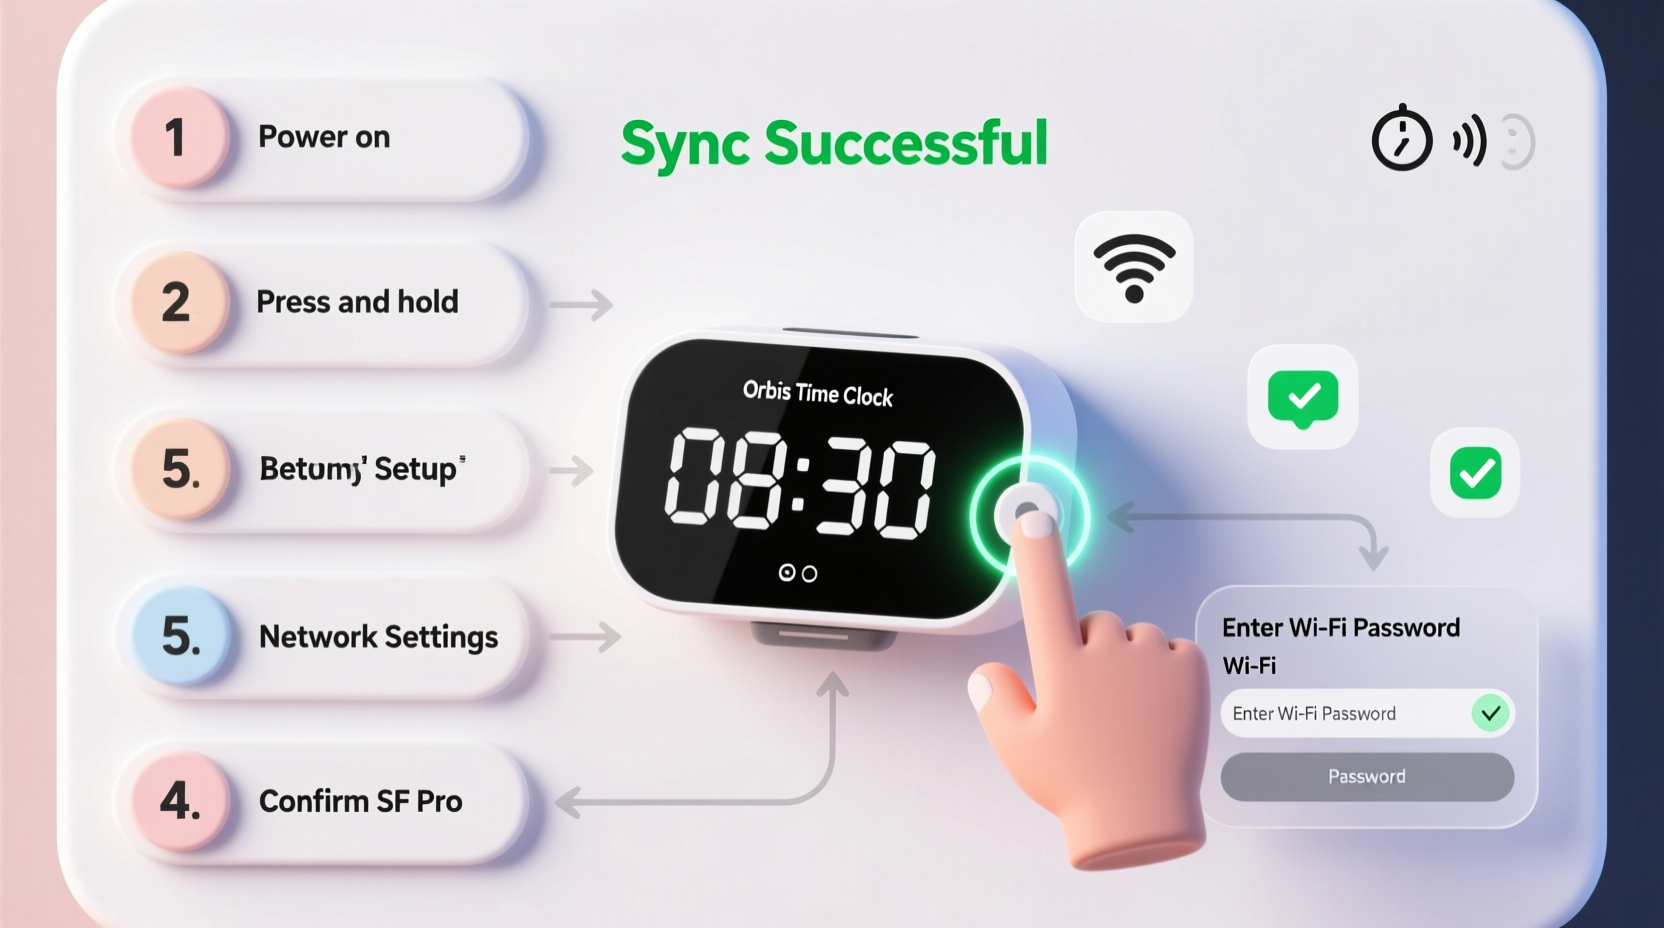
Plug the device into a stable power source using the provided adapter. For network connection:- Ethernet Setup: Connect one end of the Ethernet cable to the Orbis unit and the other to your router or switch.
- Wi-Fi Setup: Navigate to Settings > Network > Wireless, select your SSID, and enter the password.
- Assign a Static IP Address (Recommended)
To prevent IP conflicts and ensure consistent connectivity:- Go to Settings > Network Configuration.
- Select \"Static IP\" instead of DHCP.
- Enter an available IP within your subnet (e.g., 192.168.1.150).
- Input subnet mask (typically 255.255.255.0) and gateway (your router’s IP).
- Configure Device Settings via Admin Panel
Access the admin interface by entering the device’s IP address into a web browser. Log in with default credentials (usually admin/admin or found in the manual). Update the following:- Date and time zone settings
- Attendance mode (fingerprint, RFID card, or PIN)
- Auto-sync interval (set to every 15–30 minutes)
- Integrate with Attendance Software
If using standalone Orbis software or third-party HRIS:- Install the Orbis Data Management Suite on your server or PC.
- Add the device by entering its IP address under “Device Registration.”
- Test communication by clicking “Ping Device.”
- Enable “Auto Download Logs” to pull attendance records periodically.
- Enroll Employees
Register each employee in the system:- Navigate to User Management > Add New User.
- Enter employee ID, name, and department.
- Capture fingerprints or assign RFID cards.
- Confirm successful enrollment with a test scan.
- Test and Validate the Connection
Have two to three employees perform a full check-in and check-out cycle. Verify that logs appear in the software within the sync window. Check for timestamps, user IDs, and any error flags.
Essential Checklist for Successful Setup
- ✅ Power and network cables securely connected
- ✅ Static IP configured and tested
- ✅ Admin password changed from default
- ✅ Employee biometrics or cards enrolled
- ✅ Sync interval set and verified
- ✅ Attendance logs appearing in software
- ✅ Backup plan in place (manual logs during outages)
Common Pitfalls and How to Avoid Them
| Issue | Possible Cause | Solution |
|---|---|---|
| Device not showing up in software | IP conflict or firewall block | Verify IP settings; open port 4370 on firewall |
| Fingerprints not registering | Dry fingers or dirty sensor | Ask users to moisten fingertips slightly; clean sensor with microfiber cloth |
| Time logs delayed or missing | Sync disabled or network lag | Enable auto-sync; test network speed near device |
| Double punches recorded | User tapping too quickly | Adjust “Punch Interval” setting to 30 seconds minimum |
Real-World Example: Manufacturing Plant Deployment
A mid-sized manufacturing facility in Ohio recently deployed five Orbis time clocks across two shifts. Initially, they experienced inconsistent log uploads due to weak Wi-Fi signals in the warehouse area. After switching to wired Ethernet connections and assigning static IPs, data reliability improved instantly. They also trained supervisors to perform weekly sync tests and maintain a backup spreadsheet during scheduled maintenance. Within a month, payroll discrepancies dropped by 78%, and managers reported greater confidence in labor cost reporting.
“Reliable timekeeping starts with a stable network connection. Even the most advanced biometric device fails if it can’t communicate with the server.” — Carlos Mendez, HR Systems Consultant with 12 years in workforce tech
Frequently Asked Questions
Can I connect multiple Orbis time clocks to one system?
Yes. You can connect multiple devices to a single server or cloud dashboard. Each must have a unique IP address and be registered individually in the management software. This allows centralized monitoring across departments or locations.
What should I do if the device loses internet connection?
The Orbis time clock stores attendance data locally when offline. Once connectivity is restored, it automatically syncs pending logs. However, prolonged outages may require manual export via USB or SD card (on supported models). Regular network checks help prevent extended disconnections.
Is it possible to integrate Orbis with cloud-based payroll systems?
Yes. Many Orbis-compatible platforms support API integrations with services like Gusto, BambooHR, and Paychex. You may need to enable middleware or use CSV exports for synchronization if native integration isn't available.
Optimizing Ongoing Performance
Once your Orbis time clock is online, ongoing maintenance ensures long-term accuracy. Schedule monthly reviews of device logs, clean the fingerprint scanner weekly, and update firmware when notified. Consider enabling email alerts for failed sync attempts or unauthorized access attempts. Training employees on proper usage—such as scanning slowly and avoiding shared credentials—also reduces errors.
For organizations with remote or hybrid teams, consider pairing the physical time clock with a mobile companion app (if supported) to allow geofenced check-ins for field workers while maintaining consistency in tracking standards.
Final Steps and Call to Action
Connecting your Orbis time clock properly lays the foundation for accurate, efficient, and auditable attendance tracking. From initial hardware setup to employee enrollment and system integration, each step plays a vital role in ensuring reliability. By following this guide, avoiding common mistakes, and adopting best practices, you can streamline payroll processing, reduce administrative burden, and foster a culture of accountability.


 浙公网安备
33010002000092号
浙公网安备
33010002000092号 浙B2-20120091-4
Comments
No comments yet. Why don't you start the discussion?