
Crafting your own accessories offers more than just aesthetic satisfaction—it fosters mindfulness, creativity, and personal expression. A handmade flower pendant keychain combines delicate beauty with everyday utility, making it an ideal project for both beginners and seasoned crafters. Whether you're creating a meaningful gift or adding a personalized touch to your keys, this guide walks you through every stage of designing and assembling a stunning floral pendant using accessible materials and proven techniques.
Gathering Your Materials and Tools
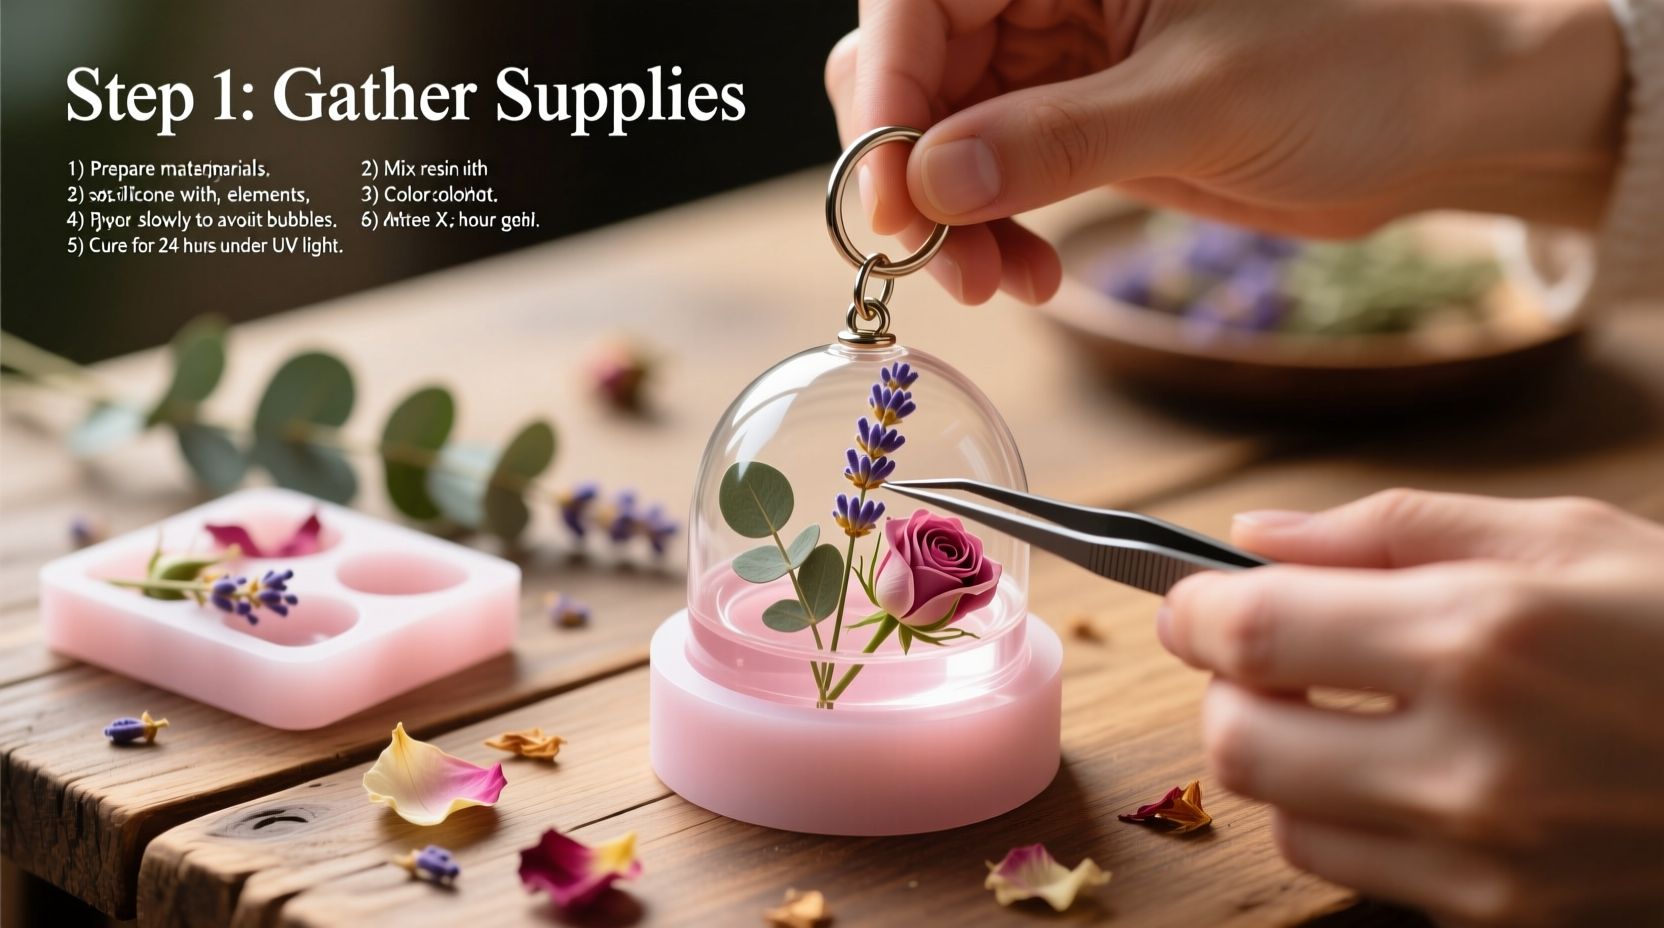
The foundation of any successful craft lies in preparation. Before shaping petals or threading chains, assemble the essential components that will bring your vision to life. The materials required are affordable, widely available, and easy to work with, even in small spaces like a kitchen table or studio desk.
Here’s what you’ll need:
- Polymer clay (in two or three coordinating colors—soft pinks, whites, and greens recommended)
- Clay roller or glass bottle (for flattening)
- Precision craft knife or scalpel
- Round cookie cutters or lid tops (small, 1–1.5 cm diameter)
- Baking sheet and parchment paper
- Oven (for curing clay)
- Jewelry pliers (flat-nose and round-nose)
- Small jump rings (silver or gold tone)
- Keychain ring or lobster clasp
- Clear varnish or resin (to seal and shine)
- Toothpick or fine stylus (for detailing)
Choose non-toxic, oven-bake polymer clay such as Sculpey III or Fimo Soft for best results. These brands offer excellent malleability and retain detail well after baking.
Designing and Crafting the Flower Pendant
The heart of your keychain is the flower itself. This section details how to sculpt a realistic yet artistic bloom using layered petals and subtle shaping techniques.
- Condition the clay: Knead each color of clay until soft and pliable. This ensures smooth rolling and prevents cracking during baking.
- Roll the base layer: Use your roller to flatten the main petal color into a sheet about 2 mm thick. Place parchment paper underneath to prevent sticking.
- Cut petal shapes: Use a small circular cutter to create uniform discs. You’ll need 5–7 per flower, depending on desired fullness.
- Shape each petal: Gently press the edge of a spoon or rounded tool along one side of each disc to curl it slightly upward, mimicking natural bloom curvature.
- Add a second layer (optional): Cut smaller circles from a contrasting shade (e.g., pale yellow center) and press gently onto the middle of the flower for dimension.
- Insert stem hole: Before baking, use a toothpick to carefully poke a tiny hole near the top edge of the backside. This allows later attachment via a jump ring.
- Bake according to instructions: Place the shaped flowers on a parchment-lined tray. Bake at the temperature specified on the clay packaging (usually 275°F / 130°C) for 15–20 minutes. Cool completely before handling.
Finishing and Sealing the Pendant
Once cooled, your clay flower is structurally stable but still vulnerable to scratches and moisture. A protective finish enhances durability and gives the piece a professional look.
Apply 1–2 thin coats of water-based clear varnish or liquid transparent resin using a fine brush. Allow each coat to dry fully (typically 1–2 hours) before applying the next. For a high-gloss effect, a final layer of UV resin cured under a lamp delivers exceptional shine and resilience.
| Finish Type | Pros | Cons |
|---|---|---|
| Water-Based Varnish | Non-toxic, easy cleanup, quick drying | Less durable over time |
| Resin (2-part) | Durable, glossy, long-lasting | Mixing required; longer cure time |
| UV Resin | Fast curing, precise application | Requires UV lamp; smaller working area |
Avoid thick applications that may drip or distort fine details. Always work in a dust-free environment to prevent particles from embedding in the wet coating.
Assembling the Keychain
With the pendant sealed and polished, it's time to transform it into a functional accessory. Proper assembly ensures longevity and ease of use.
- Open a small jump ring using two pairs of pliers—one holding each side—and slide it through the hole in the back of the flower.
- Thread the open ring through the loop of your chosen keychain or lobster clasp.
- Close the jump ring securely by twisting the ends together (do not pull apart, as this weakens the metal).
- Optional: Add a tiny green clay leaf or dewdrop accent below the flower using a second jump ring for added realism.
“Handmade jewelry carries emotional weight. When someone wears a piece you’ve crafted, they’re carrying a fragment of your attention and care.” — Lila Chen, Artisan Jewelry Designer
Real-Life Example: A Gift That Bloomed Into a Small Business
Sophie, a teacher from Portland, began making flower pendants as stress-relief crafts during lockdown. She gifted one to her best friend, who wore it daily and received constant compliments. Encouraged, Sophie started selling them at local markets. Within six months, she launched an Etsy shop specializing in seasonal floral designs—cherry blossom in spring, sunflower in summer, marigold for autumn. Her story illustrates how a simple DIY project can evolve into something meaningful beyond the craft table.
Common Challenges and How to Avoid Them
Even straightforward projects encounter hiccups. Anticipating issues improves success rates and reduces frustration.
- Cracked petals after baking: Caused by uneven thickness or insufficient conditioning. Roll clay uniformly and knead thoroughly beforehand.
- Pendant feels too heavy: Use lightweight clay or hollow out the back slightly before baking.
- Varnish appears cloudy: Often due to humidity or dust. Work in a dry, clean space and avoid blowing on the surface.
- Jump ring won’t close properly: Use proper pliers technique—twist, don’t pull. Invest in quality findings to reduce breakage.
FAQ
Can I make these without an oven?
Yes. Air-dry clay can be used instead, though it requires longer drying times (24–48 hours) and may be less durable. Seal extra carefully to protect against moisture.
How do I personalize the design?
Incorporate initials by imprinting letters with a tiny stamp or needle before baking. Choose colors that match the recipient’s favorite outfit or birth month flower.
Are these safe for children to wear?
If intended as a toy or worn by young children, ensure all parts are securely attached and large enough to prevent choking hazards. Supervise use and avoid sharp tools during creation.
Checklist: Build Your Flower Pendant Keychain in 7 Steps
- Collect all materials and tools
- Condition and roll out polymer clay
- Cut and shape flower petals
- Bake according to manufacturer’s instructions
- Cool and inspect for flaws
- Apply protective sealant in thin layers
- Attach jump ring and keychain hardware
Conclusion
Creating a DIY flower pendant keychain blends artistry with practicality, offering a rewarding experience that culminates in a wearable keepsake. With patience and attention to detail, anyone can produce a piece that rivals store-bought accessories—yet carries far greater personal significance. Whether made for yourself or gifted to someone special, each petal tells a story of intention and craftsmanship.


 浙公网安备
33010002000092号
浙公网安备
33010002000092号 浙B2-20120091-4
Comments
No comments yet. Why don't you start the discussion?