
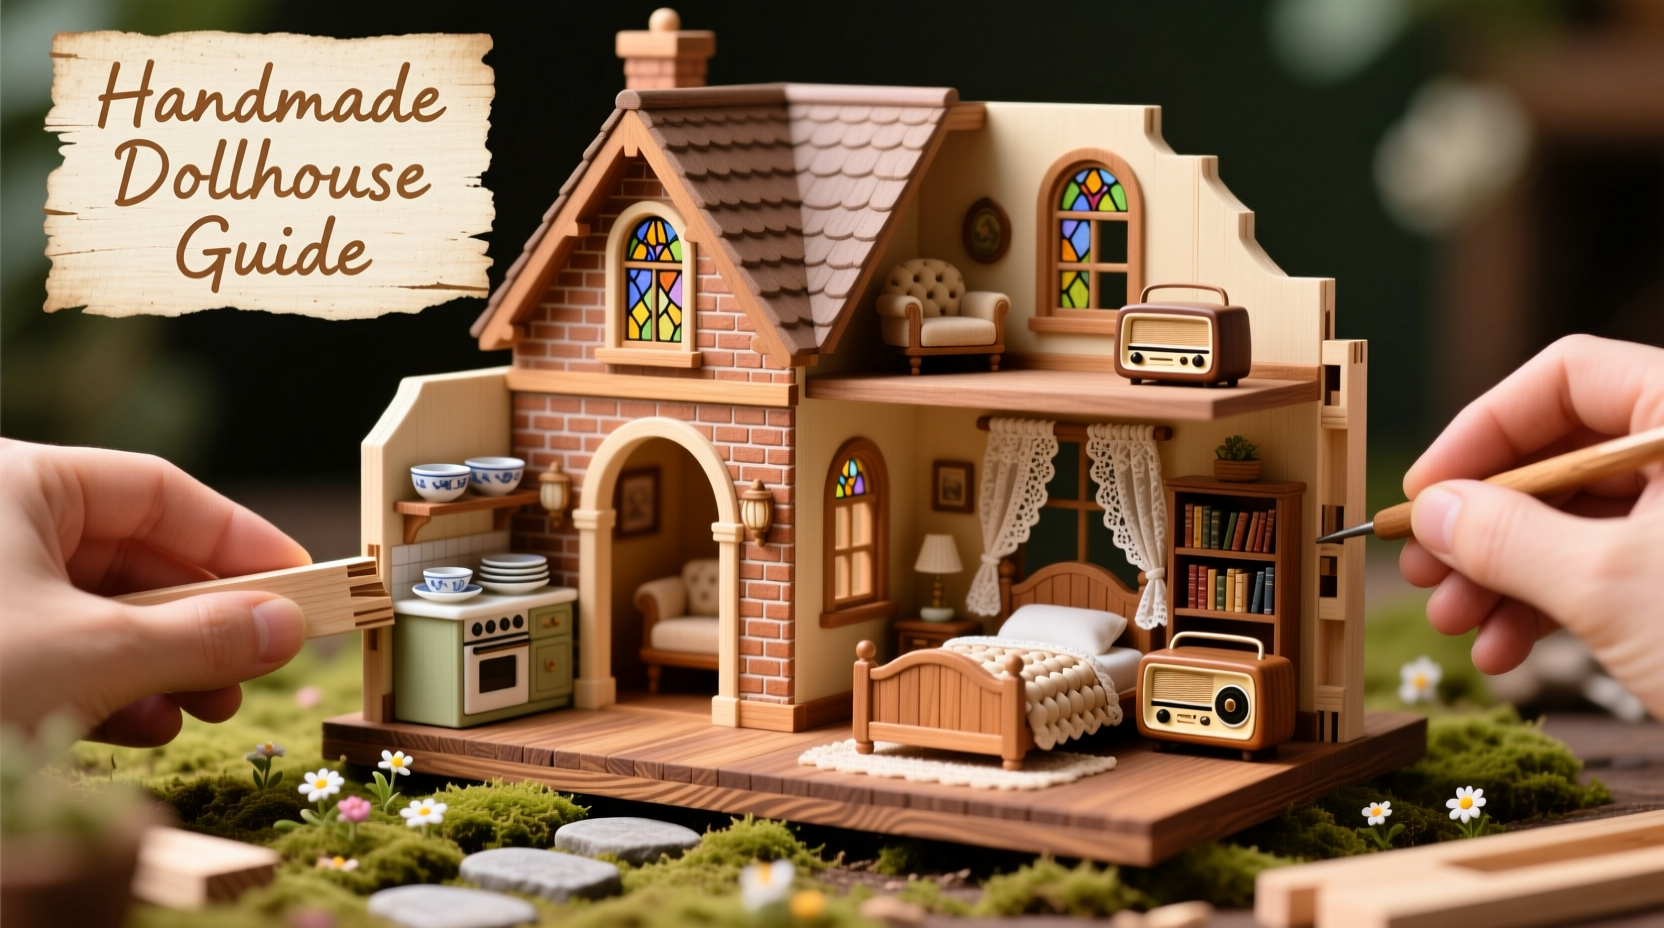
Building a handmade dollhouse is more than a craft project—it’s an act of storytelling, creativity, and precision. Whether intended as a cherished heirloom, a decorative centerpiece, or a gift for a child, a well-crafted dollhouse reflects care in every joint, window, and painted wall. With patience and the right approach, anyone can create a miniature home that balances structural integrity with aesthetic charm. This guide walks through each phase of construction, from initial planning to final detailing, ensuring your dollhouse becomes a lasting work of art.
Planning Your Dollhouse Design
The foundation of any successful dollhouse begins on paper. Before cutting a single piece of wood, define the scale, style, and layout. Common scales include 1:12 (one inch equals one foot), ideal for standard dollhouse furniture, and 1:24, better suited for smaller spaces or display-only models.
Sketch a floor plan showing room divisions, stair placement, and doorways. Consider architectural inspiration—Victorian, cottage, modern, or farmhouse styles each bring unique design cues. Decide whether your dollhouse will be open-backed for easy access or fully enclosed. Open-back designs simplify interior decoration but may require additional support framing.
Materials and Tools Checklist
Selecting the right materials ensures durability and ease of assembly. Choose lightweight yet sturdy woods such as basswood, balsa, or plywood no thicker than 1/8 inch for walls and floors. For exterior details like shingles or trim, consider veneer strips or craft foam sheets.
“Precision in material selection directly affects both buildability and realism. Always sand edges before gluing.” — Miriam Holt, Miniature Architecture Artisan
Essential tools include:
- Fine-toothed hobby saw or scroll saw
- Metal ruler and cutting mat
- Wood glue (carpenter’s glue or PVA)
- Clamps or rubber bands for holding joints
- Sandpaper (120–220 grit)
- Pencil, eraser, and measuring tape
- Paintbrushes (fine tip for details)
- Acrylic paints and sealant
Material Comparison Table
| Material | Best For | Pros | Cons |
|---|---|---|---|
| Basswood | Walls, floors, frames | Easy to cut, holds paint well | Slight grain may show unevenness |
| Balsa Wood | Interior partitions, lightweight elements | Very light, cuts easily | Less durable, dents easily |
| Hardboard (Masonite) | Floors, backing panels | Smooth surface, rigid | Heavy for small models |
| Craft Foam Sheets | Roofing, siding textures | Flexible, realistic texture options | Requires careful adhesive use |
Step-by-Step Construction Process
Follow this structured sequence to assemble your dollhouse safely and accurately.
- Create the base: Cut a rectangular platform from 1/4-inch plywood to serve as the foundation. This adds stability and prevents warping.
- Build the walls: Using your blueprint, measure and cut front, back, side, and interior walls. Mark door and window openings with a pencil before carefully removing sections with a hobby knife.
- Assemble the frame: Glue side walls to the base, then attach front and back. Use clamps or weighted books to hold pieces steady while drying (minimum 2 hours).
- Add floors and ceilings: Insert horizontal supports between walls at each story level. Attach floorboards flush with the supports. Repeat for upper levels.
- Construct the roof: Cut two sloped panels for a gable roof or four for a hip roof. Test fit before gluing. Reinforce with thin dowels if needed.
- Install exterior details: Add window frames, shutters, and trim using thin wood strips. Pre-paint pieces before attachment for cleaner results.
Interior and Exterior Finishing Touches
Painting transforms raw wood into a lifelike home. Begin with a primer coat to seal surfaces, followed by acrylic paints in chosen color schemes. Use painter’s tape for crisp edges around windows and doors.
For interiors, wallpaper can be made from scrapbook paper or printed vintage patterns scaled down to size. Secure with diluted white glue. Install miniature flooring using linoleum tiles, hardwood decals, or painted grout-effect squares.
Lighting elevates realism. Battery-powered LED tea lights or micro-string lights can be tucked into rooms. Avoid heat-emitting bulbs to prevent fire risk.
Real Example: The Elm Street Cottage Project
Jessica Rainer, a hobbyist from Vermont, built a two-story colonial dollhouse over six weekends. She used salvaged maple scraps from a local carpenter, which she sanded and stained to mimic aged wood. Her key innovation was creating removable floor sections with tiny magnets, allowing access to wiring for interior lights. The finished piece became a centerpiece at her daughter’s birthday party and now resides on a bookshelf as a family heirloom.
Common Challenges and How to Overcome Them
Misaligned walls, weak joints, and paint drips are frequent issues. Prevent misalignment by dry-fitting all components before gluing. Reinforce corners with small wooden gussets or L-brackets made from craft sticks.
If paint bleeds under tape, lift the edge slightly while still wet to prevent peeling. For warped wood, place the piece under heavy books for 24 hours before use.
“Patience is the most important tool in miniature building. Rushing leads to rework.” — Carlos Mendez, Dollhouse Craft Guild Instructor
Final Assembly and Detailing Checklist
- ✅ Confirm all glue joints are fully cured
- ✅ Sand rough areas lightly and wipe clean
- ✅ Paint base coats and allow full drying time
- ✅ Apply second colors and decorative finishes
- ✅ Install windows (use clear acetate for glass)
- ✅ Add roofing material and secure edges
- ✅ Place miniature furniture and accessories
- ✅ Seal with matte or satin varnish for protection
Frequently Asked Questions
Can I use cardboard instead of wood?
Yes, for simpler or temporary models, corrugated cardboard can work. However, it lacks rigidity and longevity. For heirloom-quality builds, wood is strongly recommended due to its strength and professional finish potential.
How do I make stairs that are safe for dolls to “climb”?
Cut stair treads from 1/16-inch wood and attach them to a central stringer. Ensure risers are uniform (typically 1/4 inch high) and install handrails using thin wire or bamboo skewers. Test fit a doll to confirm clearance.
What’s the best way to store a dollhouse when not in use?
Cover it with a breathable cotton cloth and store indoors away from humidity and direct sunlight. Avoid plastic covers, which trap moisture and encourage mold on wood and fabric elements.
Bring Your Vision to Life
A handmade dollhouse is not merely assembled—it’s imagined into existence. Every measurement, brushstroke, and detail tells part of a larger narrative. By following precise planning, selecting quality materials, and applying thoughtful craftsmanship, you create more than a toy: you build a world in miniature. Whether displayed proudly on a shelf or passed down through generations, your dollhouse stands as a testament to creativity and dedication.


 浙公网安备
33010002000092号
浙公网安备
33010002000092号 浙B2-20120091-4
Comments
No comments yet. Why don't you start the discussion?