
Crafting handmade accessories is more than just a pastime—it's a way to express creativity, personalize everyday items, and even create thoughtful gifts. Among the most charming small crafts is the DIY ice cream heart keychain lanyard. Combining playful design with functional utility, this project blends soft pastel colors, whimsical shapes, and practicality into a single accessory.
This guide walks you through every stage of creating your own ice cream heart keychain lanyard from scratch. Whether you're new to crafting or looking to refine your skills, the process is beginner-friendly, affordable, and deeply satisfying. With minimal tools and easy-to-find materials, you can complete this project in under two hours—and wear or gift it proudly.
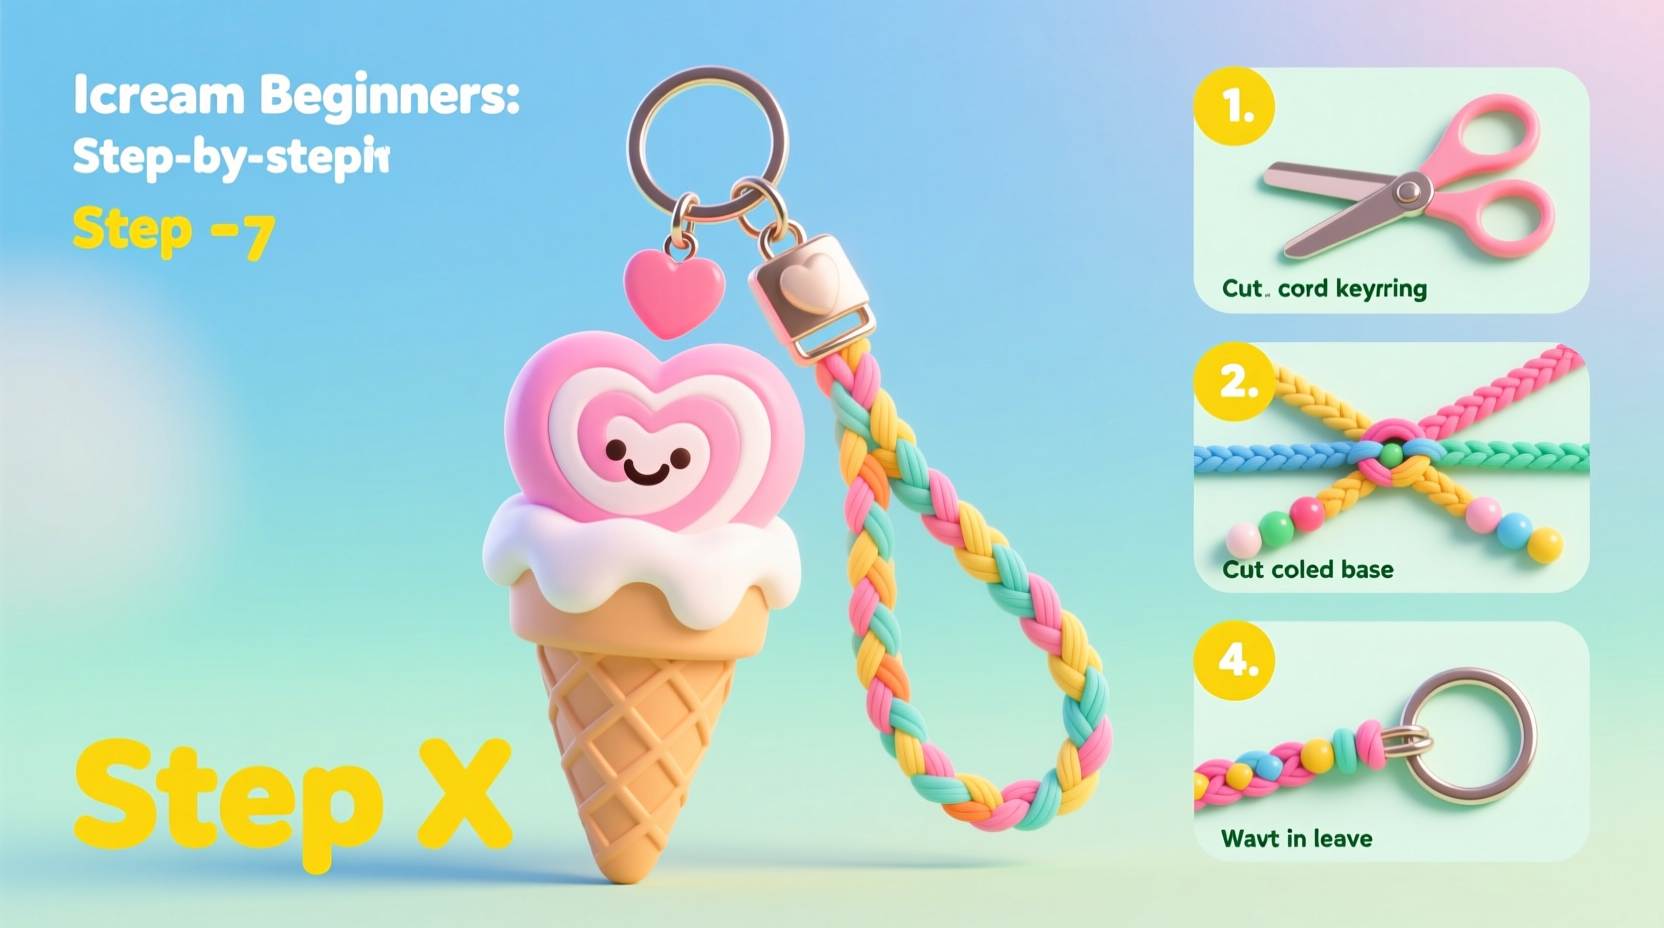
Gathering Your Materials
The foundation of any successful craft lies in preparation. Before cutting or assembling, ensure you have all necessary supplies on hand. Most materials are available at craft stores or online marketplaces like Etsy or Amazon. Here’s what you’ll need:
- Felt fabric (pink, white, brown, and light yellow)
- Scissors (fabric scissors preferred)
- Pencil or chalk for tracing
- Ruler
- Sewing needle and embroidery thread (matching or contrasting colors)
- Hot glue gun and glue sticks
- Keyring or lobster clasp
- Embroidery floss (optional, for detailing)
- Polyester stuffing (for softness)
- Lanyard cord or ribbon (approx. 30–40 inches)
Designing the Ice Cream Heart Shape
The charm of this keychain lies in its dual symbolism: a heart-shaped base representing love, topped with a swirl resembling soft-serve ice cream. To begin, sketch the components separately before combining them.
- Draw a heart shape approximately 1.5 inches wide on pink felt using a pencil or fabric marker.
- Directly above the top curve of the heart, sketch a rounded swirl—like an ice cream scoop—to serve as the topping.
- Below the heart, draw a small cone shape extending downward. It should be about 1 inch tall and triangular.
- Cut out the entire piece as one unit: heart + swirl + cone.
Next, cut a second identical piece to form the back layer. This creates a sandwich effect, hiding seams and giving the keychain fullness.
For extra flair, use white felt for the swirl portion only, then glue it atop the pink heart. This adds dimension and mimics real soft-serve. Alternatively, use brown felt dots or tiny rolled strips to simulate chocolate sprinkles.
Assembly Process: Stitching and Stuffing
With both front and back pieces ready, it’s time to join them. Hand-sewing gives greater control and a neater finish than glue alone, especially around curves.
- Place the two main pieces together, front sides facing inward.
- Using a backstitch or whip stitch with strong thread, sew around the outer edge, leaving a 1-inch gap at the bottom of the cone.
- Turn the piece right-side out carefully using a pencil or chopstick to push out corners.
- Add a small pinch of polyester stuffing—just enough to give it shape without bulging.
- Hand-stitch the opening closed with a ladder stitch for invisibility.
If using separate swirls (e.g., white felt), attach them now with hot glue or a few hidden stitches. For sprinkles, cut tiny slivers of brown or colorful felt and glue them randomly across the swirl.
| Component | Material Suggestion | Attachment Method |
|---|---|---|
| Heart Base | Pink felt | Sewn (double layer) |
| Ice Cream Swirl | White or yellow felt | Glue or stitch |
| Cone | Brown felt | Integrated into base cutout |
| Sprinkles | Assorted colored felt | Hot glue |
| Lanyard Cord | Satin ribbon or nylon cord | Tied or clipped to keyring |
Attaching the Lanyard and Keyring
The lanyard transforms your decorative charm into a functional item. Choose a cord that complements your color scheme—pastel pinks, mint greens, or clear elastic work well.
- Cut a length of lanyard cord between 30 and 40 inches, depending on desired drop length.
- Fold the ends over by half an inch and sew or glue them to prevent fraying.
- Open the keyring slightly using pliers, slide one end through the top loop of the heart (or add a small metal jump ring if none exists), then close securely.
- Thread the lanyard cord through the keyring and tie a secure knot on each side to keep it centered.
Alternatively, skip the keyring and sew a small fabric loop at the top of the heart before final stitching. This allows the lanyard to pass directly through, reducing hardware visibility.
Mini Case Study: A Gift That Melted Hearts
When Mia, a college student majoring in early childhood education, wanted to thank her mentor for internship guidance, she opted for personalized gifts. Remembering her professor’s love for desserts and handmade items, she created five ice cream heart keychains—one for each member of the department.
She used different pastel shades (lavender, peach, mint) and added embroidered initials on the back. The response was overwhelming. One faculty member posted a photo on social media, writing, “Best teacher appreciation gift ever.” Within weeks, requests poured in from students wanting to learn the technique.
Mia later hosted a mini workshop during campus craft week, teaching over 30 attendees how to make their own versions. Her experience underscores how simple DIY projects can foster connection, recognition, and joy beyond mere decoration.
“Handmade items carry emotional weight no store-bought product can match. A tiny keychain becomes a token of thoughtfulness.” — Lena Torres, Craft Therapist & Educator
Checklist: Crafting Your Ice Cream Heart Keychain
Follow this concise checklist to stay organized throughout the process:
- ☐ Gather all materials: felt, thread, scissors, glue, stuffing, cord
- ☐ Sketch and cut out heart, swirl, and cone shapes
- ☐ Sew front and back layers together, leaving an opening
- ☐ Turn right-side out and lightly stuff
- ☐ Close the seam neatly
- ☐ Attach swirl and sprinkle details
- ☐ Secure keyring to the top of the heart
- ☐ Thread and finish lanyard cord
- ☐ Inspect for loose threads or weak glue points
- ☐ Gift or wear proudly!
Frequently Asked Questions
Can I wash my DIY keychain?
Spot clean only. Submerging it in water may cause felt to fray or colors to bleed. Use a damp cloth with mild soap and air dry flat.
What if I don’t know how to sew?
No problem. You can assemble the entire piece using a high-quality fabric glue like E6000. Just apply a thin, even layer along edges, press firmly, and let dry overnight.
How long does it take to make one keychain?
Beginners typically spend 60–90 minutes from start to finish. With practice, you can complete one in under 30 minutes.
Final Touches and Creative Variations
Once assembled, consider personalizing your keychain further. Use metallic fabric paint to write names or dates. Add tiny beads as cherries on top. Or experiment with themed variations—strawberry shortcake, cotton candy, or unicorn swirls using iridescent ribbon.
For durability, especially if gifting to children, seal visible glue areas with a thin coat of clear Mod Podge. This also gives a slight shine and protects against moisture.
Conclusion: Start Crafting Today
The DIY ice cream heart keychain lanyard is more than a craft—it’s a small act of creativity with big emotional returns. Simple enough for first-time crafters, yet customizable enough to delight seasoned makers, it bridges fun and function beautifully.
Whether you're making one for yourself, as a gift, or to sell at a craft fair, each piece carries a story. Grab your felt, thread a needle, and let your imagination swirl. When you hold that finished keychain, you won’t just see a trinket—you’ll see patience, care, and a little sweetness brought to life.


 浙公网安备
33010002000092号
浙公网安备
33010002000092号 浙B2-20120091-4
Comments
No comments yet. Why don't you start the discussion?