
Installing a custom cement sink in your laundry room is more than a renovation—it's an investment in durability, style, and functionality. Unlike mass-produced porcelain or stainless steel units, a handmade cement sink offers complete design freedom. You can shape it to fit awkward corners, integrate built-in drainage grooves, and match the finish to your home’s aesthetic. When done correctly, a cement sink resists cracking, handles heavy use, and ages beautifully. This guide walks through every stage of building one from scratch, using accessible materials and proven techniques.
Why Choose Cement for a Laundry Sink?
Cement is ideal for high-moisture environments like laundry rooms. It’s naturally water-resistant when sealed properly, supports heavy loads, and tolerates temperature fluctuations without warping. Unlike prefabricated sinks, a poured cement unit can be molded to include features such as dual basins, integrated soap trays, or sloped surfaces for better drainage. Additionally, cement ages gracefully—developing a subtle patina over time that adds character rather than wear.
“Cement allows total customization. I’ve seen laundry sinks with built-in drying racks and towel bars—all part of the original pour.” — Daniel Ruiz, Architectural Concrete Specialist
Materials and Tools Checklist
Before starting, gather all necessary supplies. Precision in material selection prevents structural flaws later.
Essential Materials:
- Fiber-reinforced cement mix (e.g., QUIKRETE Sand/Topping Mix with polypropylene fibers)
- Portland cement (for finishing layer)
- Silica sand (fine grade)
- Liquid concrete sealer (penetrating silane/siloxane type)
- Epoxy-based topcoat (optional, for high-gloss finish)
- Plastic or melamine mold form (for basin shape)
- Wooden base frame (pressure-treated or marine plywood)
- Rebar or wire mesh (for structural reinforcement)
- PVC plumbing kit (tailpiece, trap, washers)
- Release agent (petroleum jelly or commercial mold release spray)
Tools Required:
- Mixing tub and trowel
- Orbital sander (with 80–200 grit pads)
- Level and measuring tape
- Drill with hole saw attachment (for faucet holes)
- Putty knife and float
- Clamps and screws (for securing mold)
Step-by-Step Construction Process
Building a cement sink requires patience and attention to detail. Follow this sequence to ensure strength and longevity.
- Design and Frame the Base: Measure your countertop space. Build a sturdy wooden frame from marine-grade plywood, ensuring it’s level and anchored securely. The frame must support the weight of wet cement (approximately 135 lbs per cubic foot).
- Create the Mold: Use a preformed plastic basin (like a utility sink) or shape melamine board into a negative mold. Coat the mold thoroughly with release agent. Clamp it inside the wooden frame, centered and level. Leave at least 2 inches of clearance on all sides for cement thickness.
- Install Reinforcement: Cut wire mesh or rebar to fit between the mold and outer frame. Position it in the center of the planned cement thickness. This prevents cracks under stress. Anchor it with small spacers if needed.
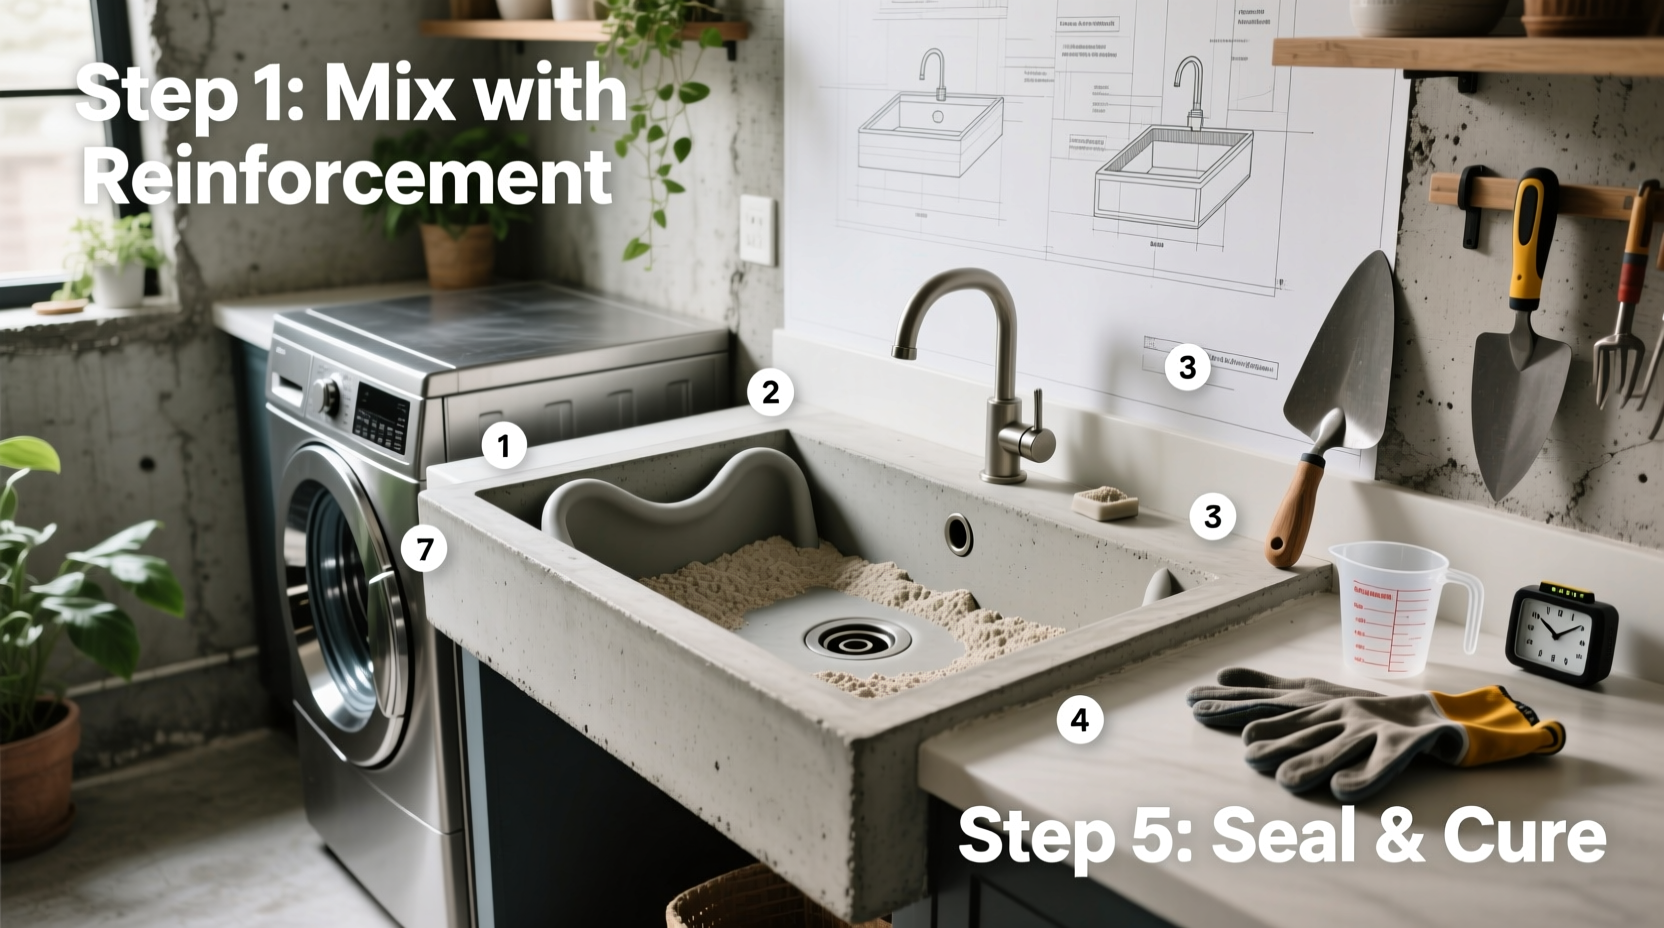
- Mix and Pour Cement: Combine fiber-reinforced mix with water to a peanut butter-like consistency. Pour slowly around the mold, tapping the sides to release air bubbles. Fill to the top edge. Smooth the surface with a float. Cover with plastic sheeting and let cure for 48 hours.
- Demold and Refine: After two days, carefully remove the mold. Sand sharp edges and imperfections using progressively finer grits (start at 80, finish at 200). Wipe away dust with a damp cloth.
- Drill Faucet Holes: Mark positions on the rim. Use a masonry bit or hole saw to drill openings. Deburr edges with sandpaper.
- Seal Thoroughly: Apply penetrating sealer with a brush or sprayer. Let dry 24 hours, then apply a second coat. For extra protection, add two layers of food-safe epoxy topcoat, especially if using harsh detergents.
- Plumb and Install: Connect PVC tailpiece and P-trap beneath the sink. Seal joints with plumber’s putty. Test for leaks before finalizing countertop integration.
Do’s and Don’ts During Construction
| Do’s | Don’ts |
|---|---|
| Allow full 7-day cure before heavy use | Rush the curing process with heat guns |
| Use a consistent water-to-cement ratio | Add excess water to make mixing easier |
| Apply multiple thin coats of sealer | Leave the surface unsealed, even temporarily |
| Slope the basin floor slightly toward the drain | Create flat-bottomed basins that trap water |
| Wear gloves and a mask when handling dry cement | Work without eye or respiratory protection |
Real-World Example: The Johnson Family Laundry Upgrade
The Johnsons in Portland, Oregon, replaced their cracked laminate laundry counter with a custom double-basin cement sink. They used a pair of identical plastic utility sinks as molds, set side by side with a shared central divider. After pouring and curing, they sanded the surface smooth and applied a matte silane sealer. The result was a seamless, industrial-style unit that accommodated both hand-washing delicates and soaking muddy sports gear. Two years later, despite weekly bleach use and constant water exposure, there are no cracks or stains. “It looks better now than the day we installed it,” says homeowner Lisa Johnson.
Maintenance and Long-Term Care
A well-sealed cement sink needs minimal upkeep but benefits from routine care. Wipe spills promptly, especially acidic substances like vinegar or citrus cleaners. Avoid abrasive scrubbers that can degrade the sealant. Reapply penetrating sealer annually—more often in high-use households. If staining occurs, lightly sand the area and reseal.
“Annual resealing isn’t optional—it’s what keeps moisture from creeping into micro-cracks.” — Marcus Lin, Restoration Contractor
Frequently Asked Questions
Can I install a garbage disposal with a cement sink?
Yes, but only if the drain opening is reinforced. Use a metal-backed flange and ensure the cement around the hole is dense and crack-free. Confirm compatibility with your disposal model’s mounting system.
How long does the entire project take?
Active work takes about 2–3 days, but total timeline spans 7–10 days due to curing and sealing wait times. Never skip the full cure—premature use causes structural failure.
Is cement safe for indoor use? What about off-gassing?
Once cured, cement is inert and non-toxic. No harmful fumes are released. However, during mixing, always work in a ventilated area and wear a dust mask to avoid inhaling cement particles.
Final Thoughts
A handmade cement sink transforms the laundry room from utilitarian to exceptional. It withstands decades of socks, spills, and suds while aging with quiet elegance. With careful planning and proper sealing, this project delivers a one-of-a-kind fixture that’s both functional and artistic. Whether you're remodeling on a budget or pursuing a minimalist industrial look, casting your own sink proves that durability and design aren't mutually exclusive.


 浙公网安备
33010002000092号
浙公网安备
33010002000092号 浙B2-20120091-4
Comments
No comments yet. Why don't you start the discussion?